Hello, nice job.
I’m Léo and new on this forum, I’m about to try to do a box like you and i see i’m using the same screen (3"5) and i’m terribly confused to configur this device… Please can you tell me how you make this work? Thanks.
I hope have something to post here soon. 
Hi @jofemodo!
Nice to read, that you like my Zynth… I bought cheape one - under ten euro and make holes by firm hand and dremel circular saw for straight edges.
2 Likes
Thanks, i’ll try that ASAP
What a wondeful project! I am enjoying it from the beggining.
The kit was bought by Smart Open Lab, a fablab space inside the University of Extremadura. We are continuosly doing things related with open hardware, sound and music and Zynthian was a MUST for us.
We received the kit “All-in-one” and the four “Controller Modules” and built them easily using the very good documentation of the wiki.
For this initial version, we used:
- RaspberryPi 3
- 2.8” Adafruit PITFT screen
- HifiBerry DAC
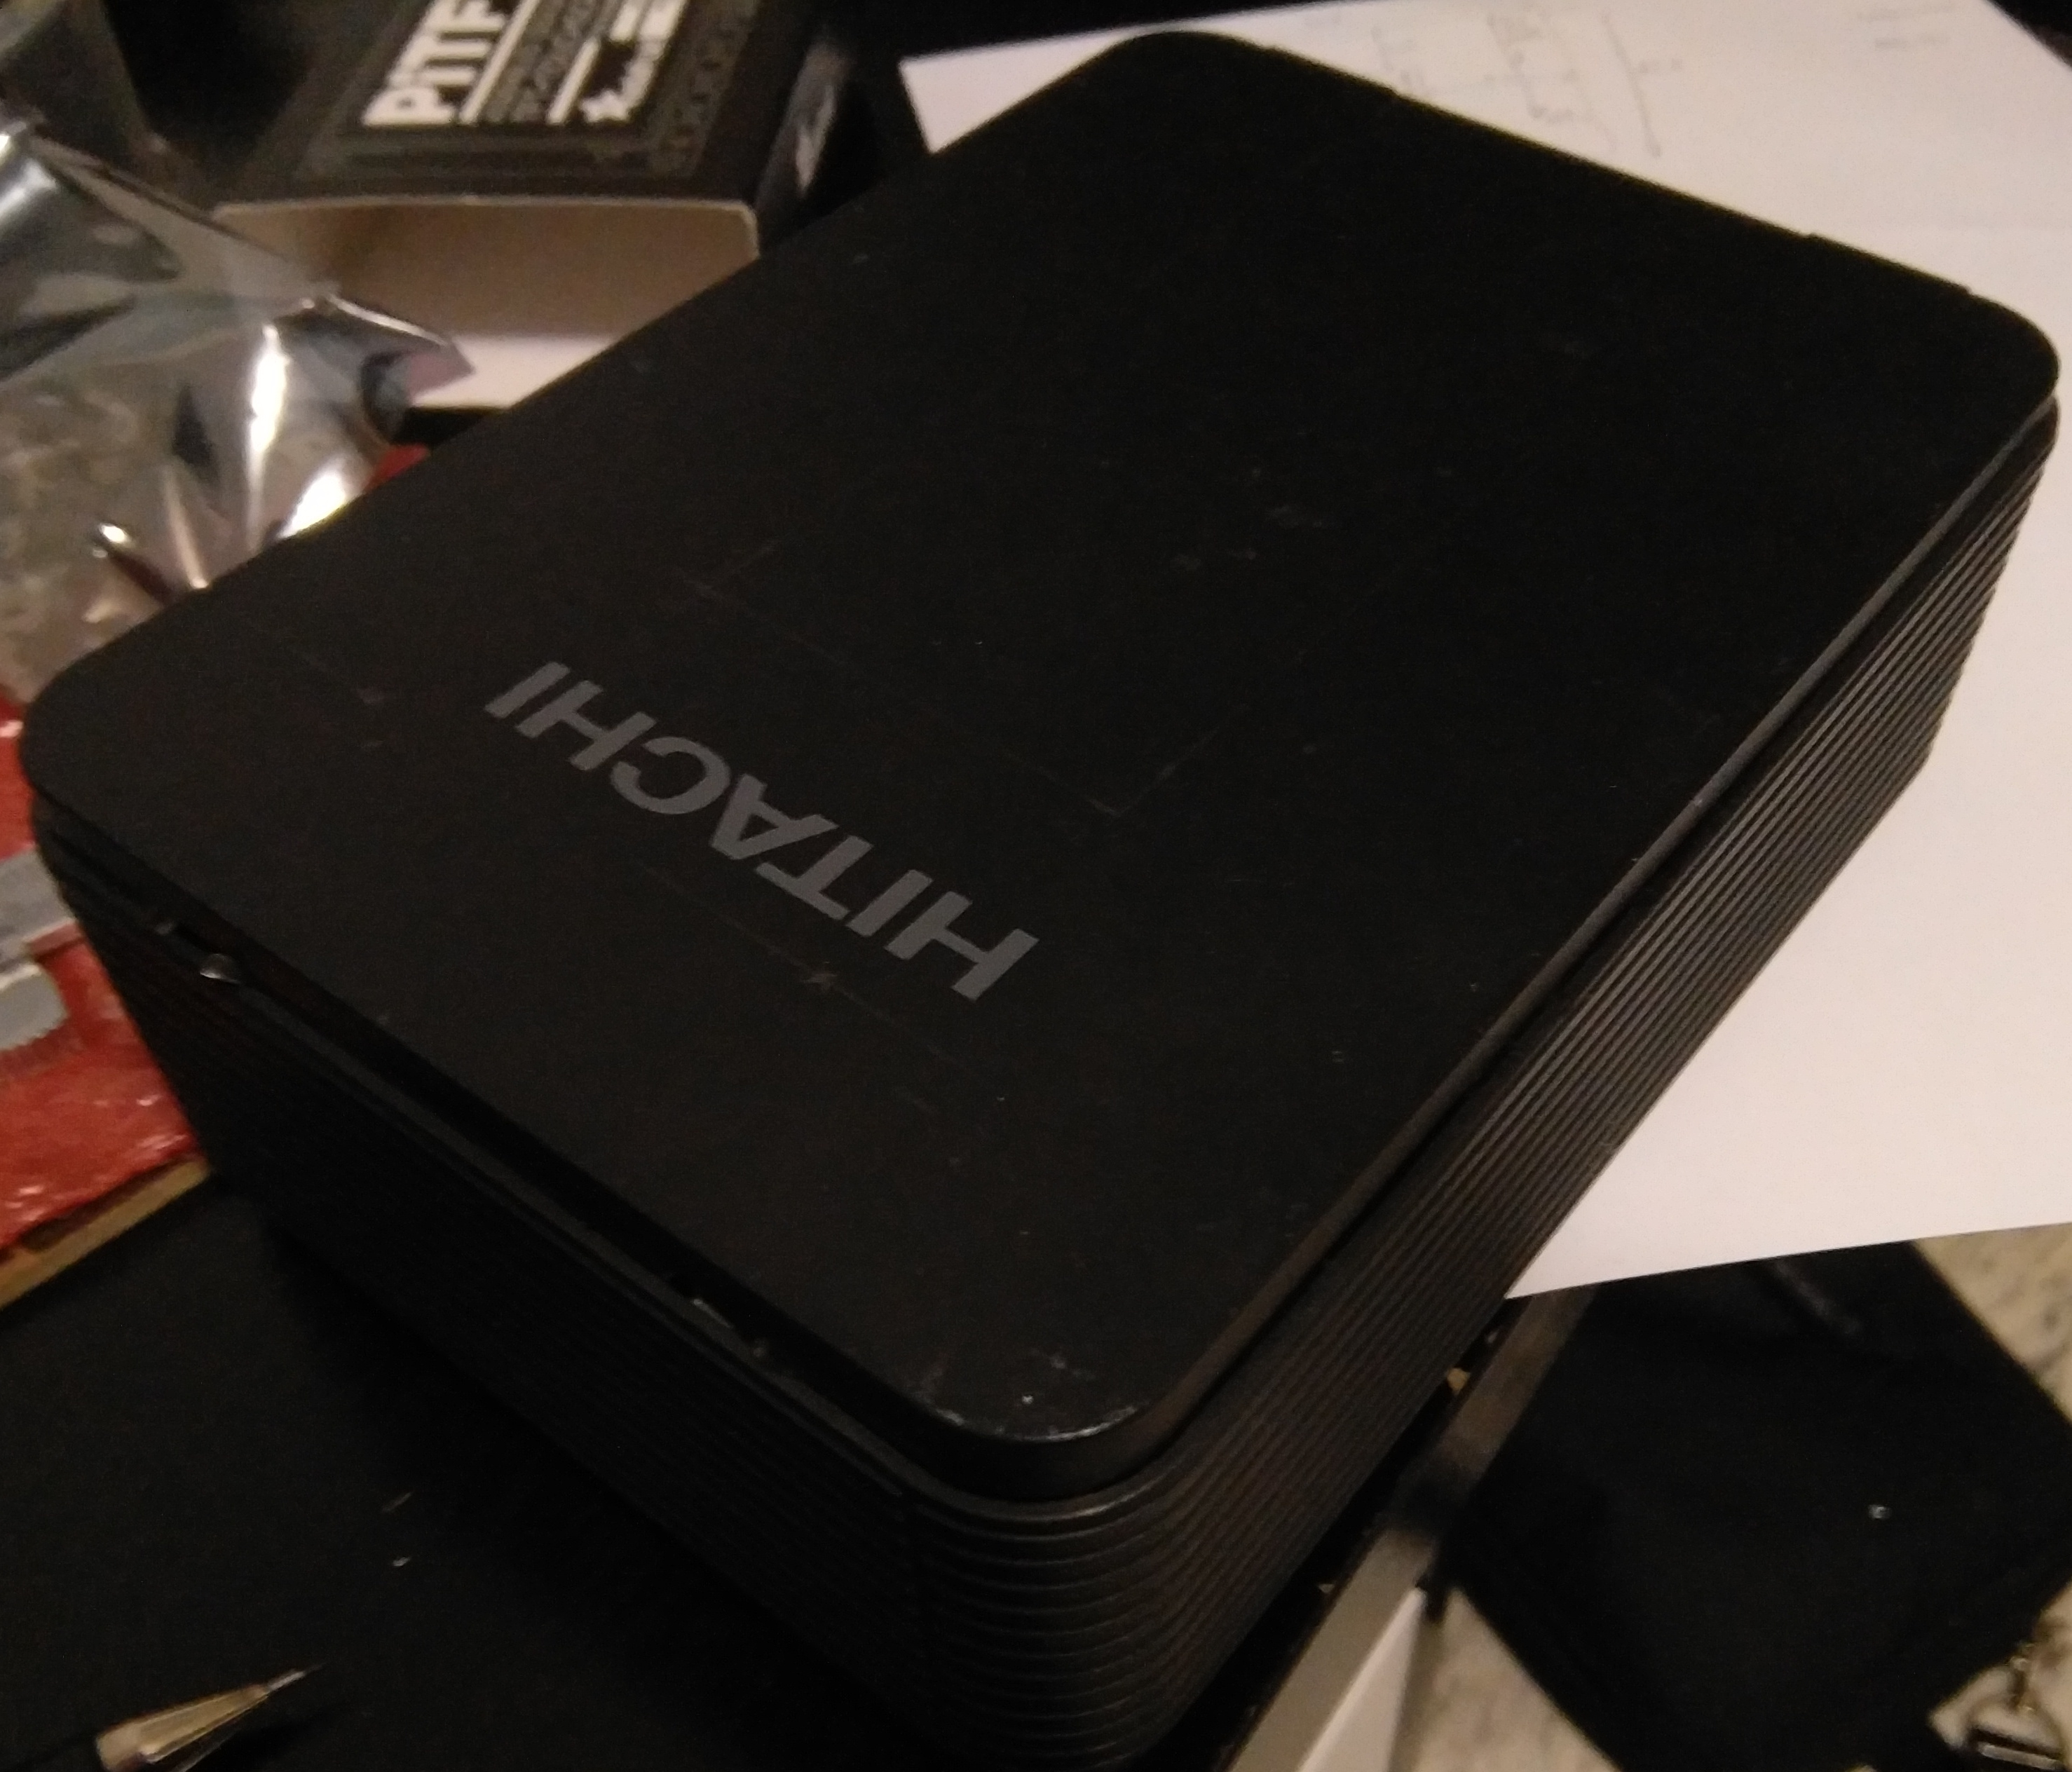
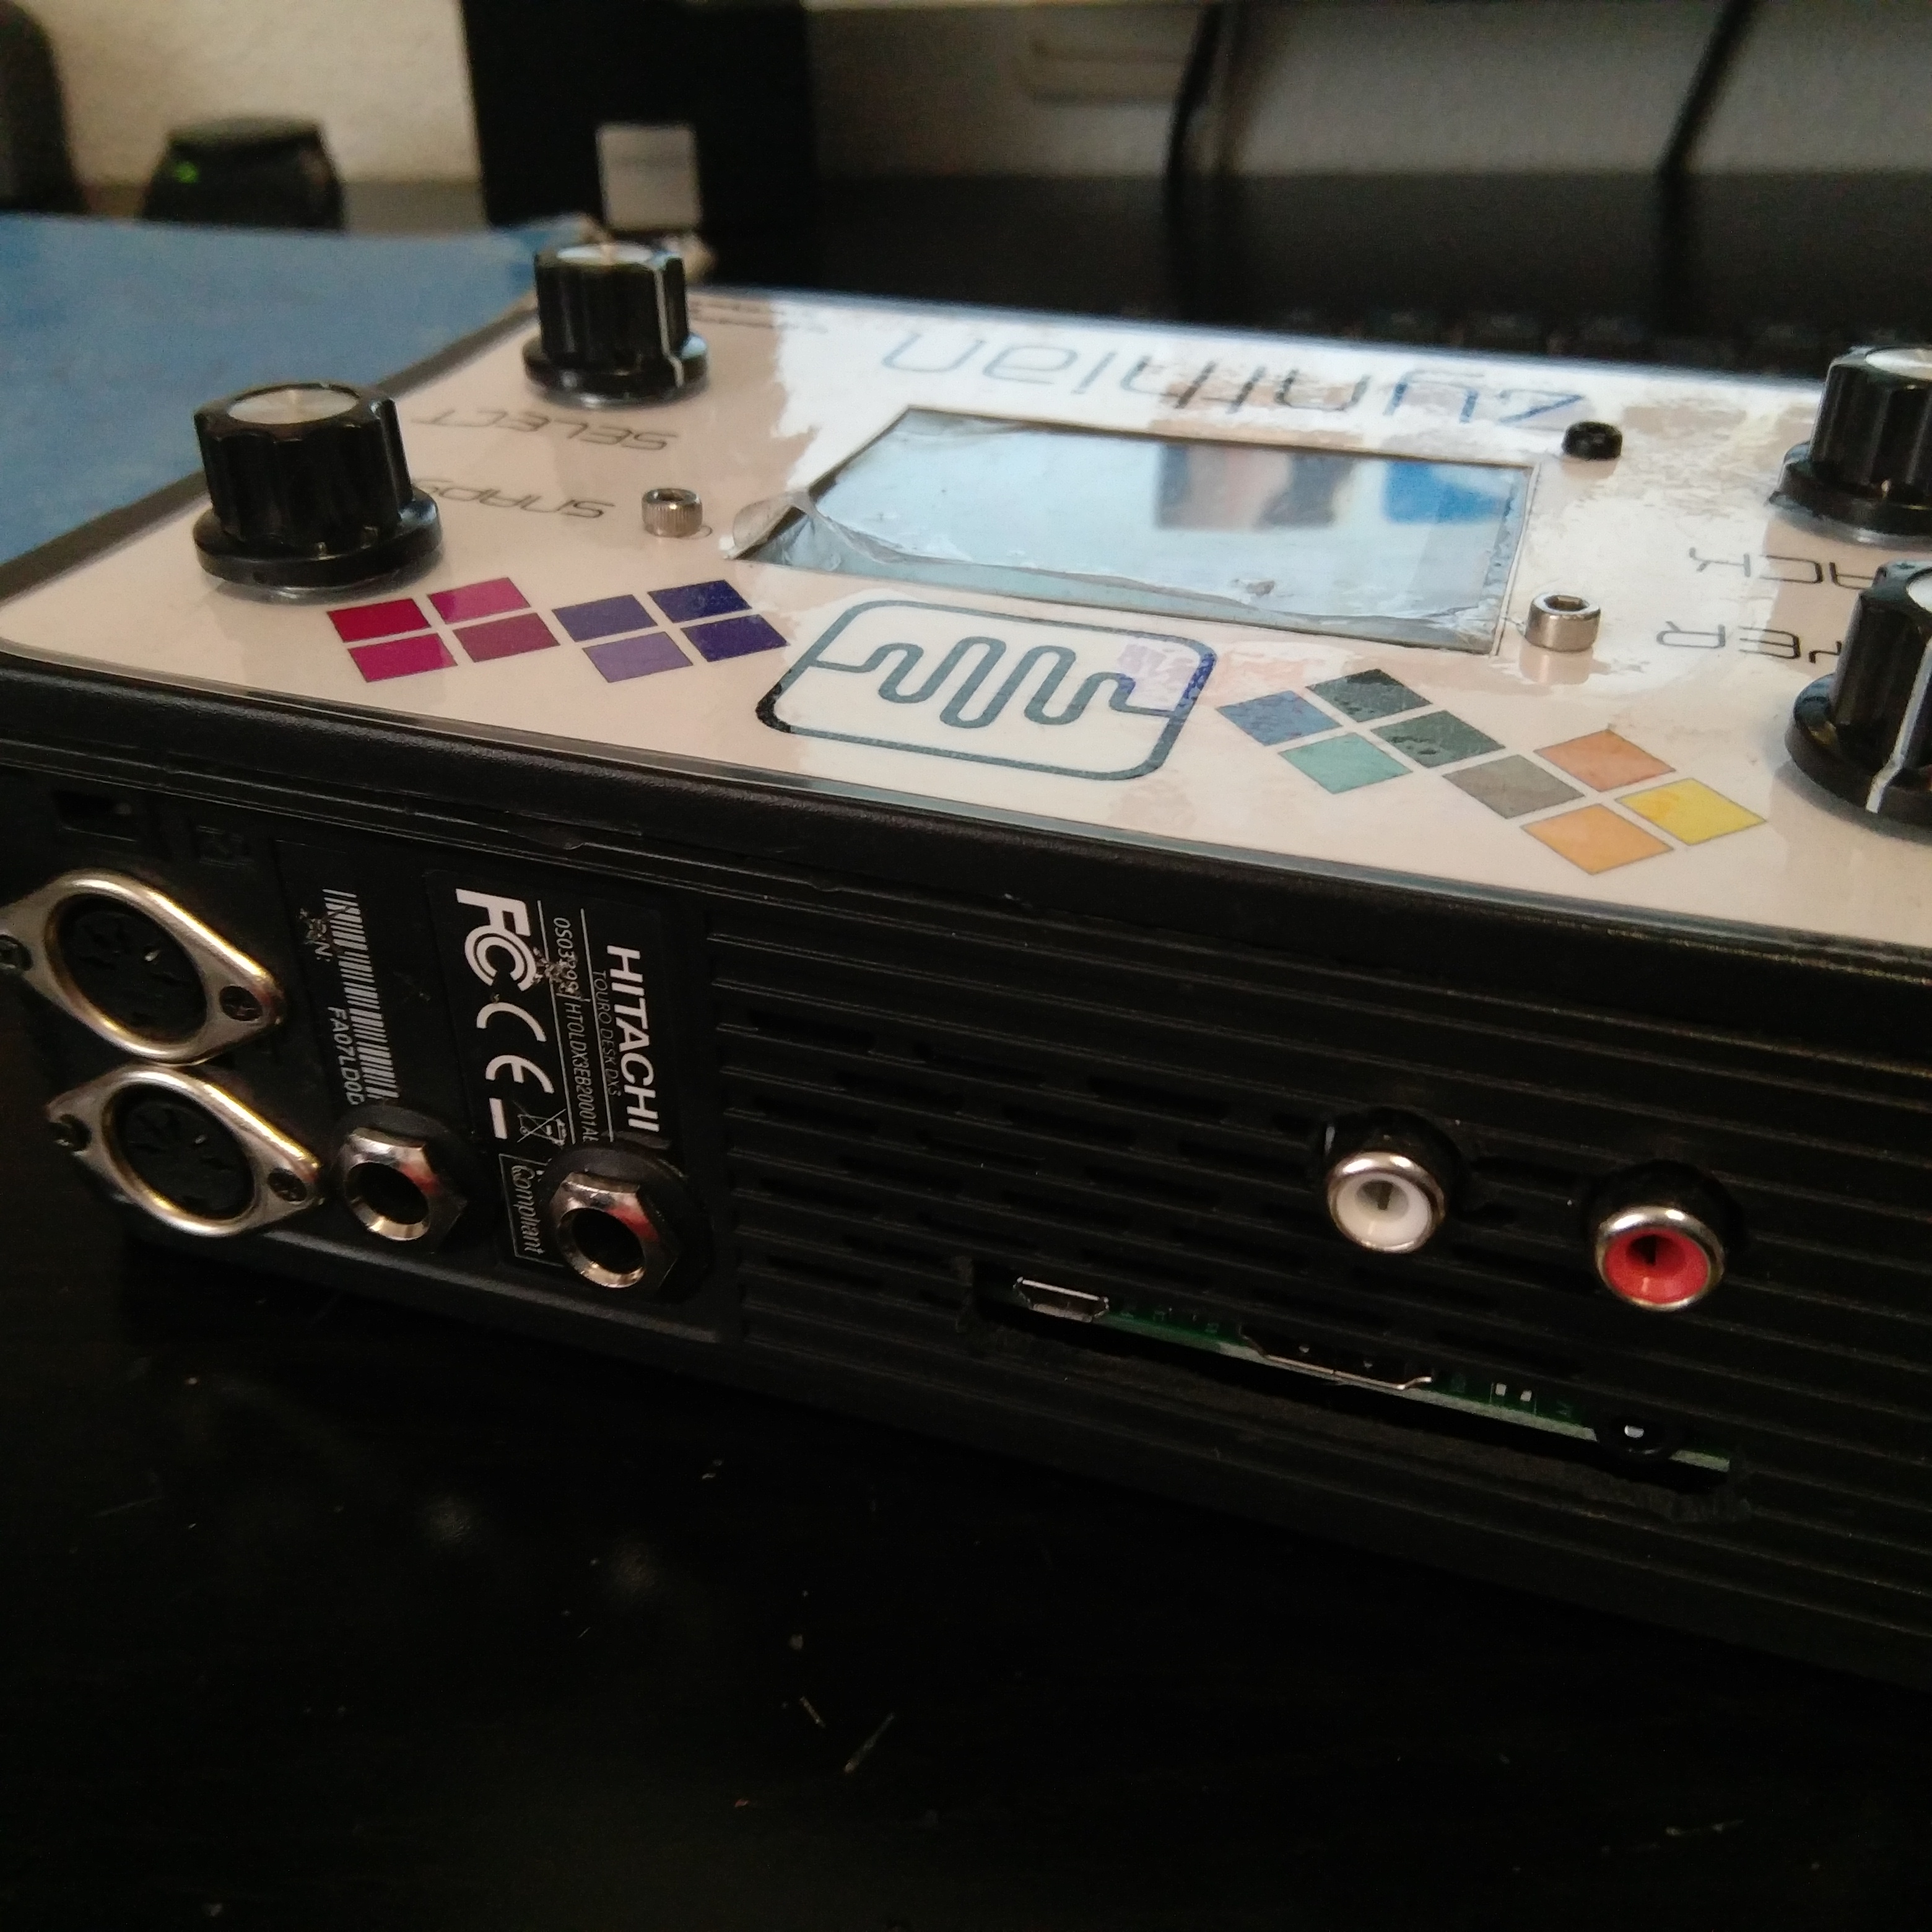
- Plastic case of an old external Hitachi hard disc
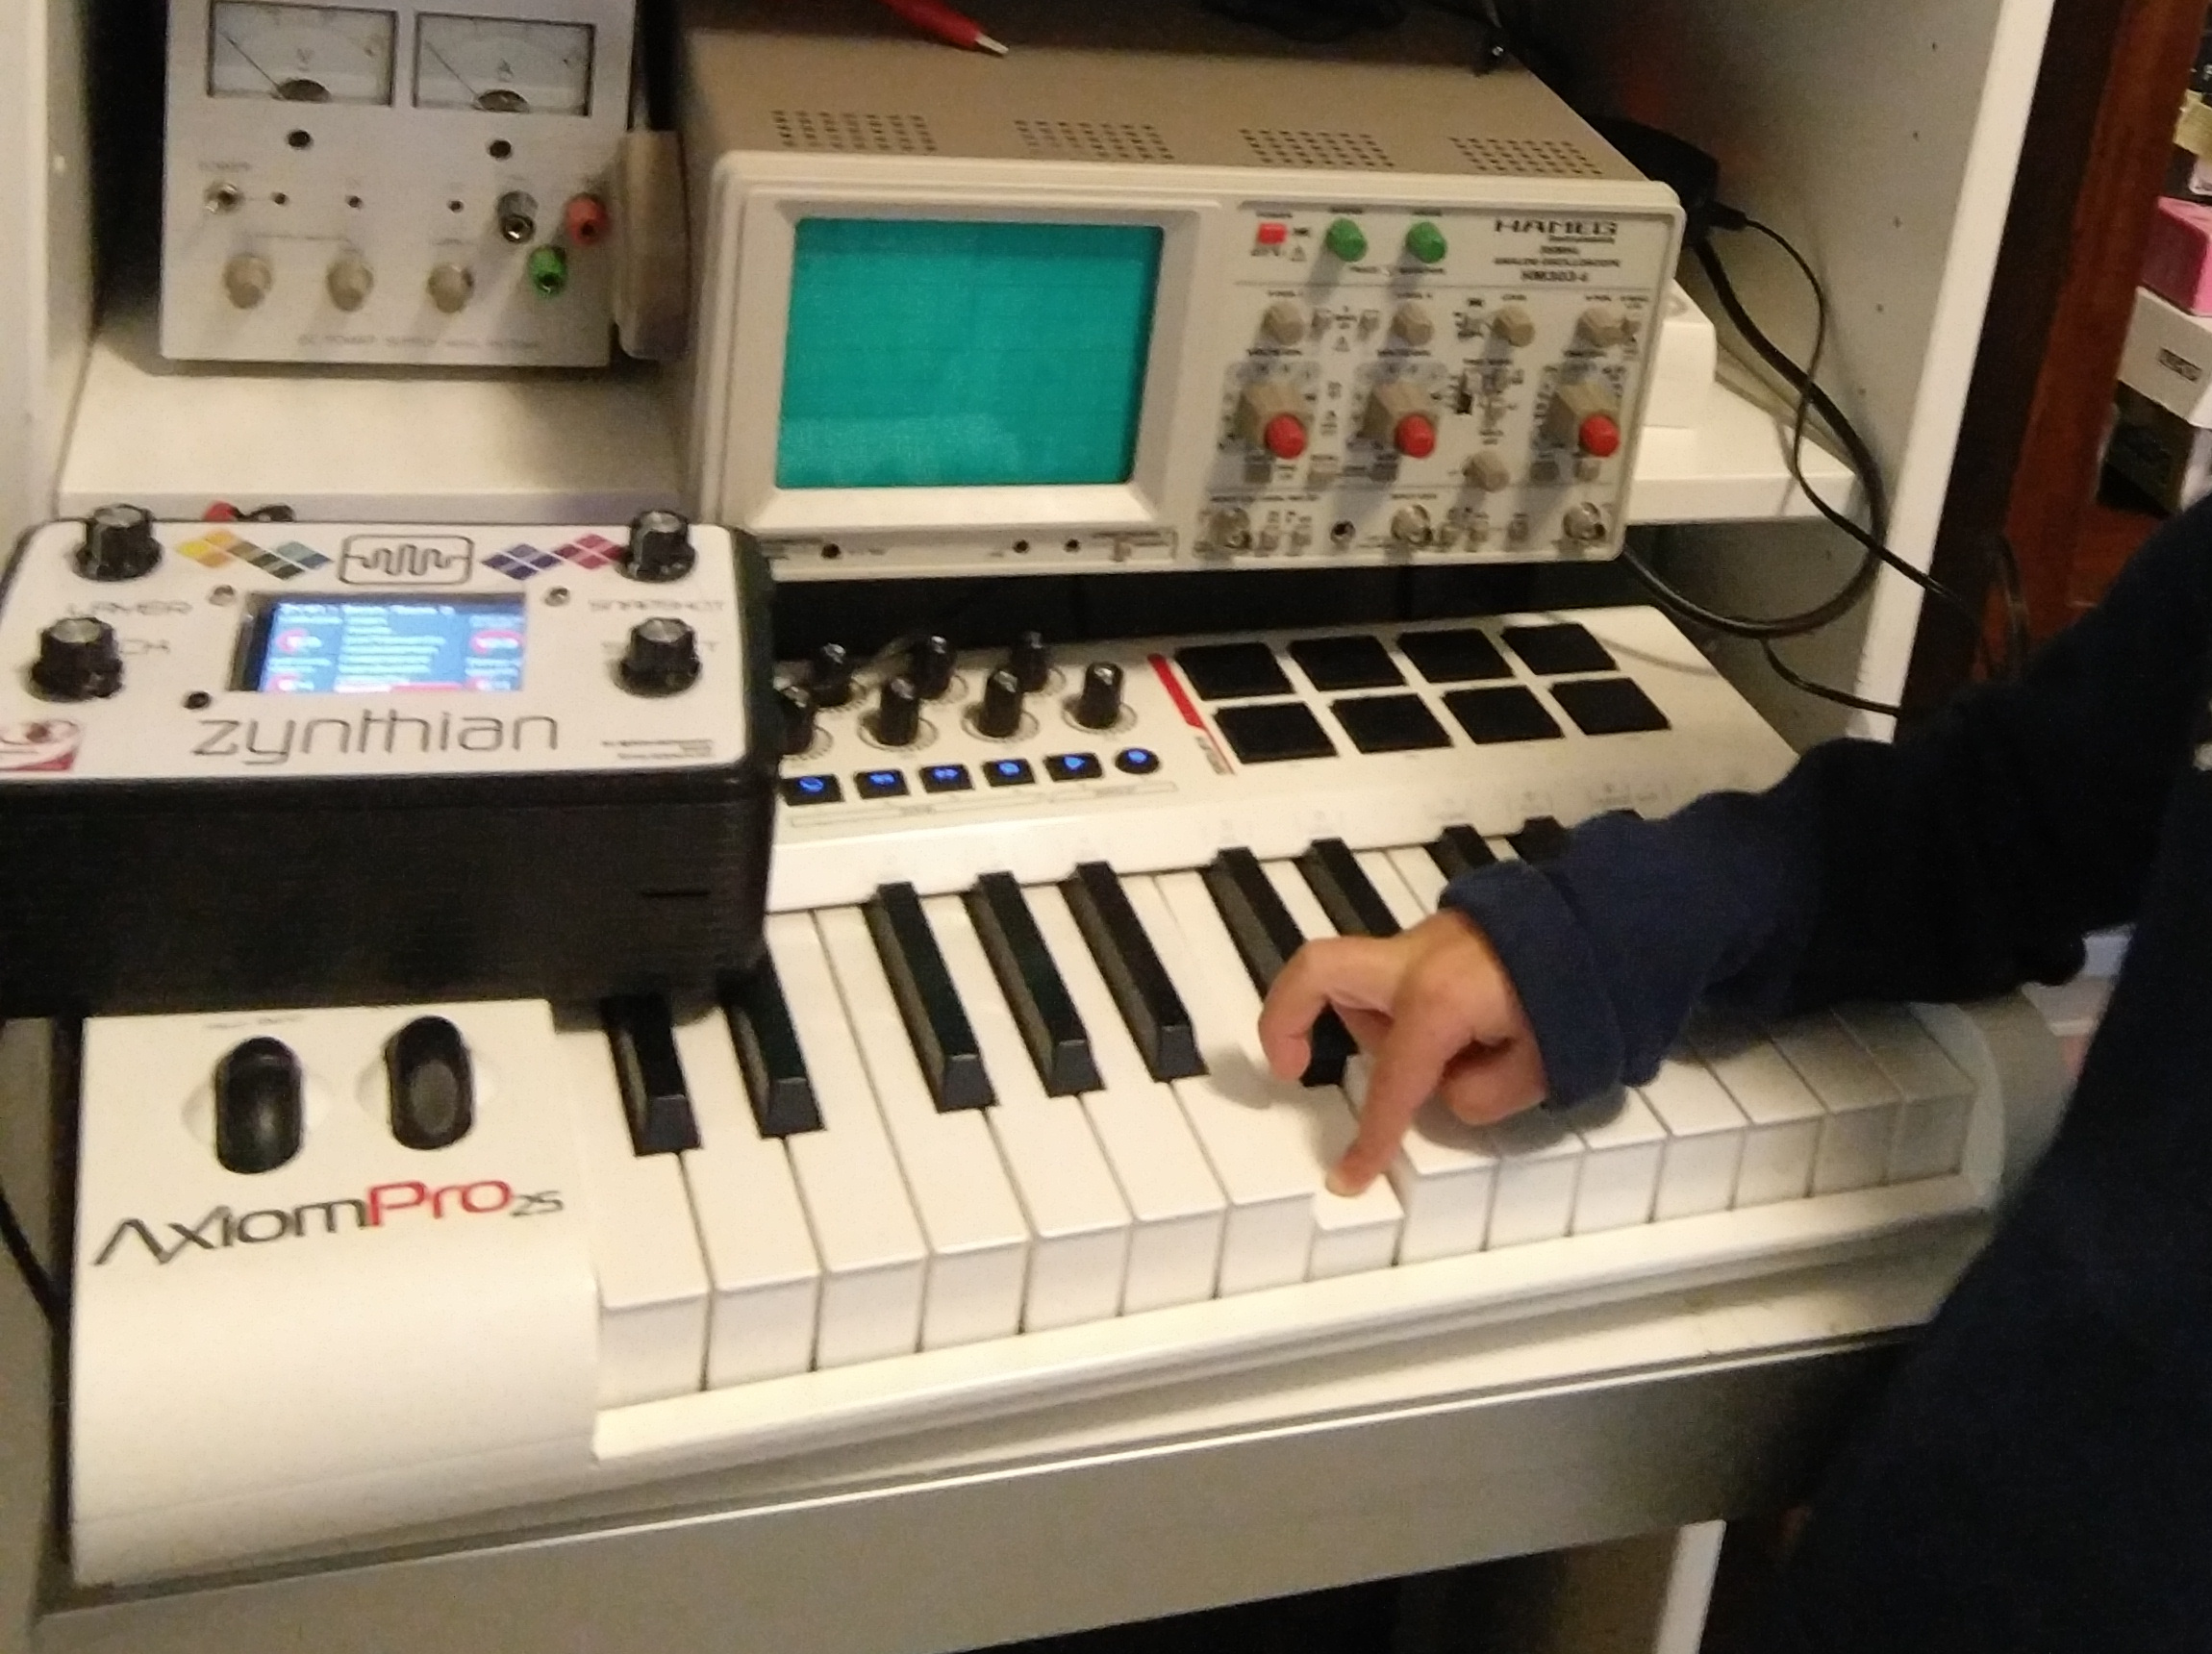
I had some problems with the MIDI communication with my keyboard (a borrowed M-Audio AxiomPro25) but I was helped by a friend. I had to configure correctly the MIDI ouput of the keyboard.
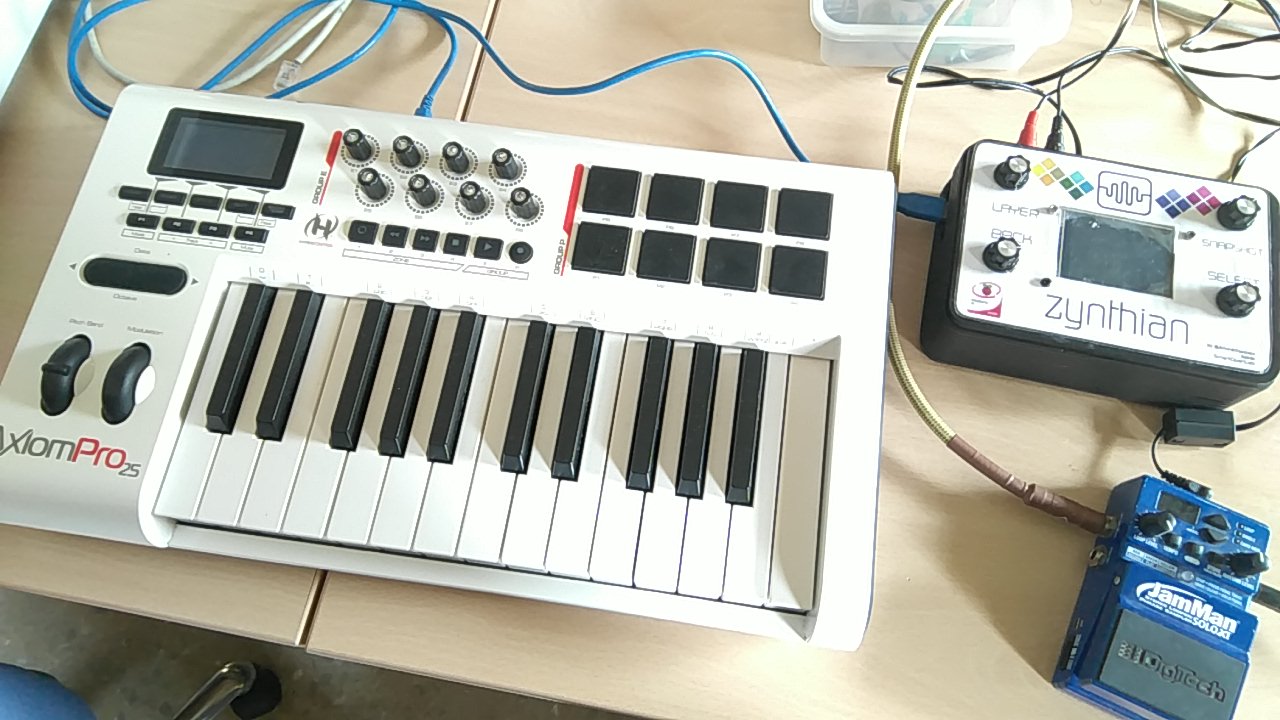
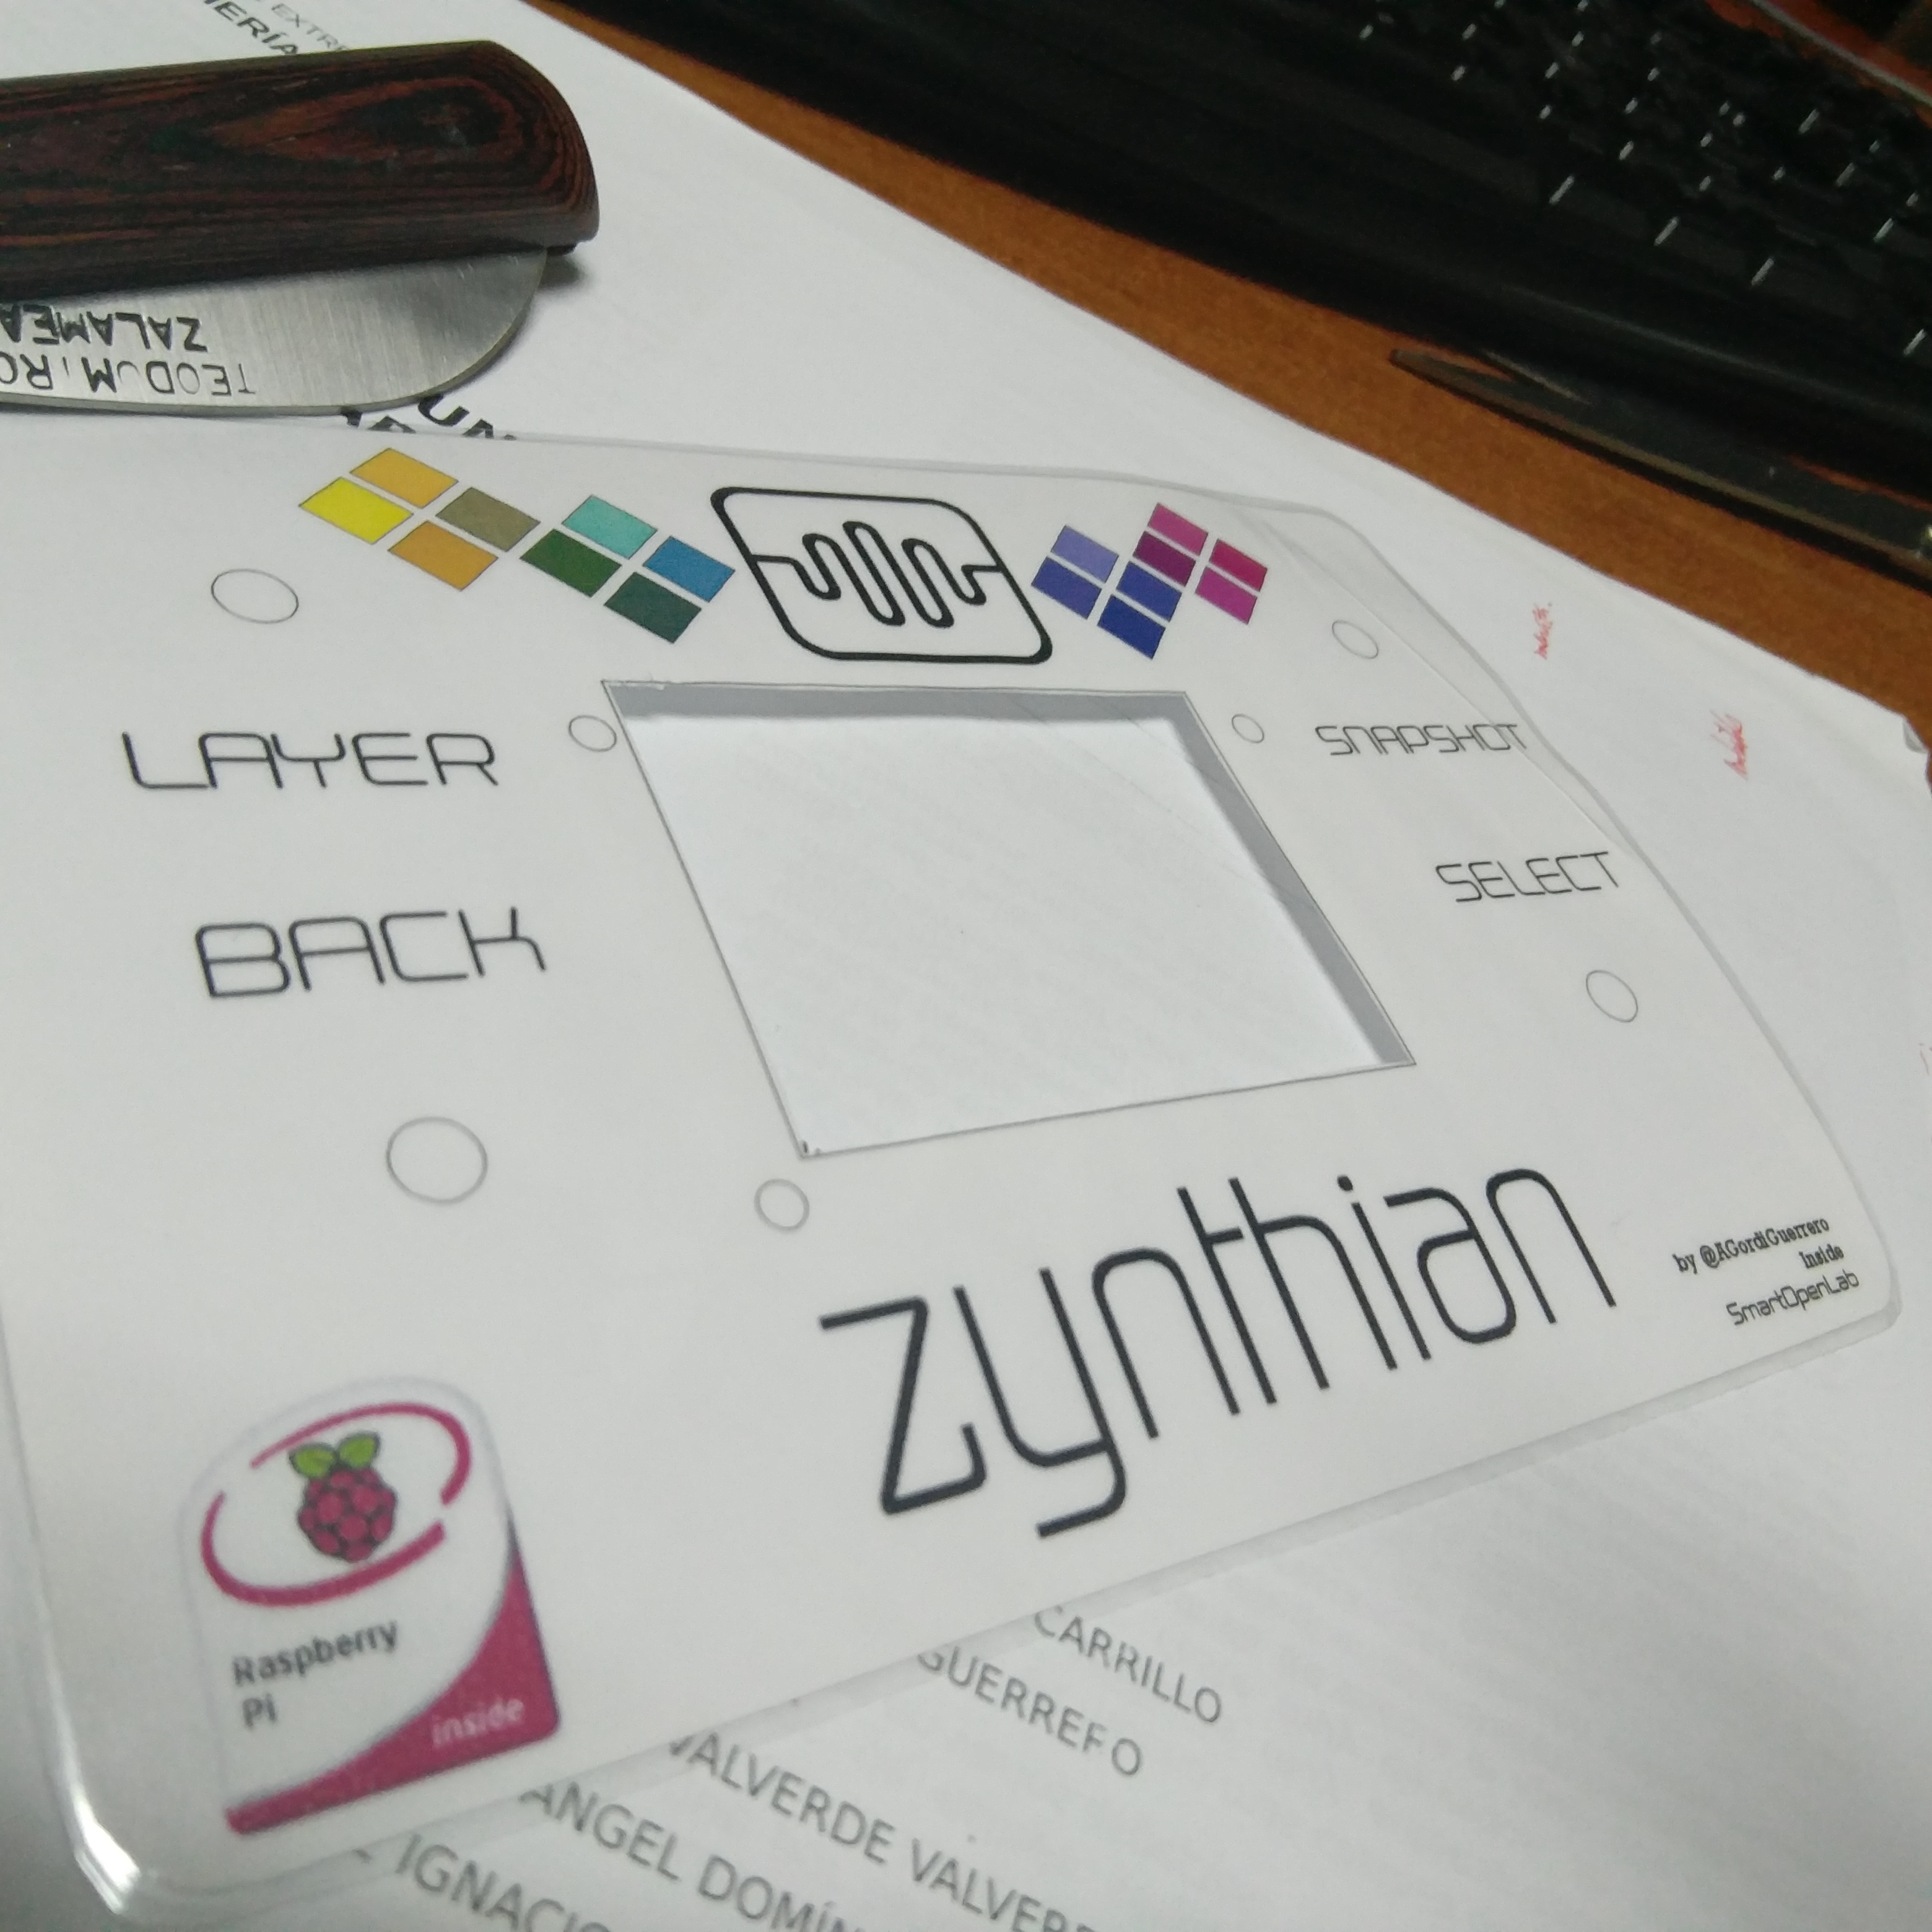
I share the link of the “decal” we designed to cover the case. We still do not have too much to share…
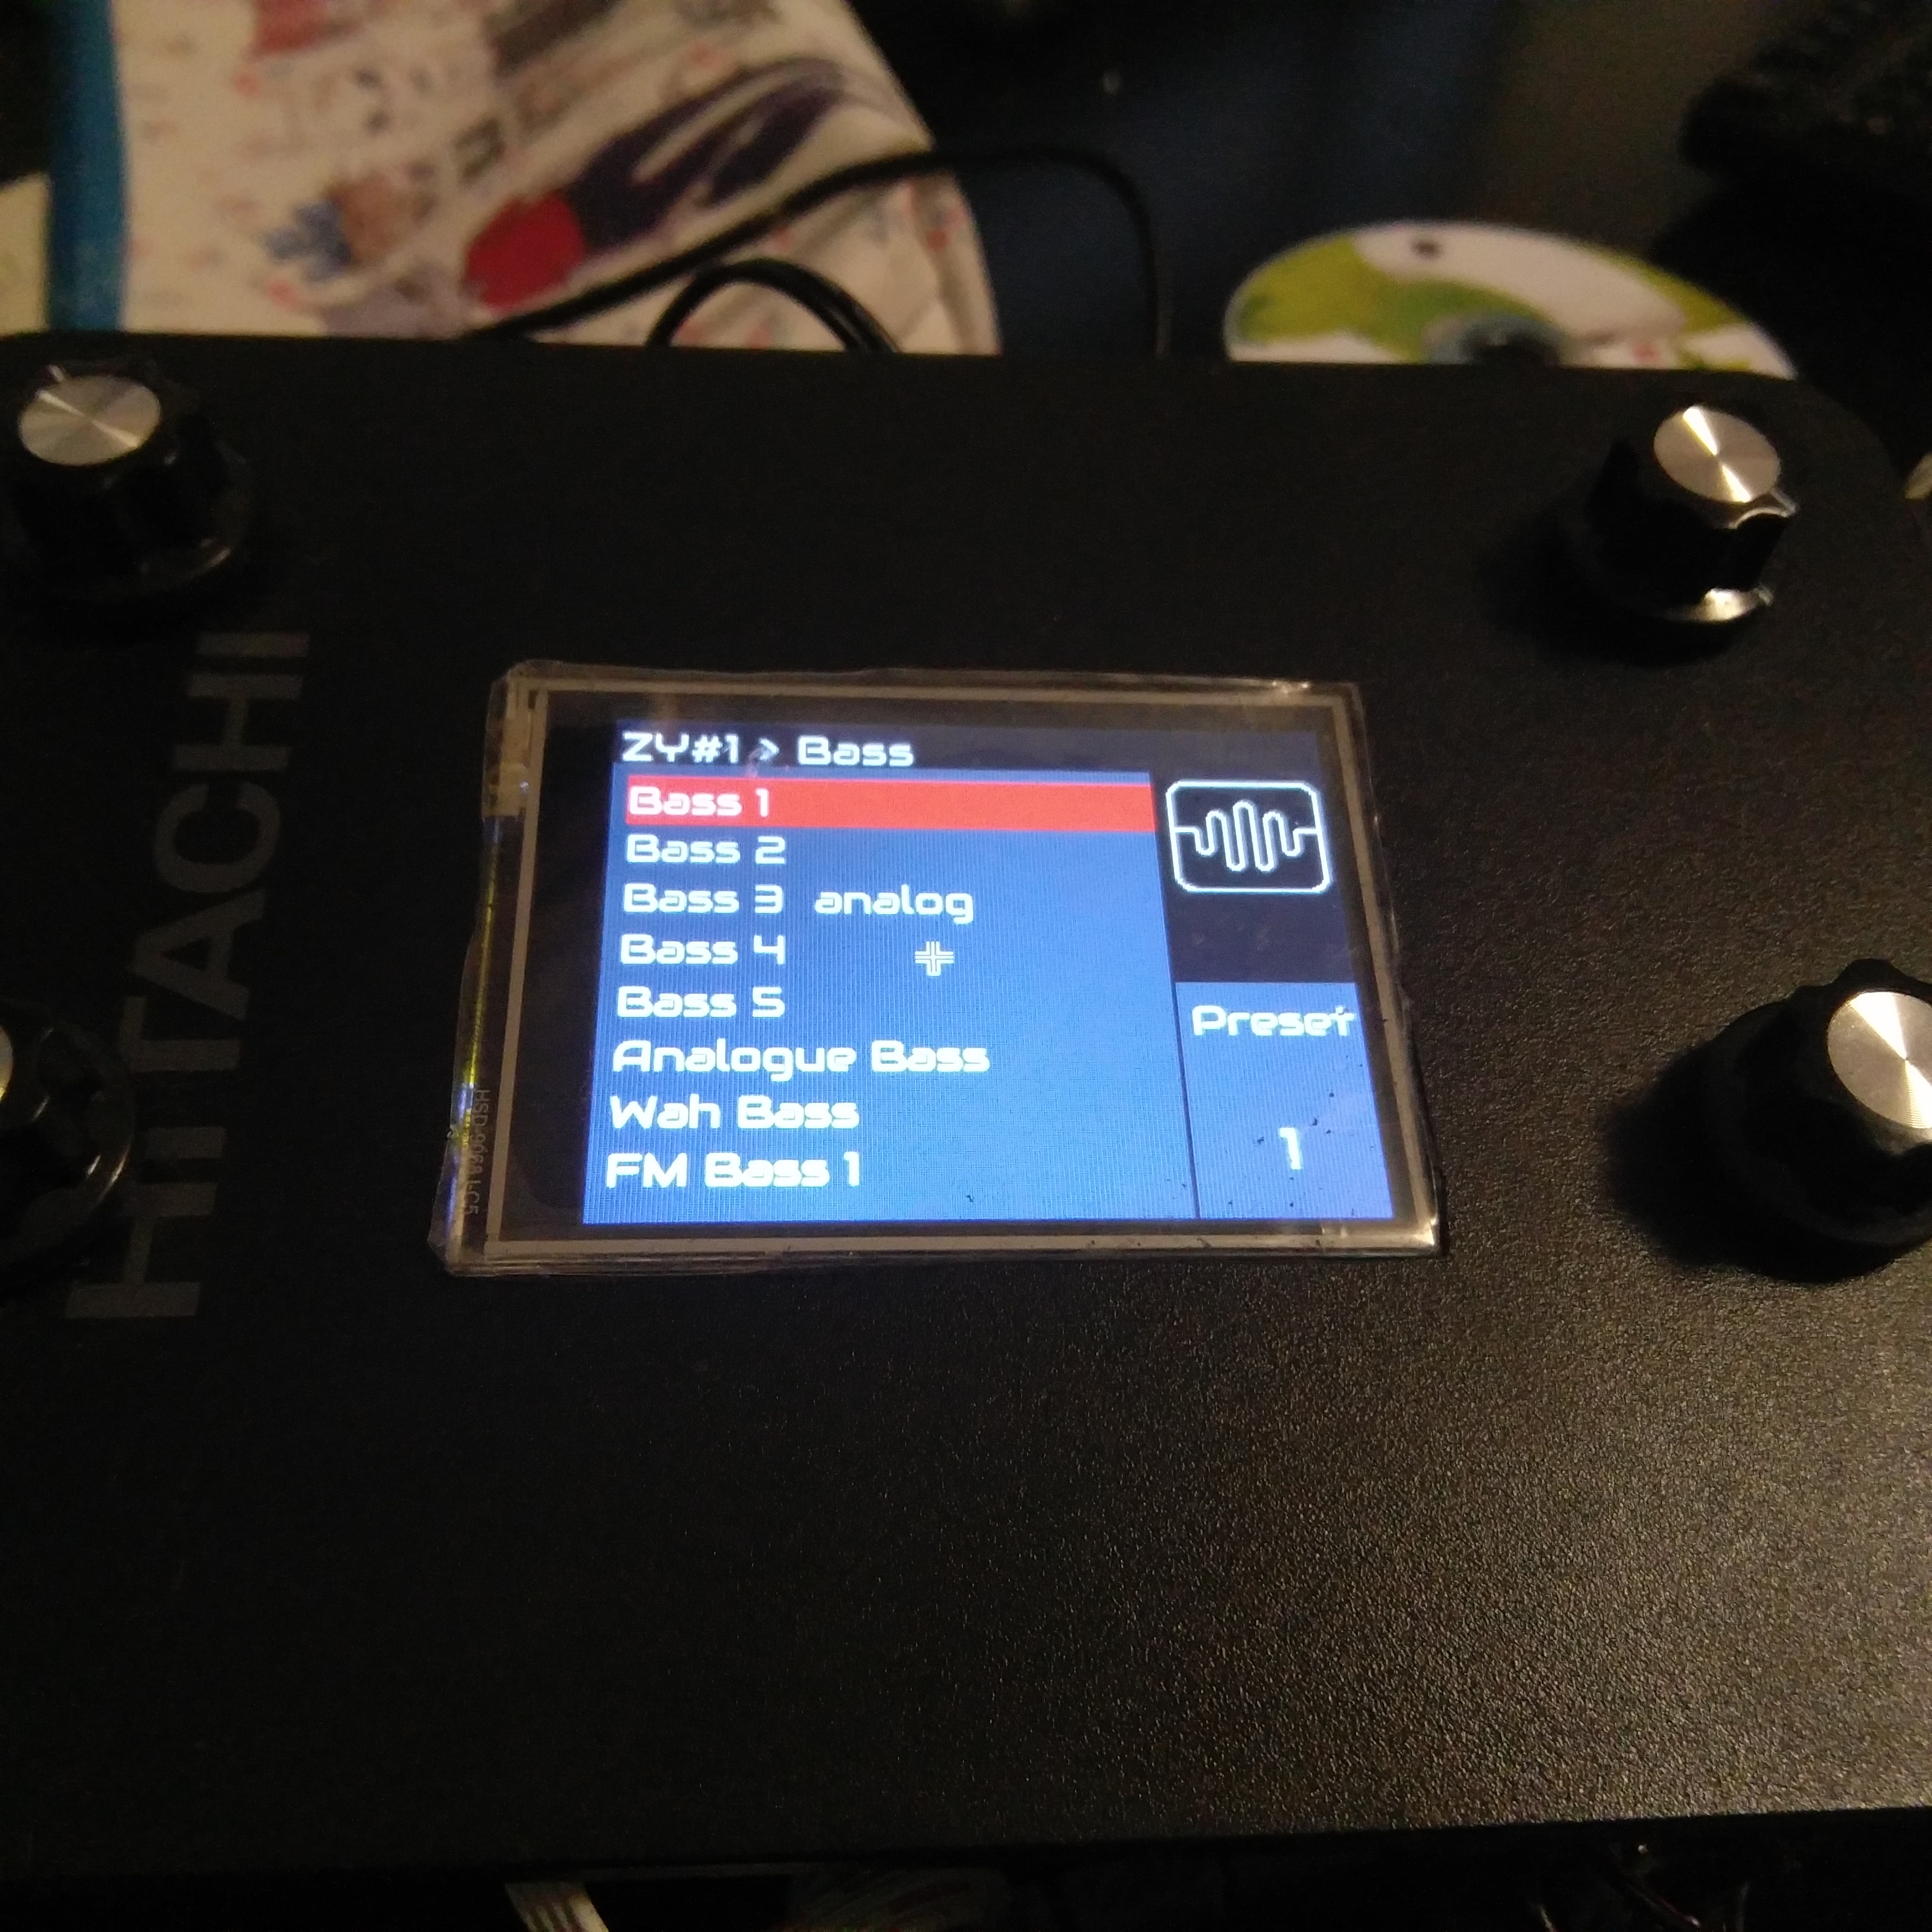
We are using it since some days, nicely and without problems. We were even using it with many children last friday and was a success. We use it with an external looper and could have thousands of fun hours of live music. We use the standard version of the OS without any add-on.
We have at least two next steps to perform:
-
Include the looper inside Zynthian. I think it is already done.
-
Include an audio input (maybe via AudioInjector) for processing the electric guitar. We have quite experience doing stompboxes and amplifiers (I have too much of them!) but I would also like to have a portable digital processor. Zynthian seems perfect.
I think there is already good information in this forum. We will study it.
We only can give thanks and more thanks! to all the contributors on this project. It is amazing and very rewarding. And we have just done the version V0.1 of box… hehehe
We will continue spreading the project and trying to help with the next developments.
We will try to record some videos in the next weeks. Please, excuse the low quality of the photos. Mobile phones…
All the best!
8 Likes
Cme UF5 Zynthian
After x hours with the dremel I finally got Zynthian installed inside my good ol’ CME usb keyboard.
Only thing I could wish for is a 3d printer frame round the screen…


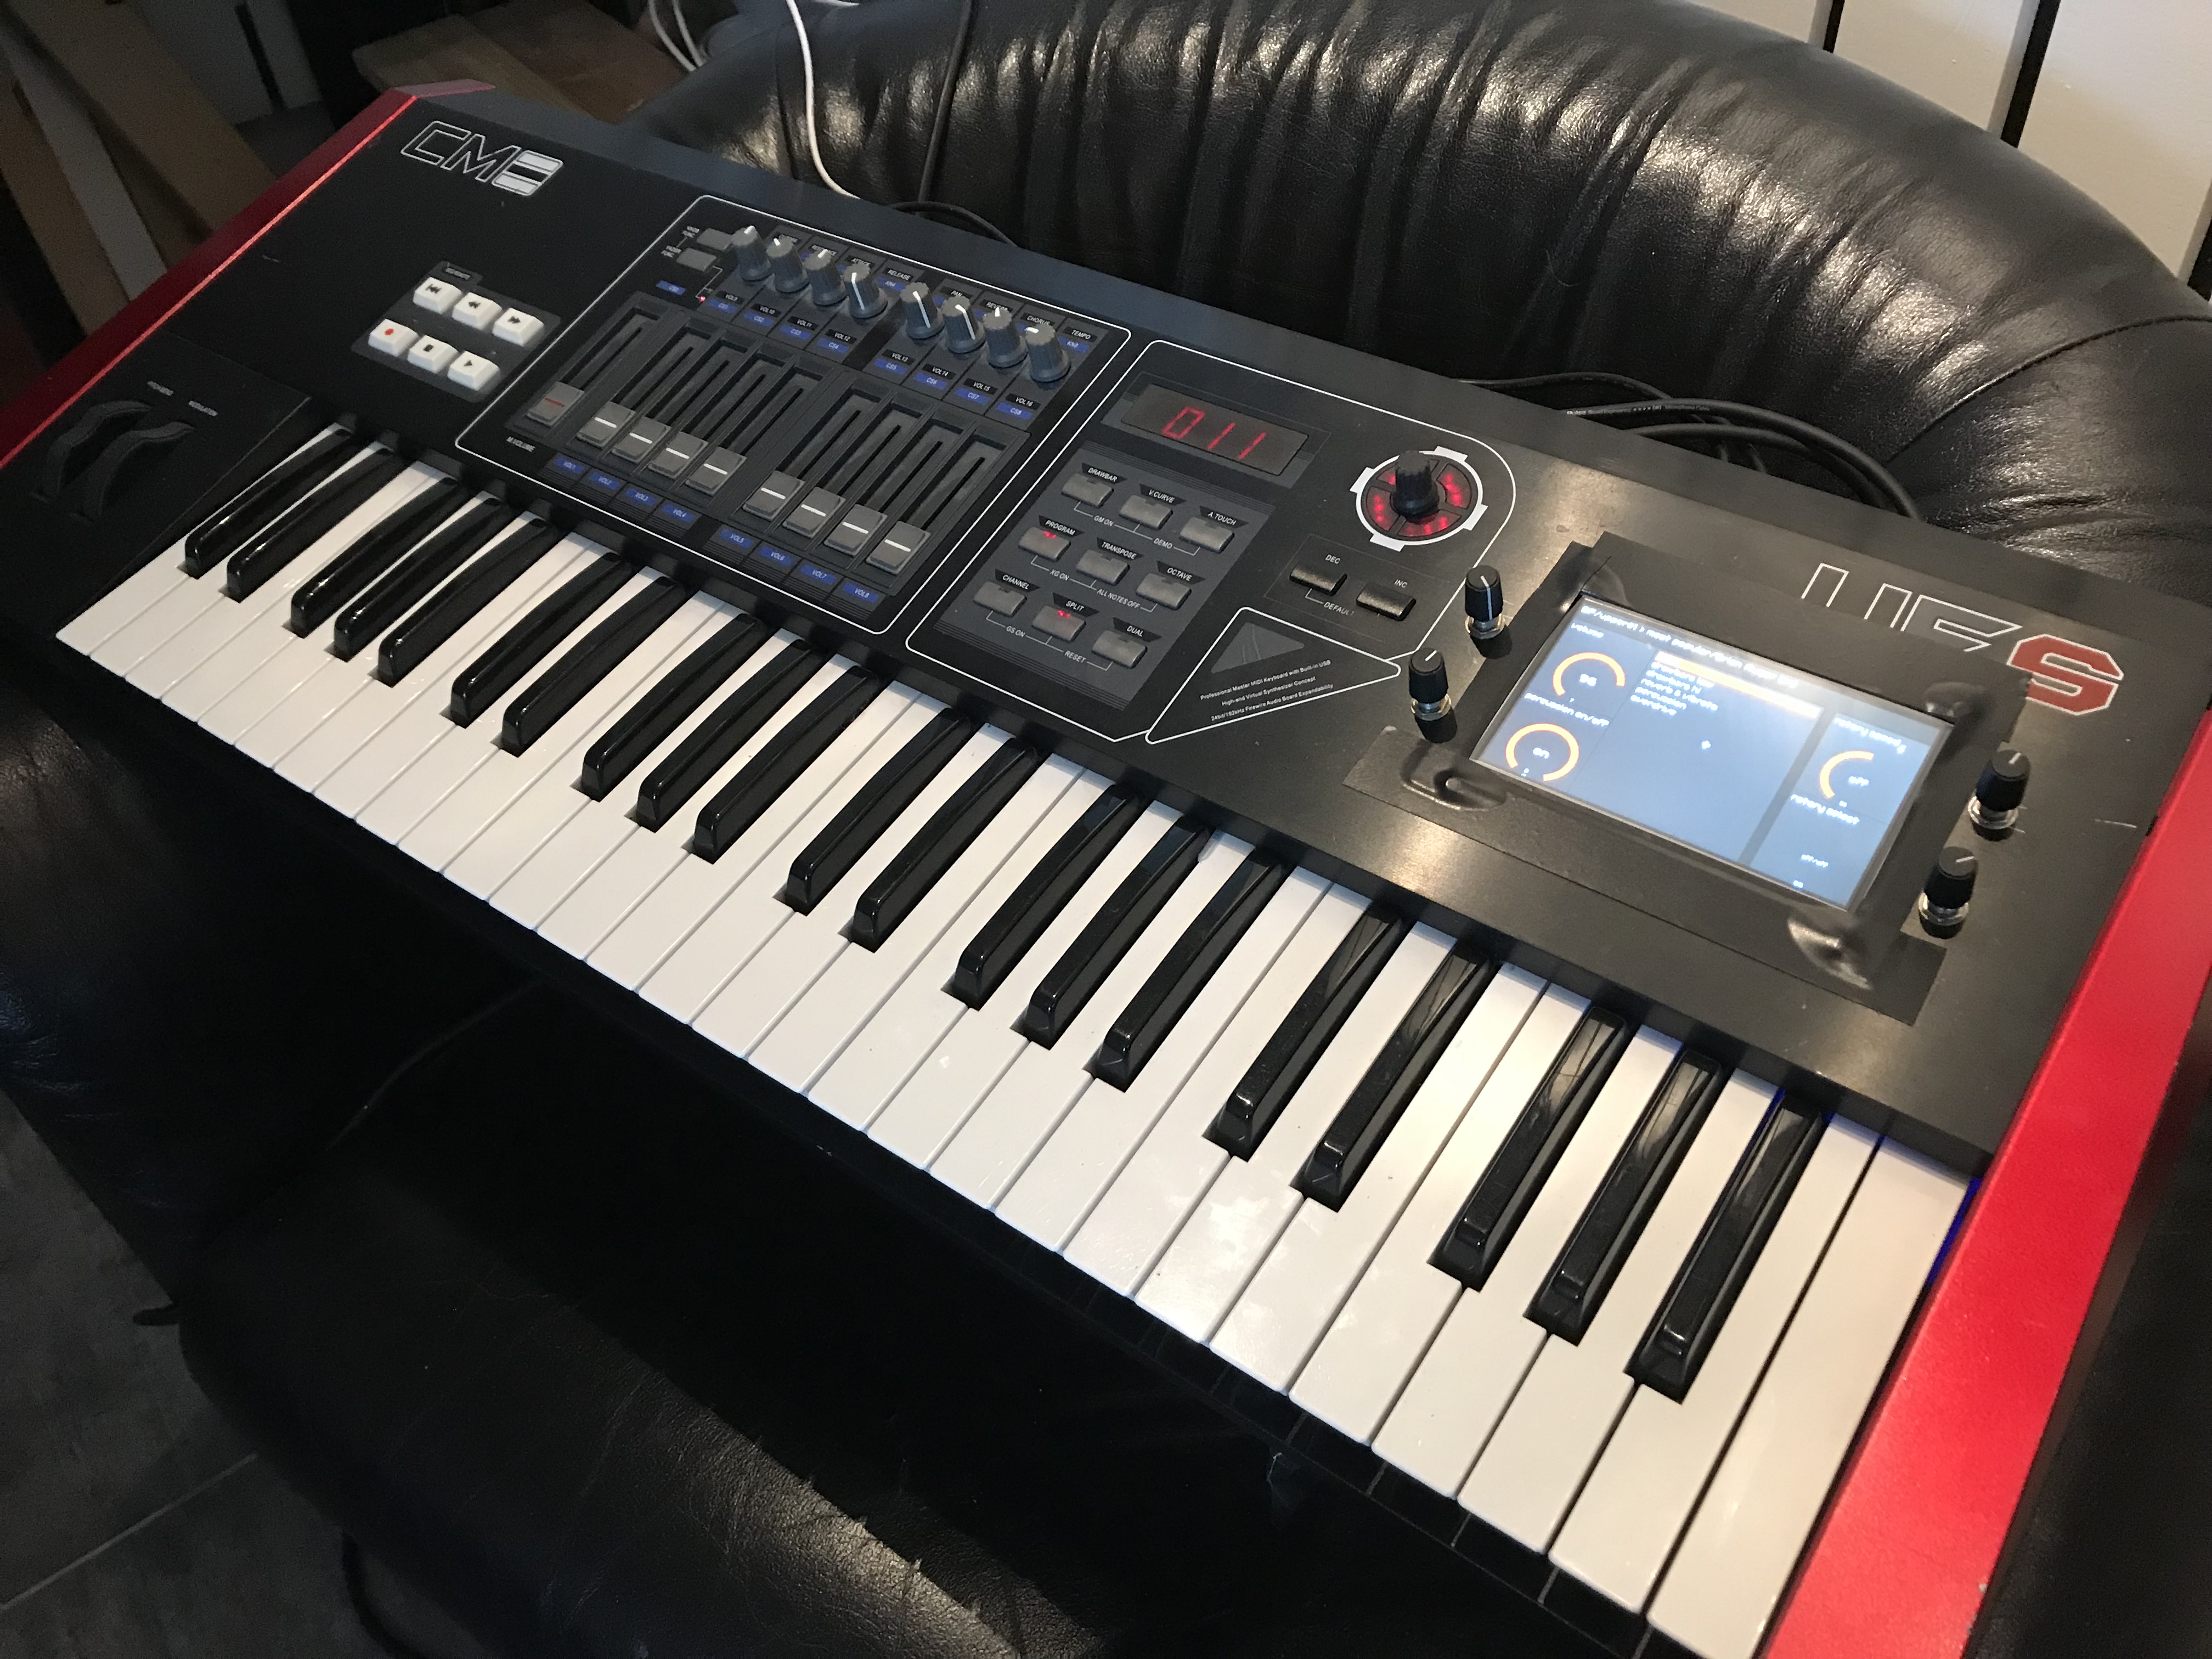
Hardware:
Raspberry Pi 3, Adafruit 5" hdmi, Audioinjector soundcard, Prototype4 wiring.
I have all pots “directly” wired to gpio (no all in one module), thus only the two lower pots have switches.
12 Likes
It’s really a nice Zynthian “Case”  Congratulations!!
KUDOS!! You beat me to it! Beautifully executed design! I’ve been working on this exact thing for the last week. Mines a-lot different however.
2 Likes

Three zynthian minors arguing over an HDMI connector . . .
One hifi berry Amp one Audio Injector & and an Audio Injector zero . . .
3 Likes
What a happy zamily!! 
1 Like
whaouhhh ! Congratulations
1 Like
Hi guys!
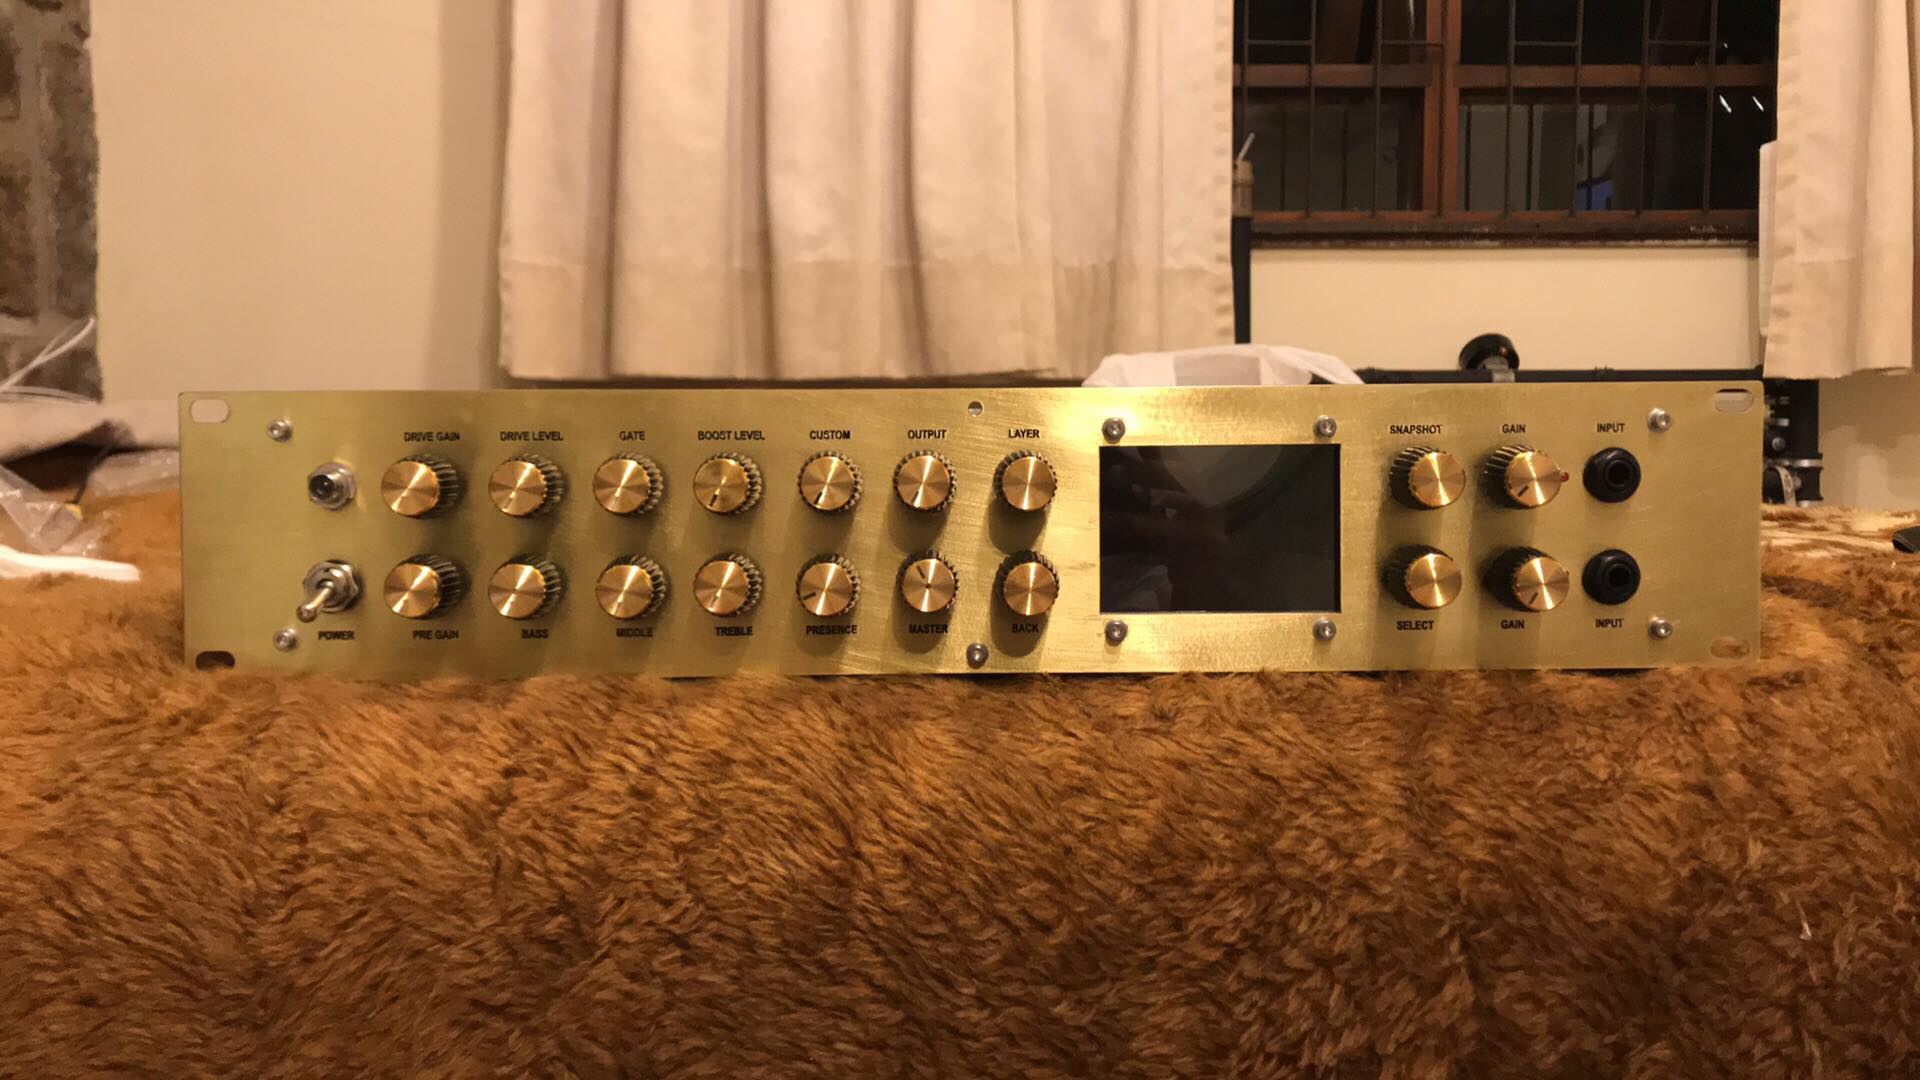
I made my Zynthian in a 19 "rack cabinet.
The idea is to use mainly with guitar, so I chose to use the audio injector.
I did some extra circuits too:
-
A simple preamp for each channel, with a peak indicator light
-
A controller made with arduino, with 12 potentiometers
-
For the encoders I made a simplified version of the plada with the MPC23017, the connection of the wires is done with soldering in the pins GPIO
I have not yet made the PCB for the MIDI connectors because I don’t need it now 
Here some pictures:
Front:

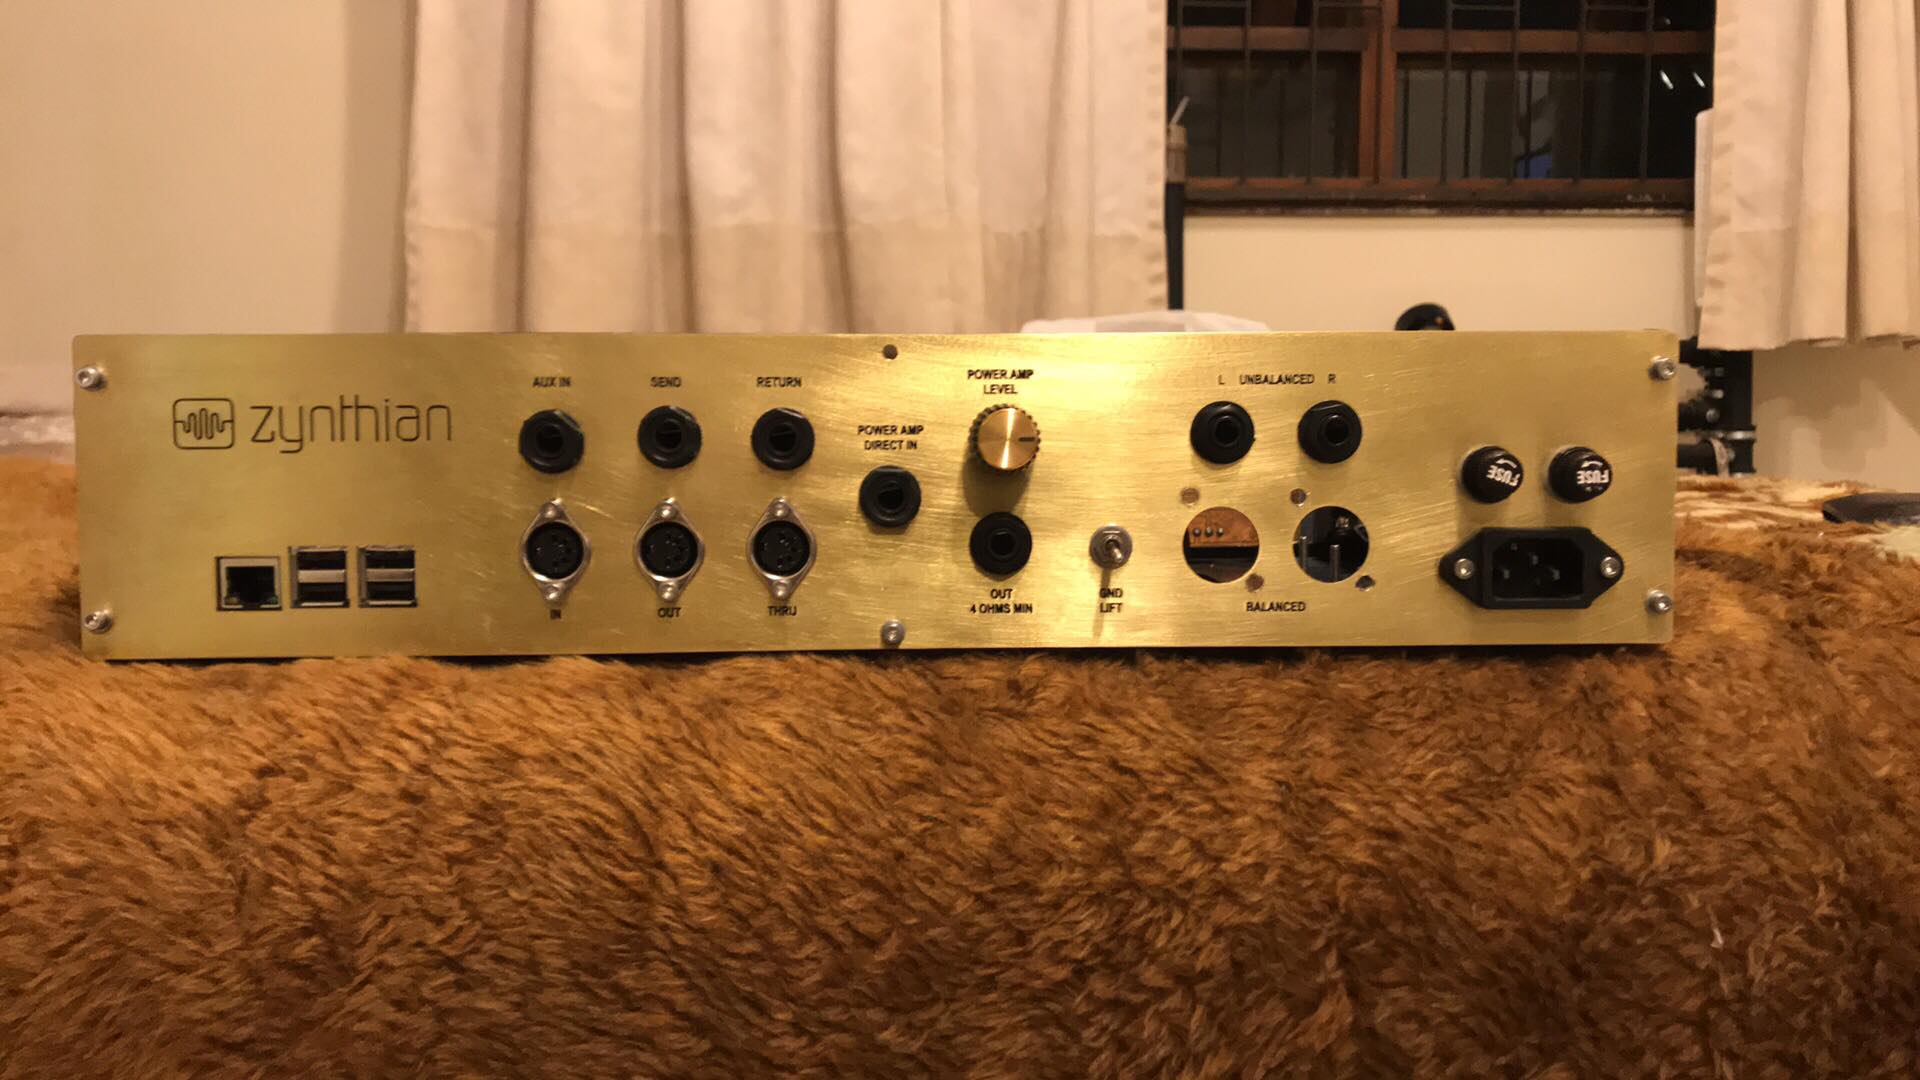
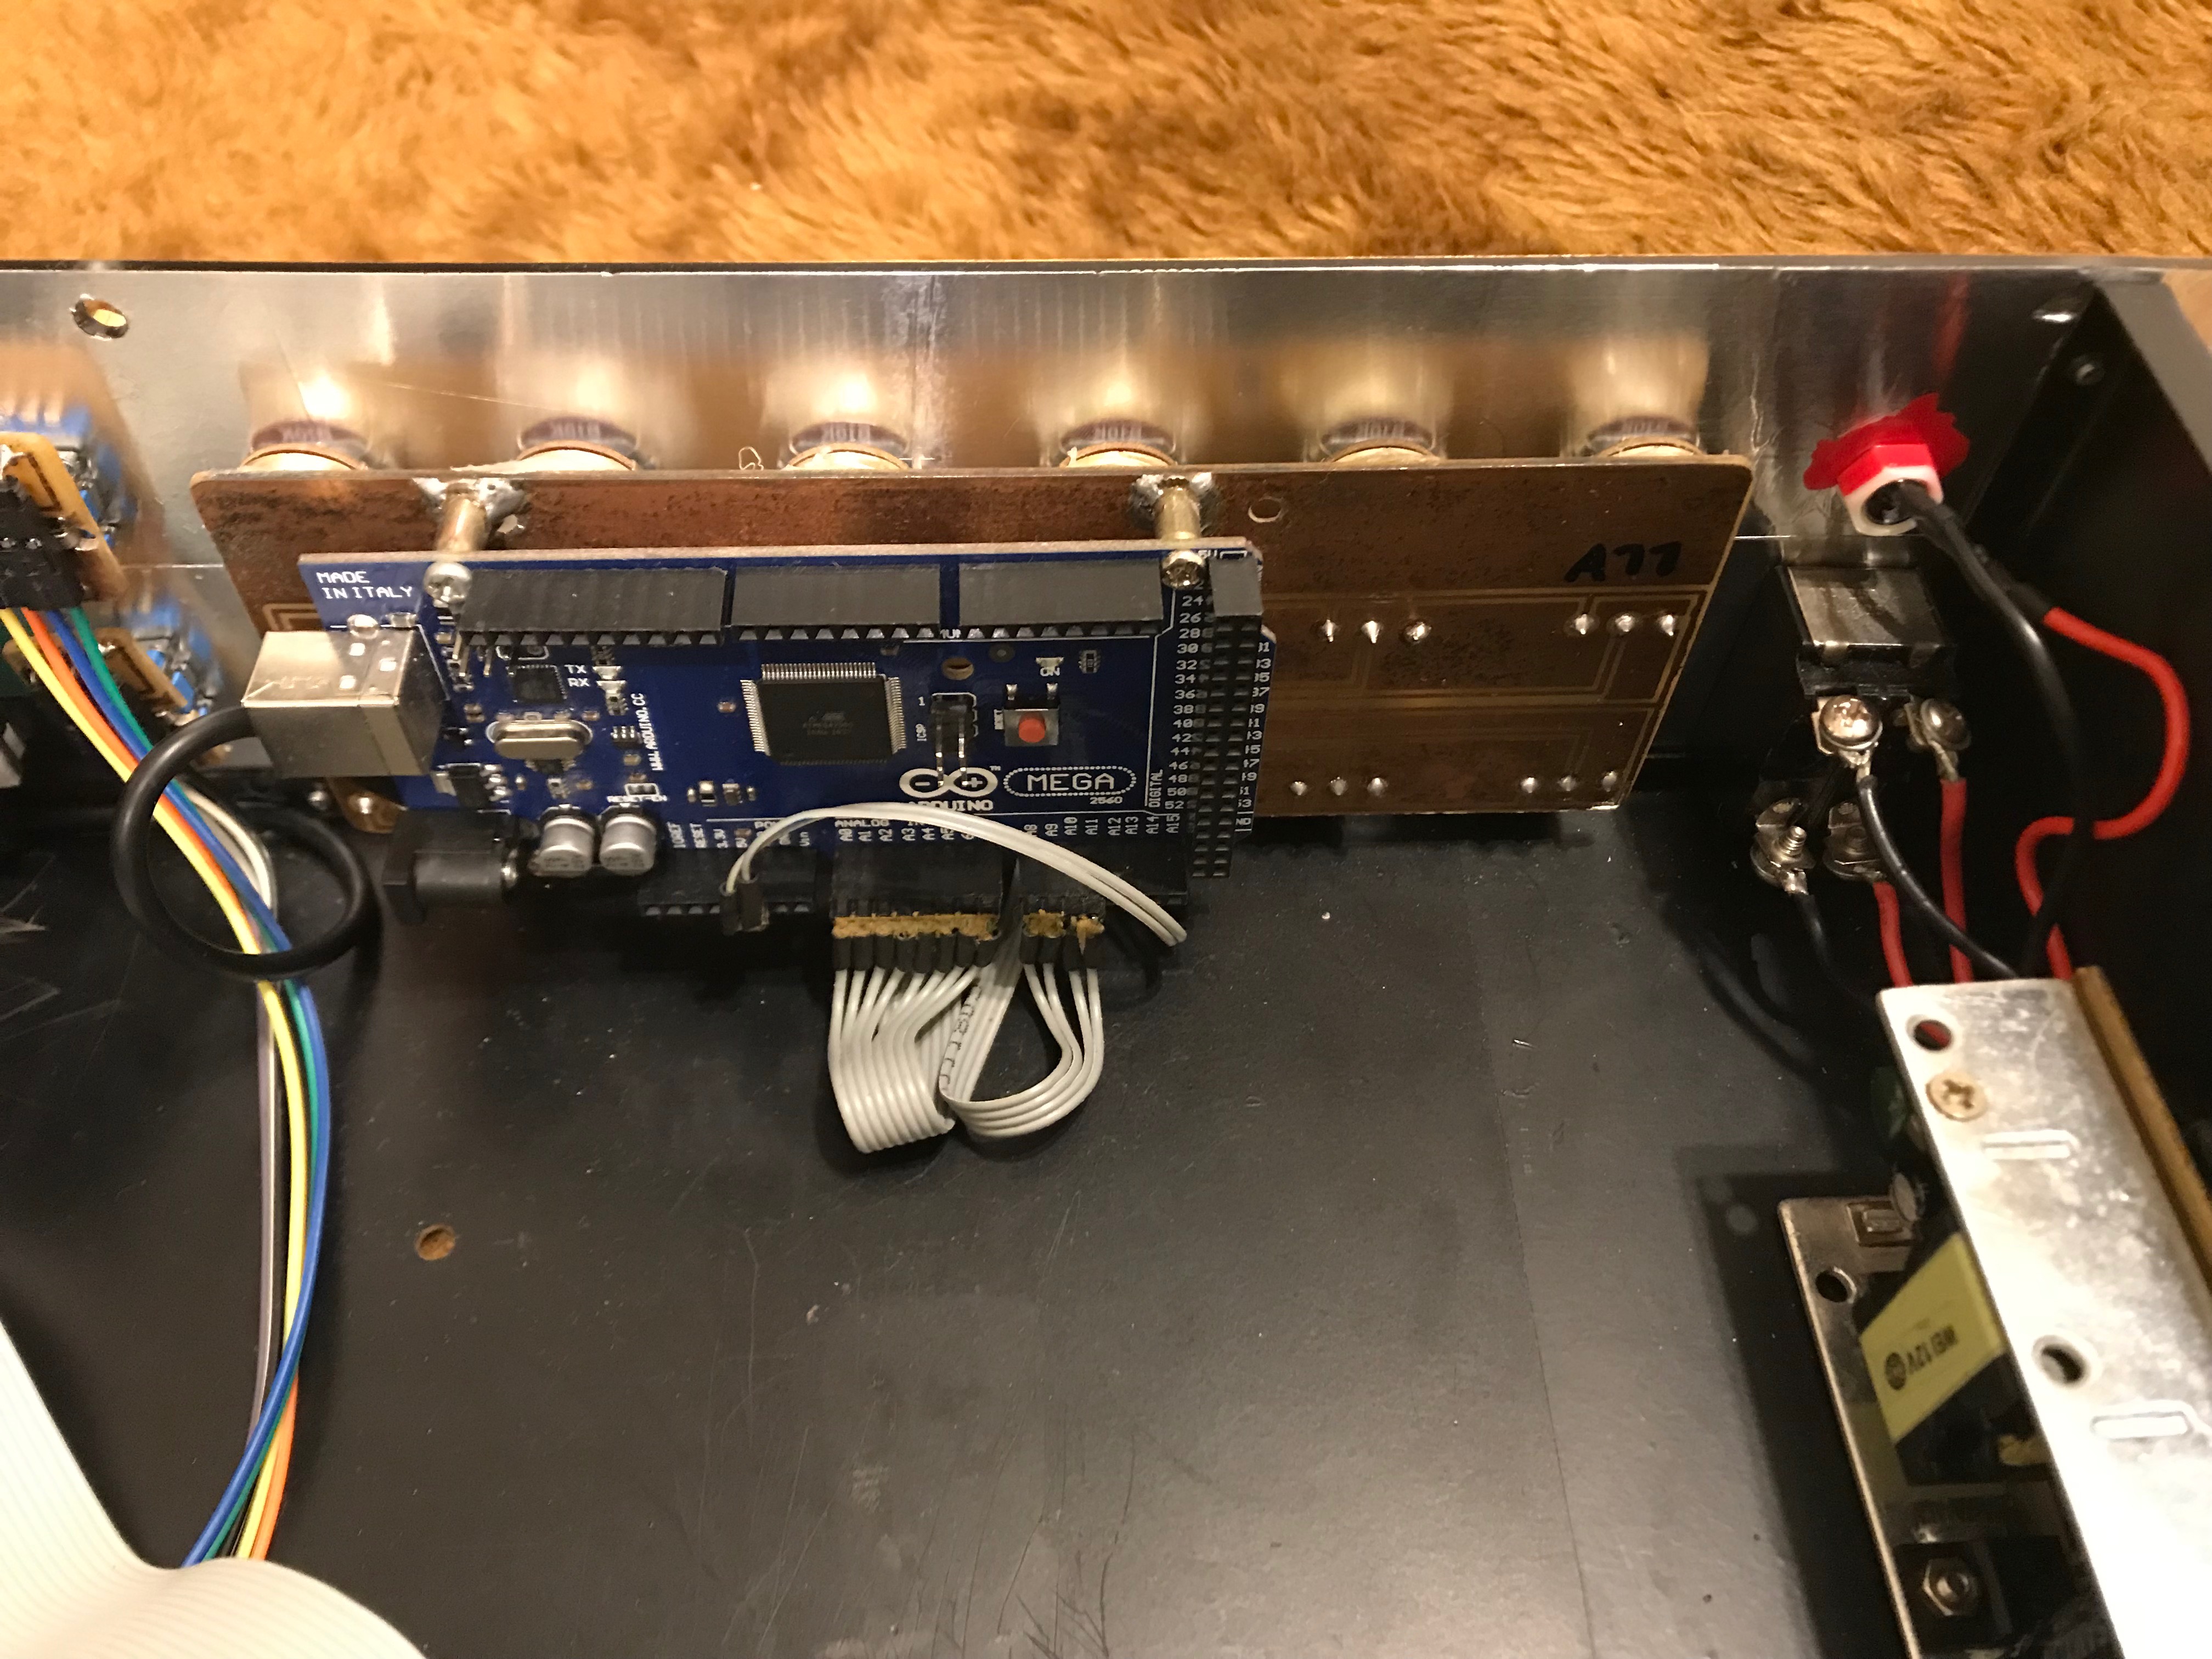
Back
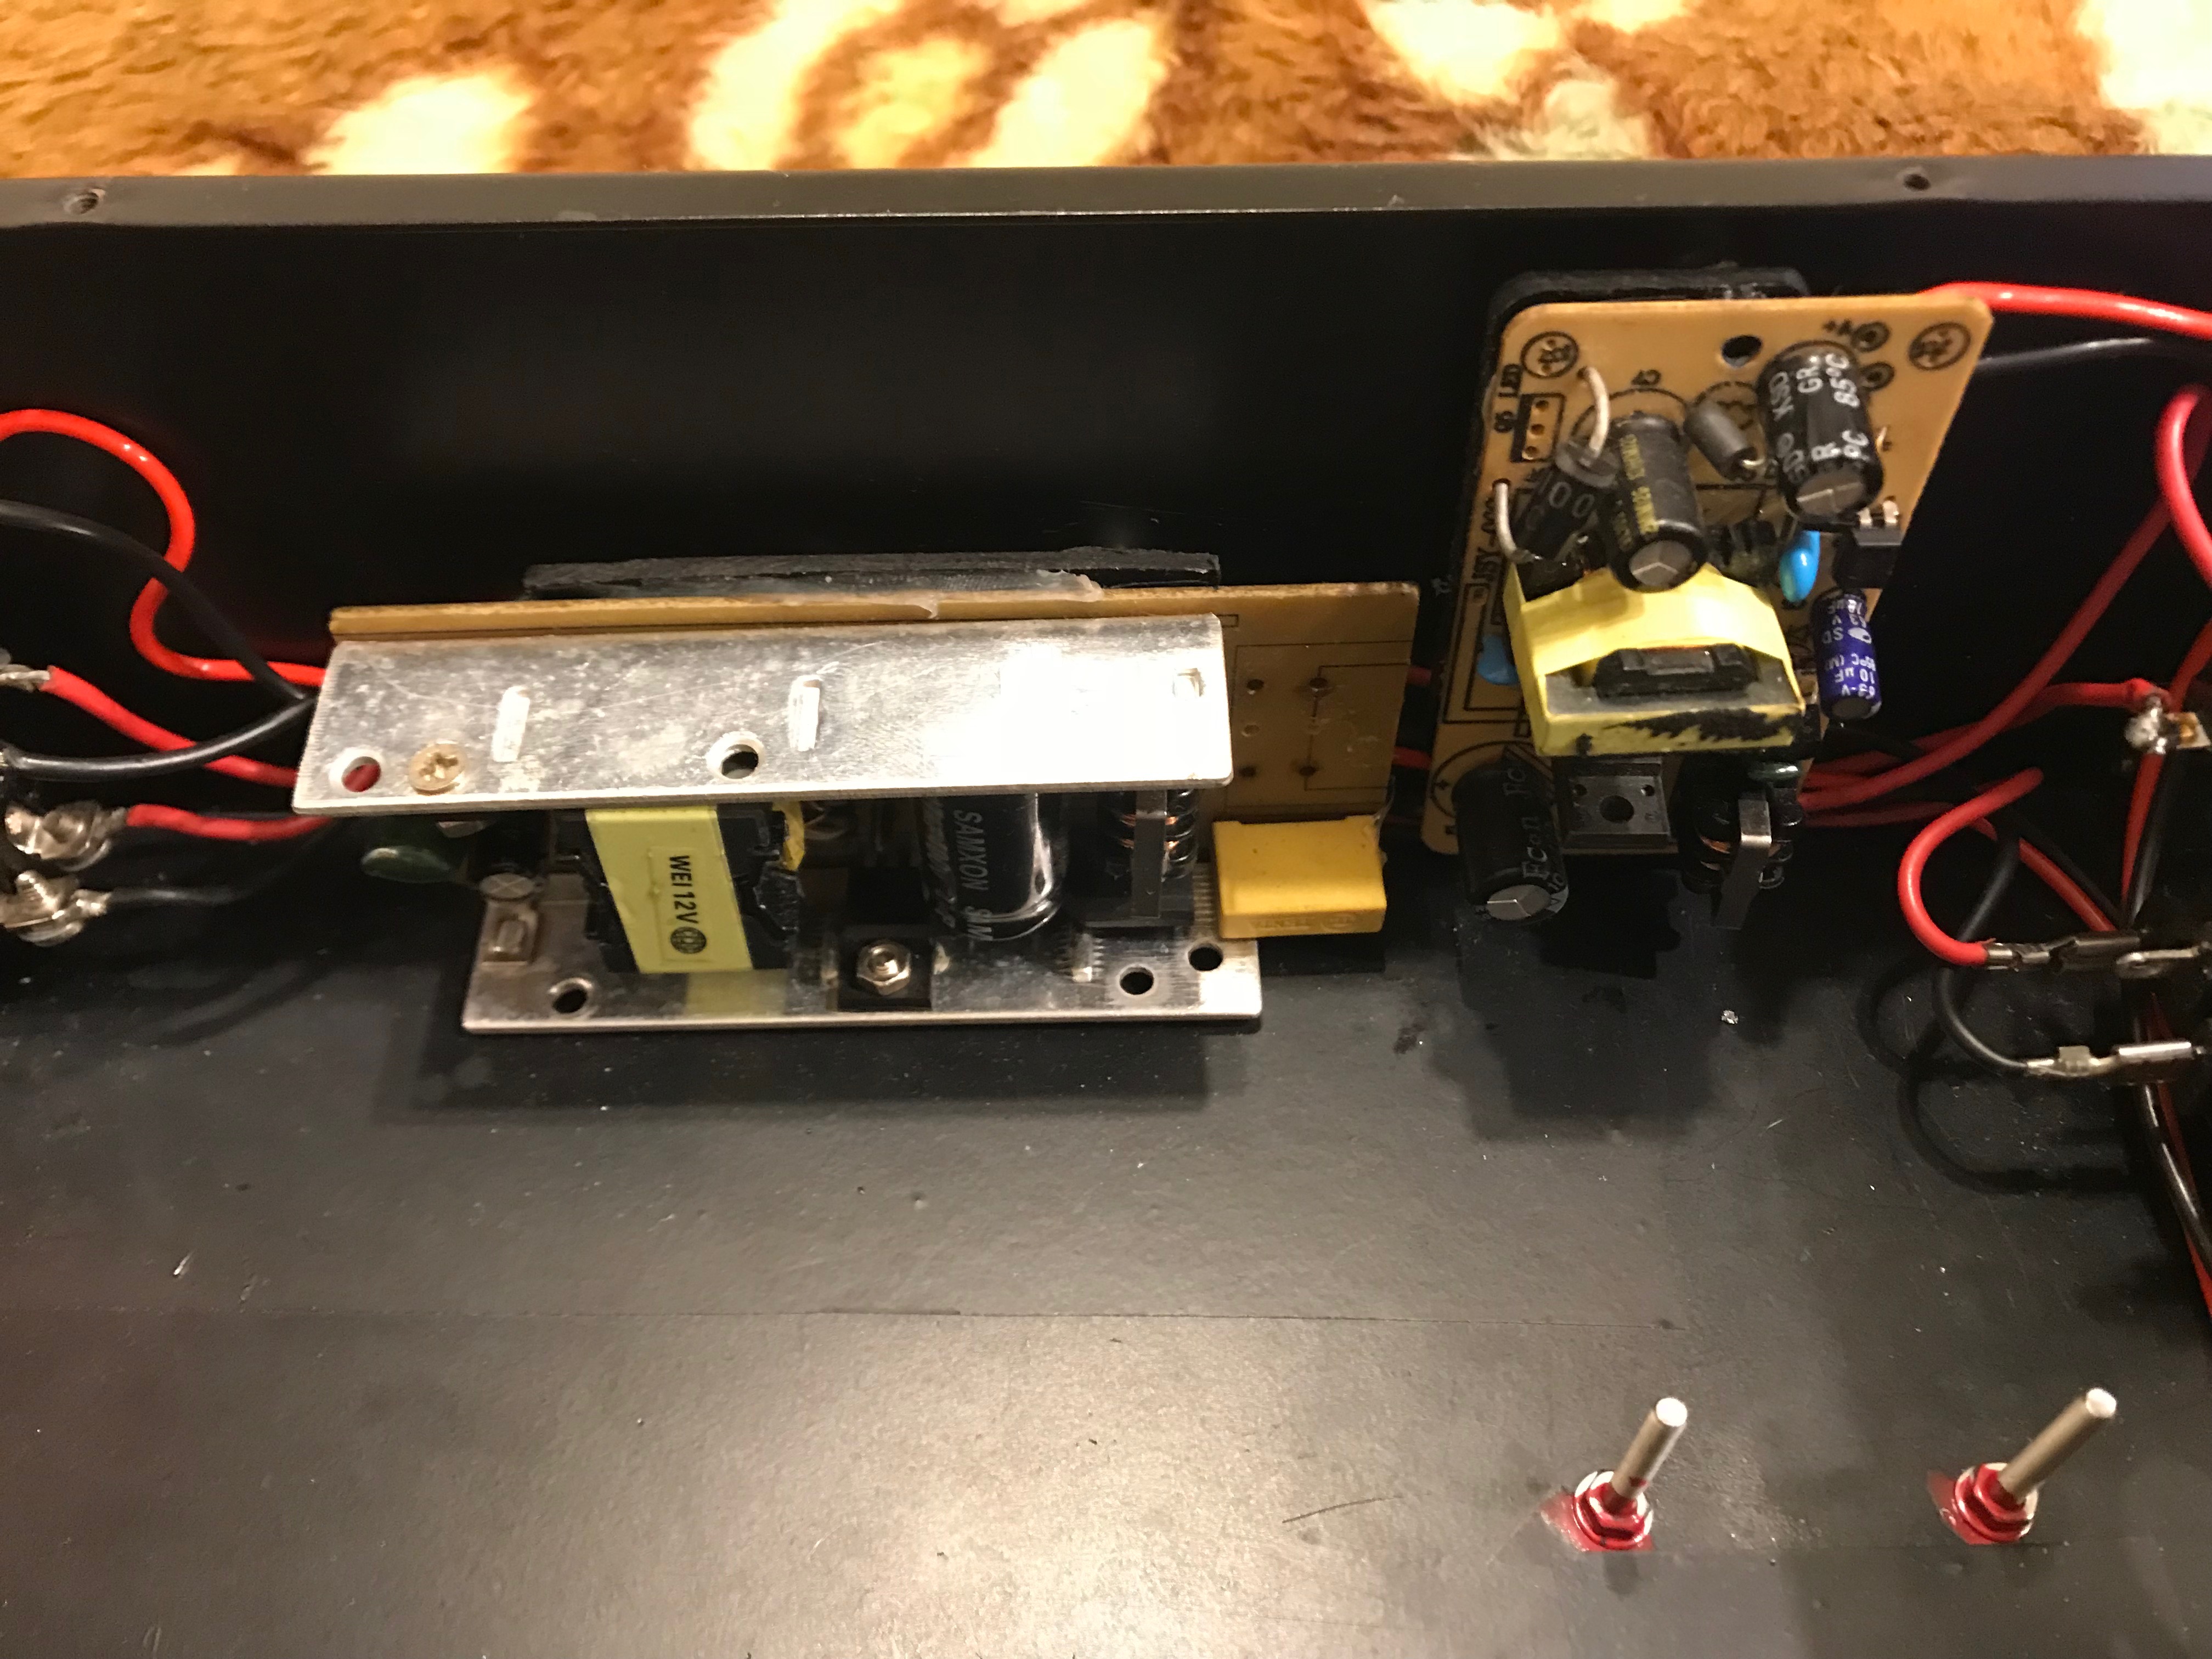
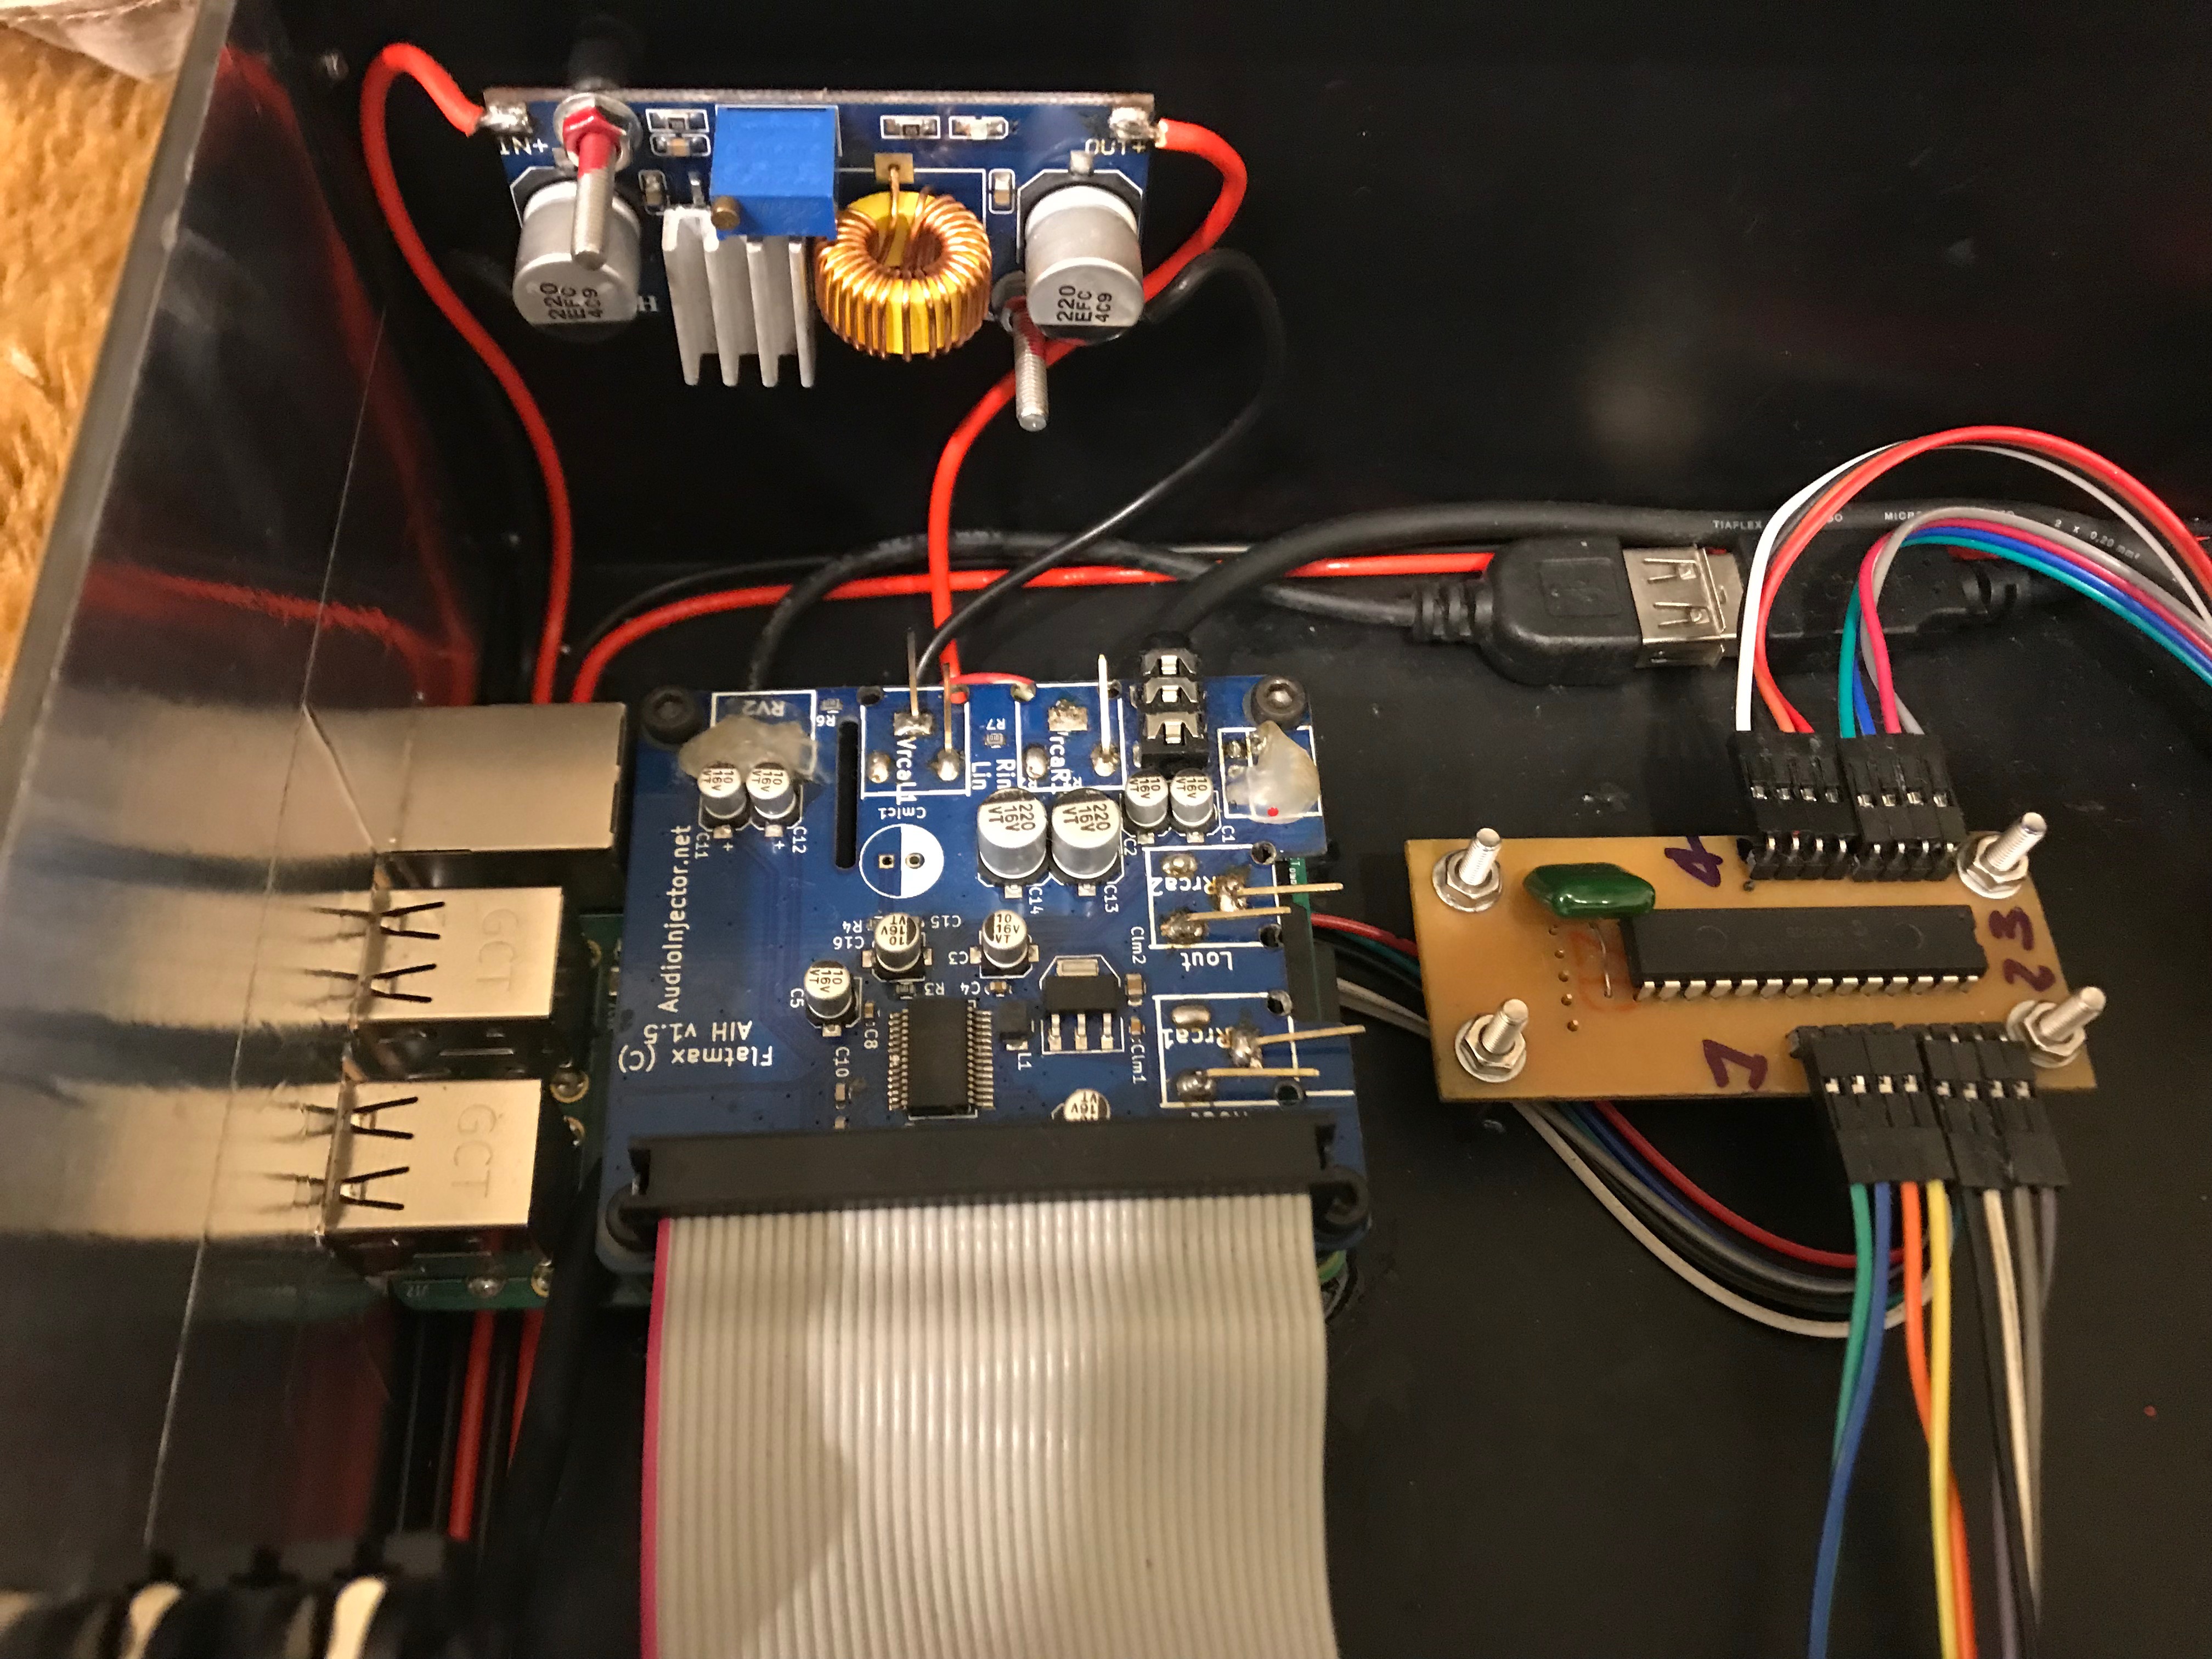
Power Supply
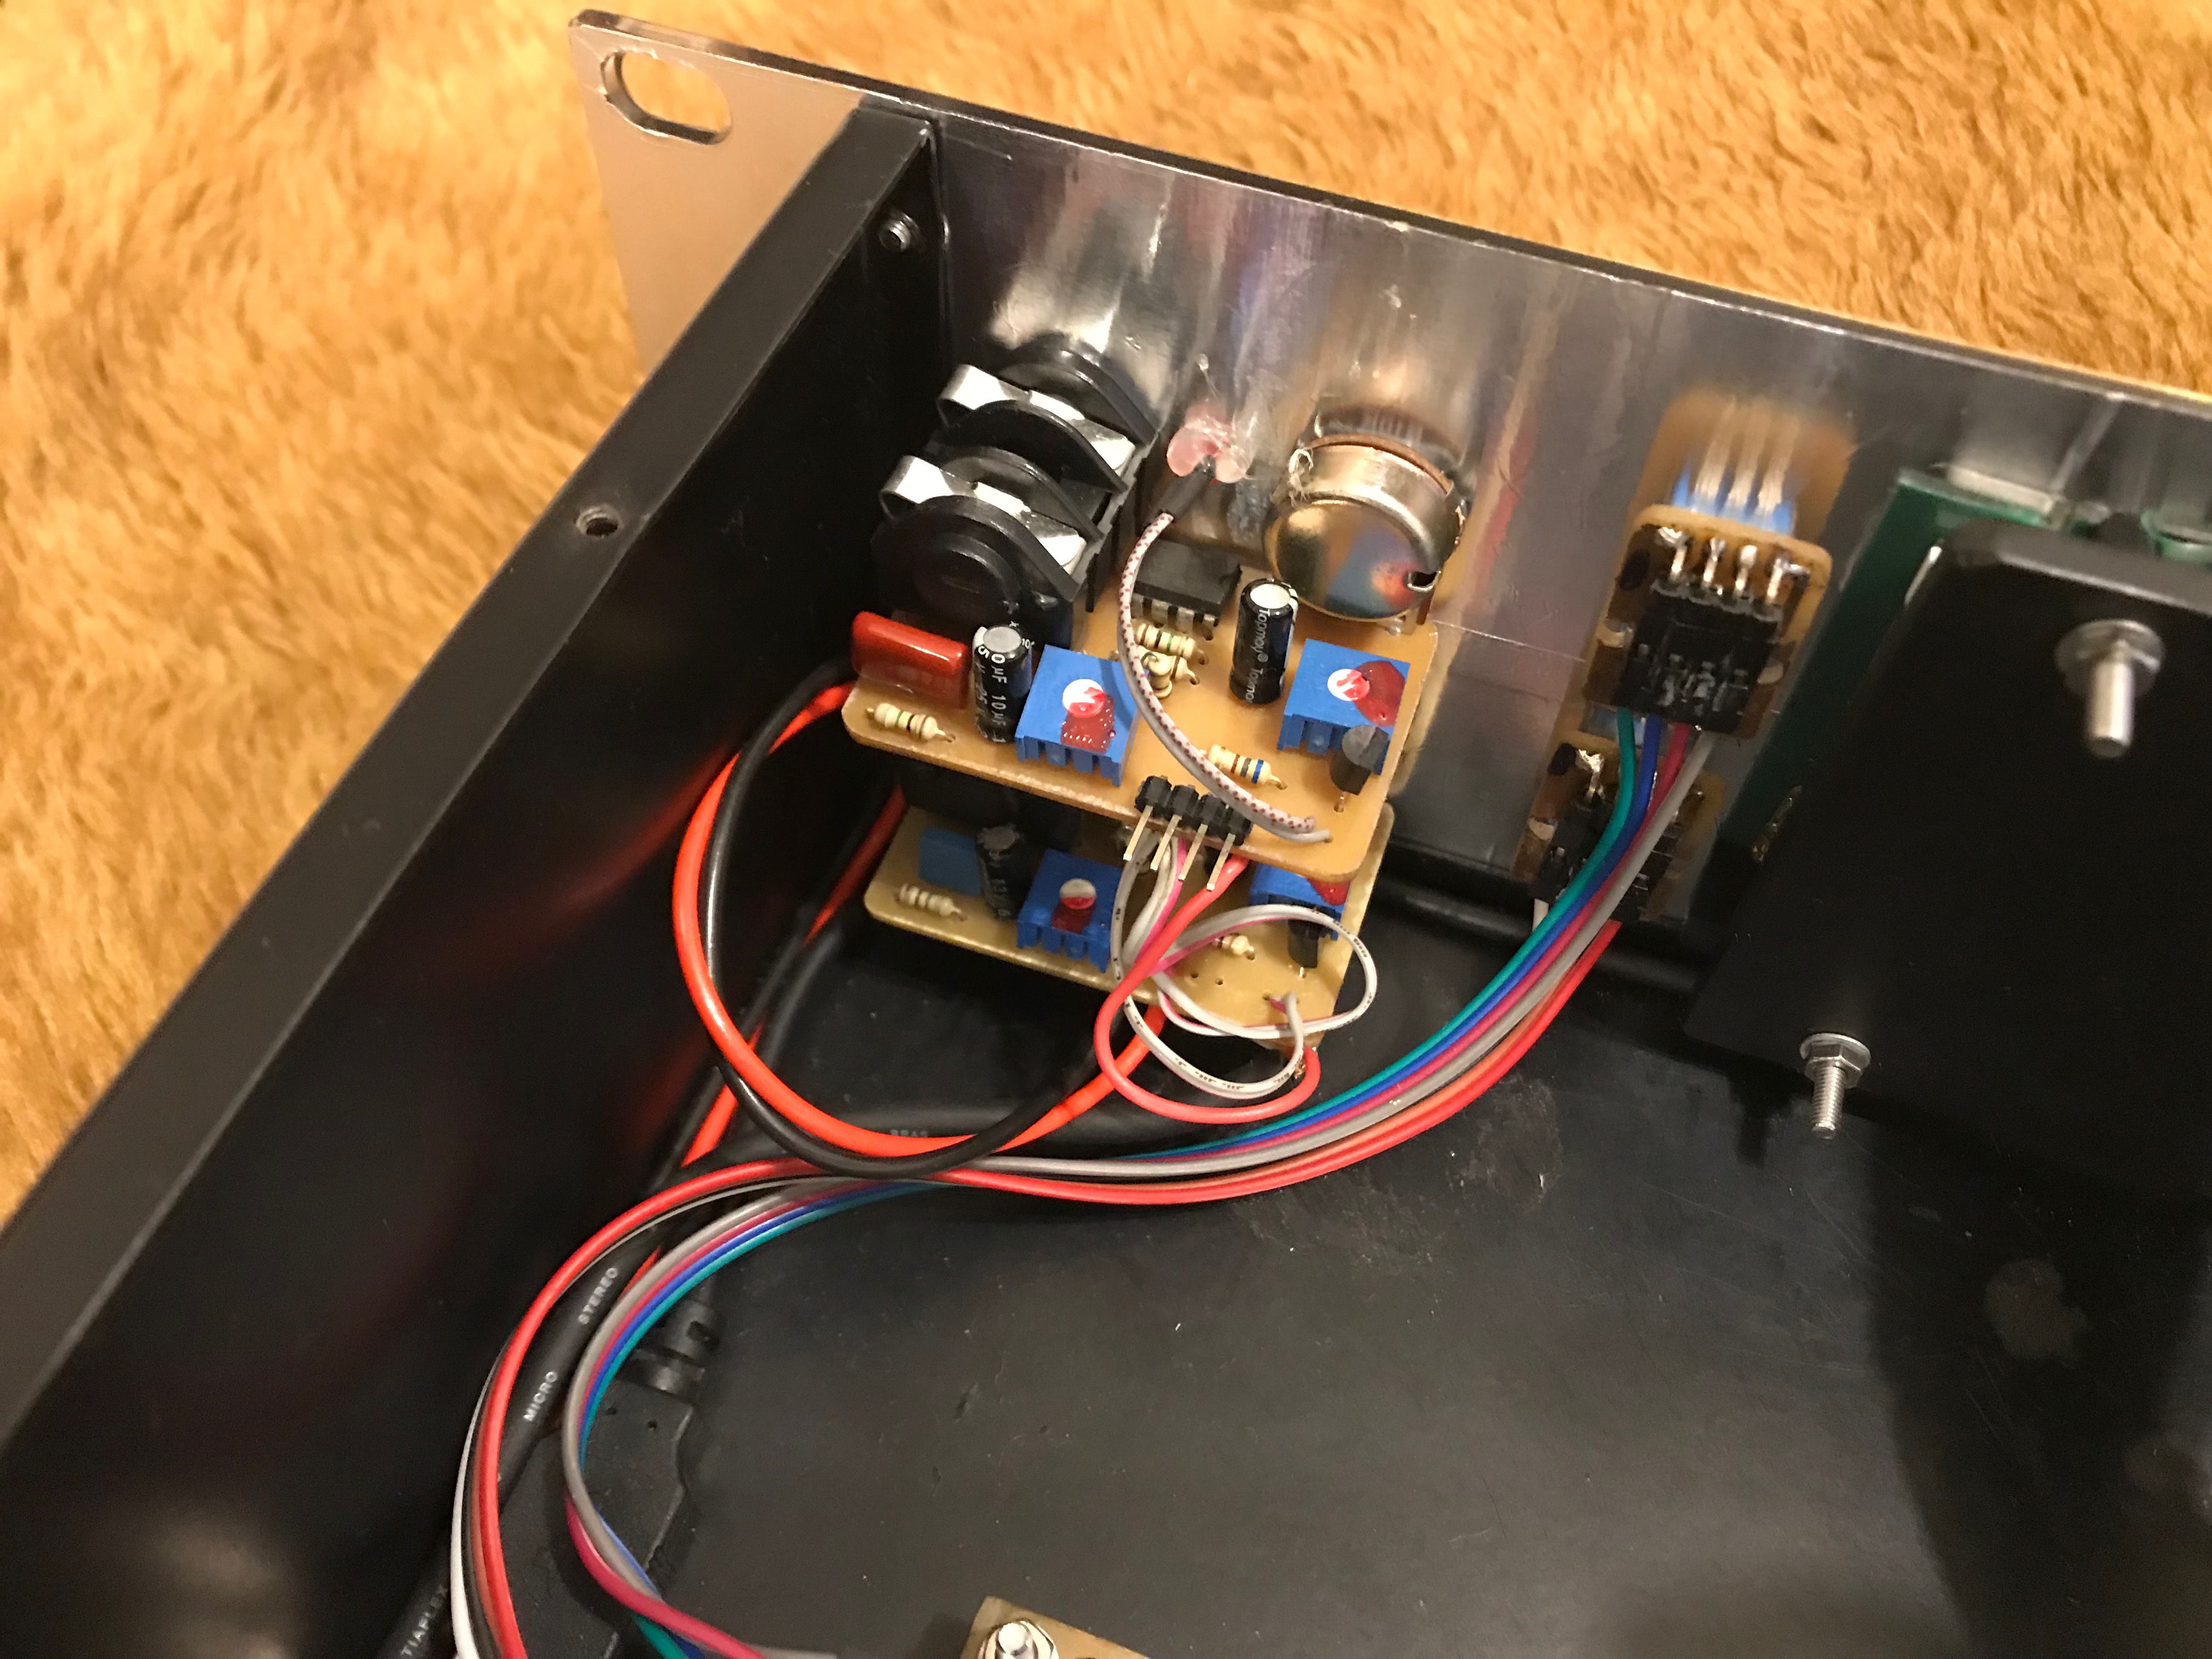
PreAmps
Arduino Controller
MCP23017 Pcb
Regards, Rod
20 Likes
That’s absolute fantastic @rod_amaral!!!
Do you have more information about the used pre-amps (e.g. where to buy or the circuit diagram)?
Regards, Holger
1 Like
Woaooooo Rod!! Your Zynthian is a f***g killer-monster!! Congratulations!!
I suposse you will be using a lot the MIDI learning subsystem with your extra “Arduino MIDI Controller”. Keep me informed of the problems you find, please …
Regards!
1 Like
Wow! IMHO this is the best case so far!. 
1 Like
Thank’s Guys!
It is a simple preamplifier, using an TL072 and a BC548 forthe peak indicator.
I put a trimpot in the circuit to control the total gain of the circuit, but i believe that it is still possible to improve this schematic.
I made the drawings using Eagle (Autodesk), you can find the files here.
I’m also using a separate power supply for the audio pcbs. In the first tests, when i used the same source as raspberry, had a lot of noise in the audio signal.
I’m still planning to mount two buffers for the outputs. One with P10 plugs output, with gnd line isolation and another balanced with audio transformers and a ground / lift switch.
About using the MODUI with the MIDI controller, i only noticed a small problem when I use the select button to browse the existing plugins in the MODUI pedalboard. Plugins are switched on when the selection button is used to navigate.
Regards, Rod
Interesting . . . .
I wonder if two of the DC Converters in this Power Supply for Zynthian would provide the same degree of cross-talk isolation?
How did you divert the power into the Audio Injector?
2 Likes
What about a wiki entry with links to the components?