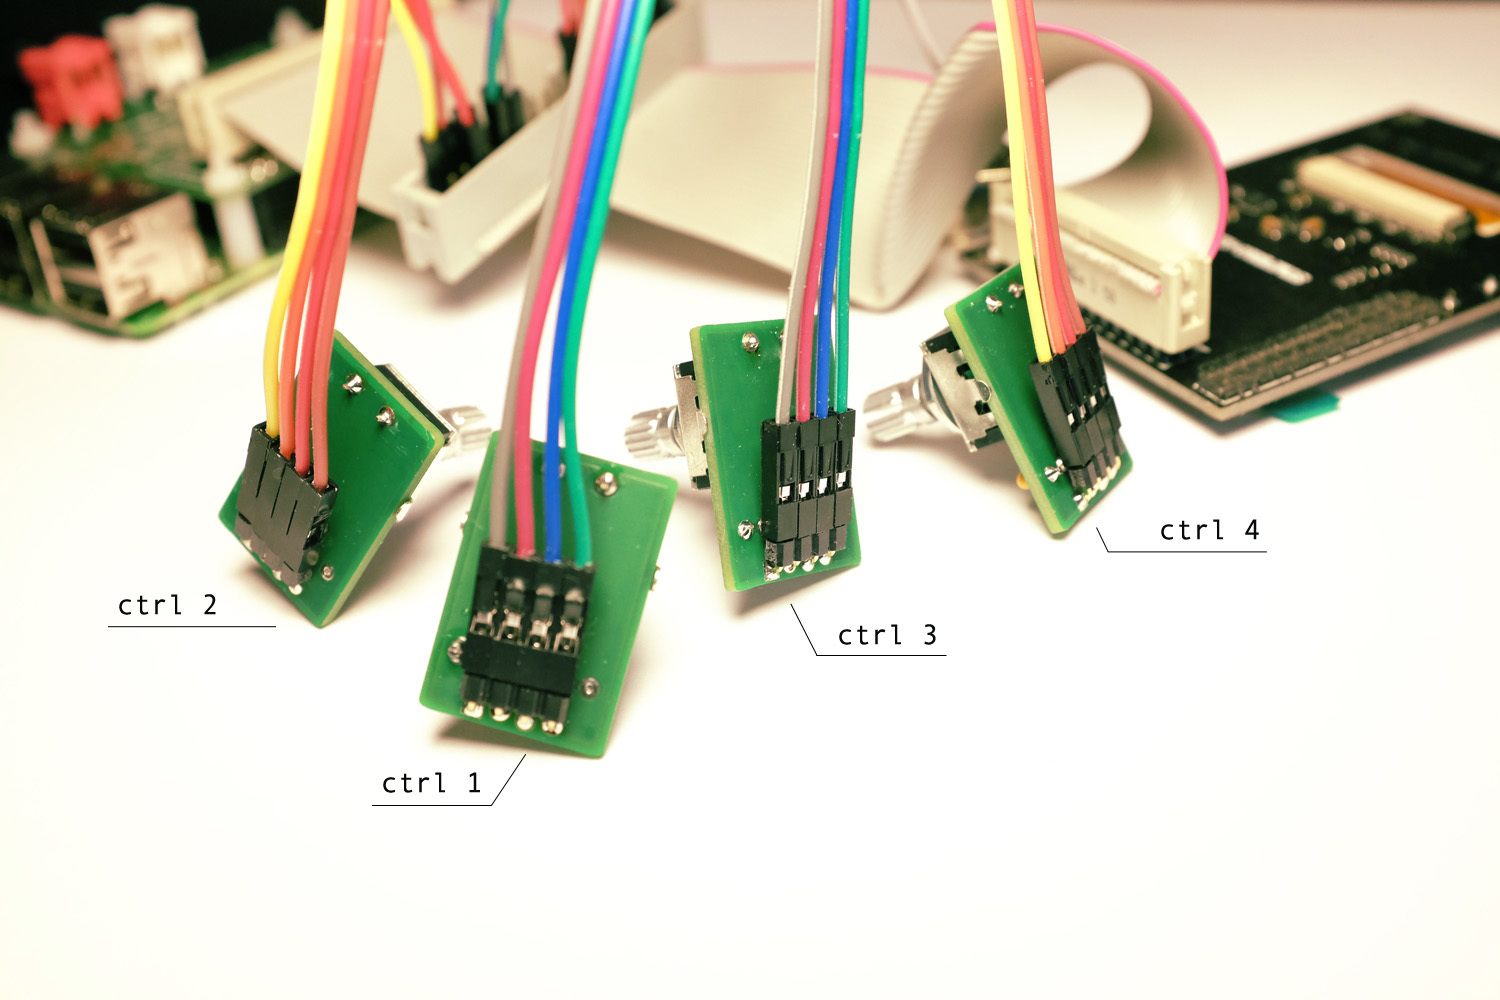
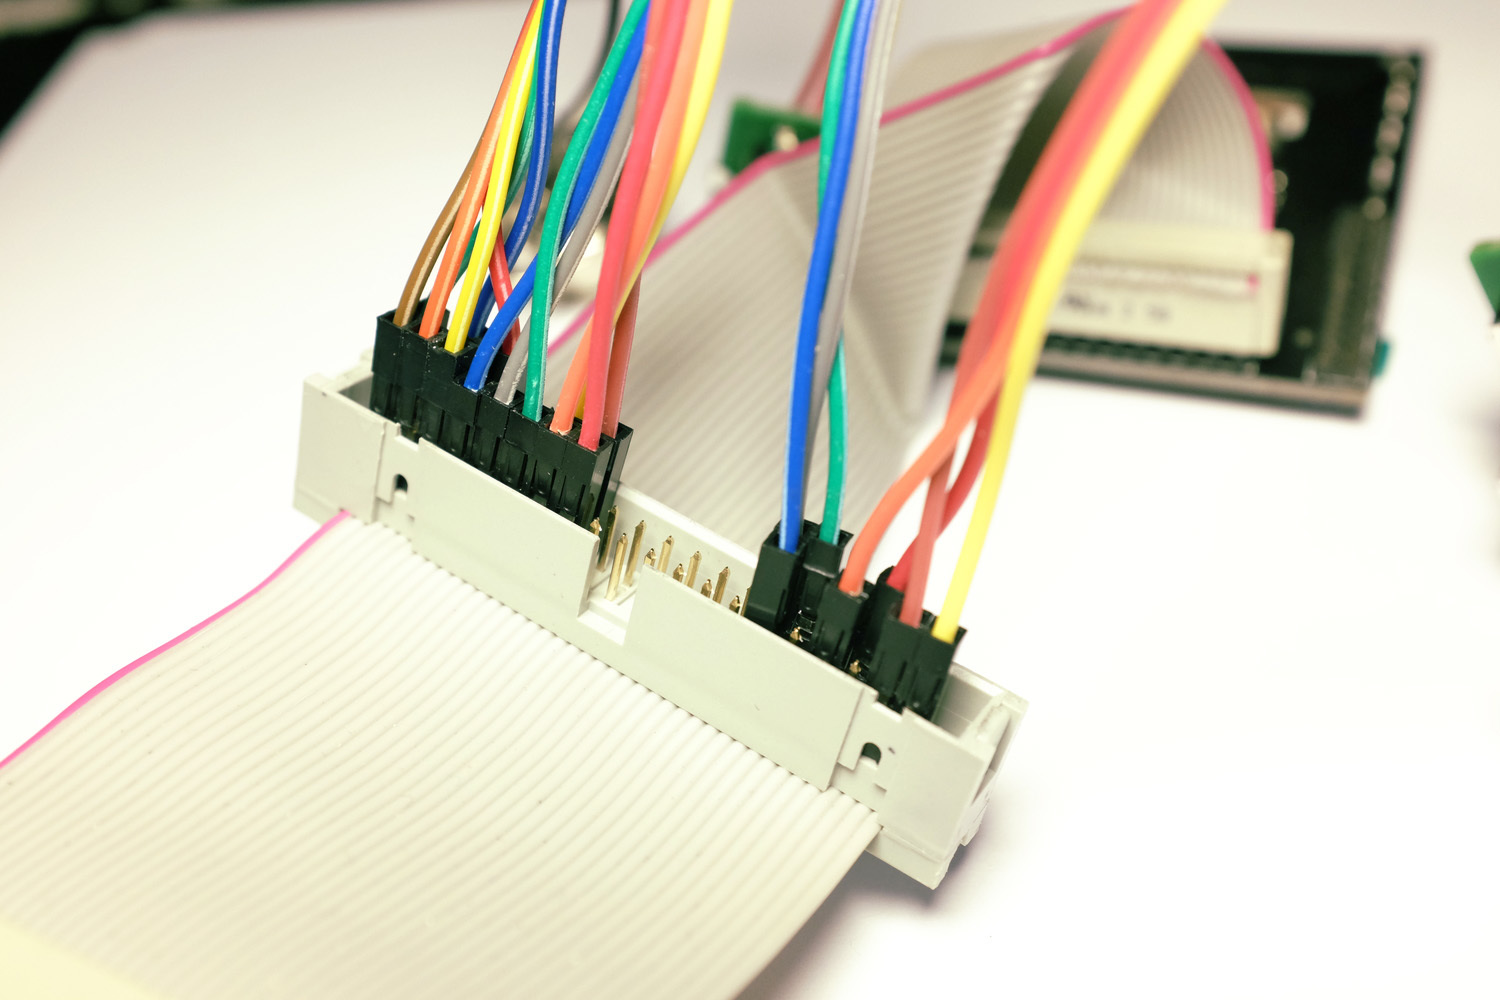
I am about to start the software part of building my Zynthian, and will soon power it up to start testing. But since this is my first real DIY experience I would love to get some feedback on the wiring and soldering part of this project BEFORE I send power through it So anyone who has experience building and soldering Zynthian, please take a look and tell me if I made a mistake or if I should do some extra steps or corrections.
Honestly I had expected bumps along the way, and debugging and tweaking. You know, the usual open source / linux way of getting results… But this project, my god it’s done! I’m really impressed with how smooth this all went. I literally never soldered in my life and have never built any electronics. I just followed the instructions and there it is. MIDI works, USB-MIDI works, sounds amazing, LOTS of instruments and sounds, super easy and clean navigation. The only bump was me destroying an encoder because I was getting over-confident about my soldering skills and actually soldered the piece on the wrong side of the PCB. After that I went just a little slower and paid better attention.
Again thanks to @jofemodo who has been super helpful and efficient in getting me started.
One thing I noticed when I was playing complex pads on the ZynAddSubFX engine there were many cracks and pops when notes overlap. I guess this is just an ugly clipping effect when it gets too loud/complex. Is there a trick to avoid this effect? I never heard this kind of sounds on the desktop version of the software.
Congratulations for your successful mounting! Well done!
And thanks for the demo video and your kind words, althought the true is that i’m quite clumsy and moony
Regarding your question about the ZynAddSubFX and the complex pads, i’m sorry to tell you that there is no solution by now. The RBPI3’s CPU/FPU (ARM Cortex-A53 QuadCore at 1.2 GHz) is not powerful enough. You can try to “overclock” a little bit the CPU, but the improvement is little.
The problem is that ZynAddSubFX only can use a single core and it’s very difficult to paralelize the code because of its nature. Also, i suspect that the memory<=>CPU speed can be a limiting factor here, due to the intensive use of precalculated tables, specially with the unique PAD synth algorithm implemented in ZynAddSubFX.
So, right now it’s very difficult to overcome the limitations with this presets. Our best chance is waiting for the RBPi4
Oh I see, so the synth engine is just too CPU hungry for the hardware. ZynAddSubFX is crazy powerful so it makes sense. Maybe for “official” Zynthian releases there could be a selection of patches that just work out of the box, and leave the others out? Then, if a more powerful RBPI is out there would be new patches available depending on test results. I think I will try to make that selection for myself so I know that everything that is in there I can actually choose sounds from.
Oh yes, I posted this “teaser” video in the Facebook group DAWless jamming where it’s all about making electronic music without a DAW, and there was quite a bit of interest in the project. Be prepared to send some kits out
Yes. It seems there is some problems with images after upgrading the forum software.
Can you confirm if all images are missed or only a few? Reload with F5 to be sure …
Fernando,
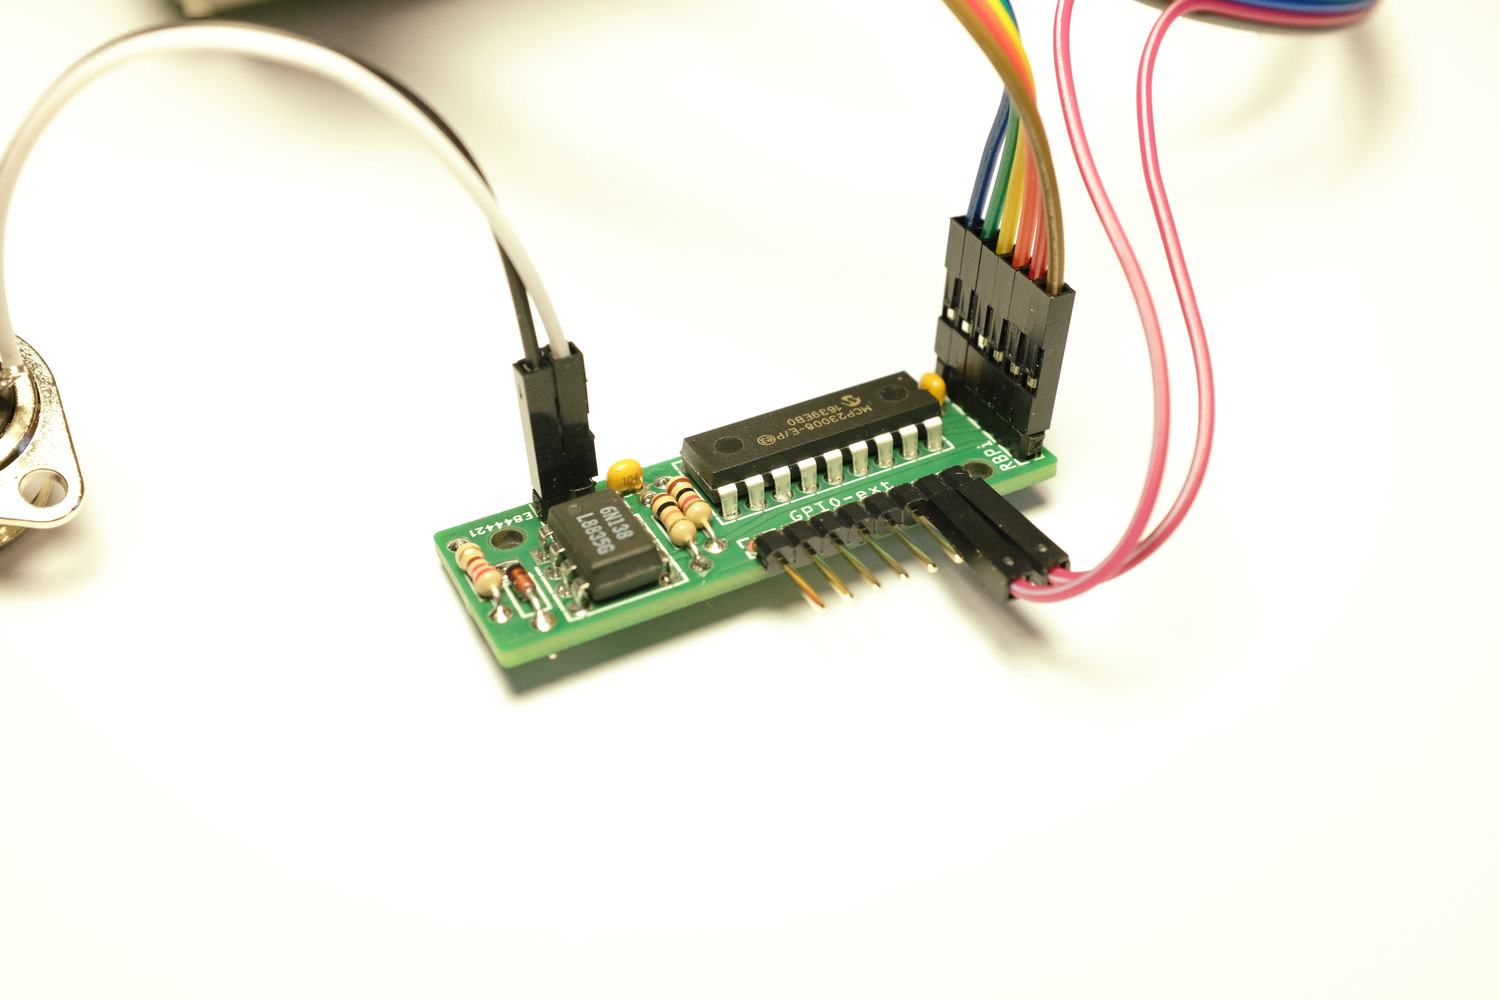
Maybe you could turn the GPIO-ext label around in the next revision of your 2in1 module.
You said yourself, the 1 is always left. The label should be readable then
If my pictures are helpful for people like me, who rely on images to figure out how to build this kit, you can use them in the wiki @jofemodo . Or I guess I could edit the wiki myself?
 So anyone who has experience building and soldering Zynthian, please take a look and tell me if I made a mistake or if I should do some extra steps or corrections.

 But this project, my god it’s done! I’m really impressed with how smooth this all went. I literally never soldered in my life and have never built any electronics. I just followed the instructions and there it is. MIDI works, USB-MIDI works, sounds amazing, LOTS of instruments and sounds, super easy and clean navigation. The only bump was me destroying an encoder because I was getting over-confident about my soldering skills and actually soldered the piece on the wrong side of the PCB. After that I went just a little slower and paid better attention.


