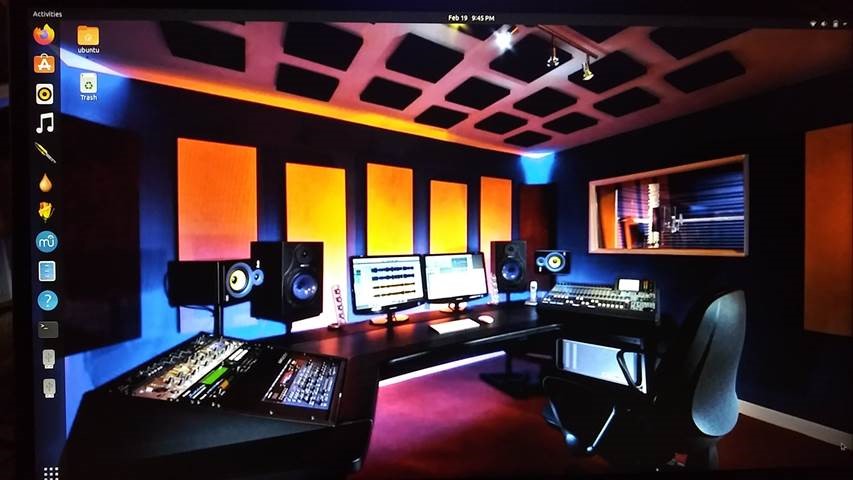
I am making a contribution of ideas that will show how to add a painless Linux computer to complement the Zynthian box. Linux has free DAWs and other digital music programs that can be synced to the Zynthian box, in order to expand the possibilities of the music lab.
Of course, the challenge here for me was to install a Linux system in a PC that does not interfere in any way with the current Windows 10 system. The goal is to use the same hardware with Windows and Linux, without having to install any part of the Linux system in the Windows hard drive.
The obvious solution would be to use Linux in a Live USB setup. With this setup, the whole Linux system lives in the USB drive. You boot up the machine with the USB to go into Linux, or you remove the USB drive and boot into Windows 10. The problem with this Live USB setup is that any changes made to the system, or programs “added” to Linux, are really saved only in memory. So when you reboot the system, there is no new info on the USB, and you start again with a clean slate.
That was then, but this is now…
Ubuntu has created the possibility of using a Live USB Linux that can save changes, add programs, and even update the system within the confines of the USB thumb stick. This is called a Live USB Linux with Persistent Storage. So you can build a dedicated Linux system on a USB drive, install all the necessary music programs, and use this USB system when jamming with your music lab. All without interfering with your Windows 10 hard drive.
Please follow the instructions below very carefully. I am not responsible for any damages that may result in your system. If you follow the instructions carefully, you should be OK and you will love the results.
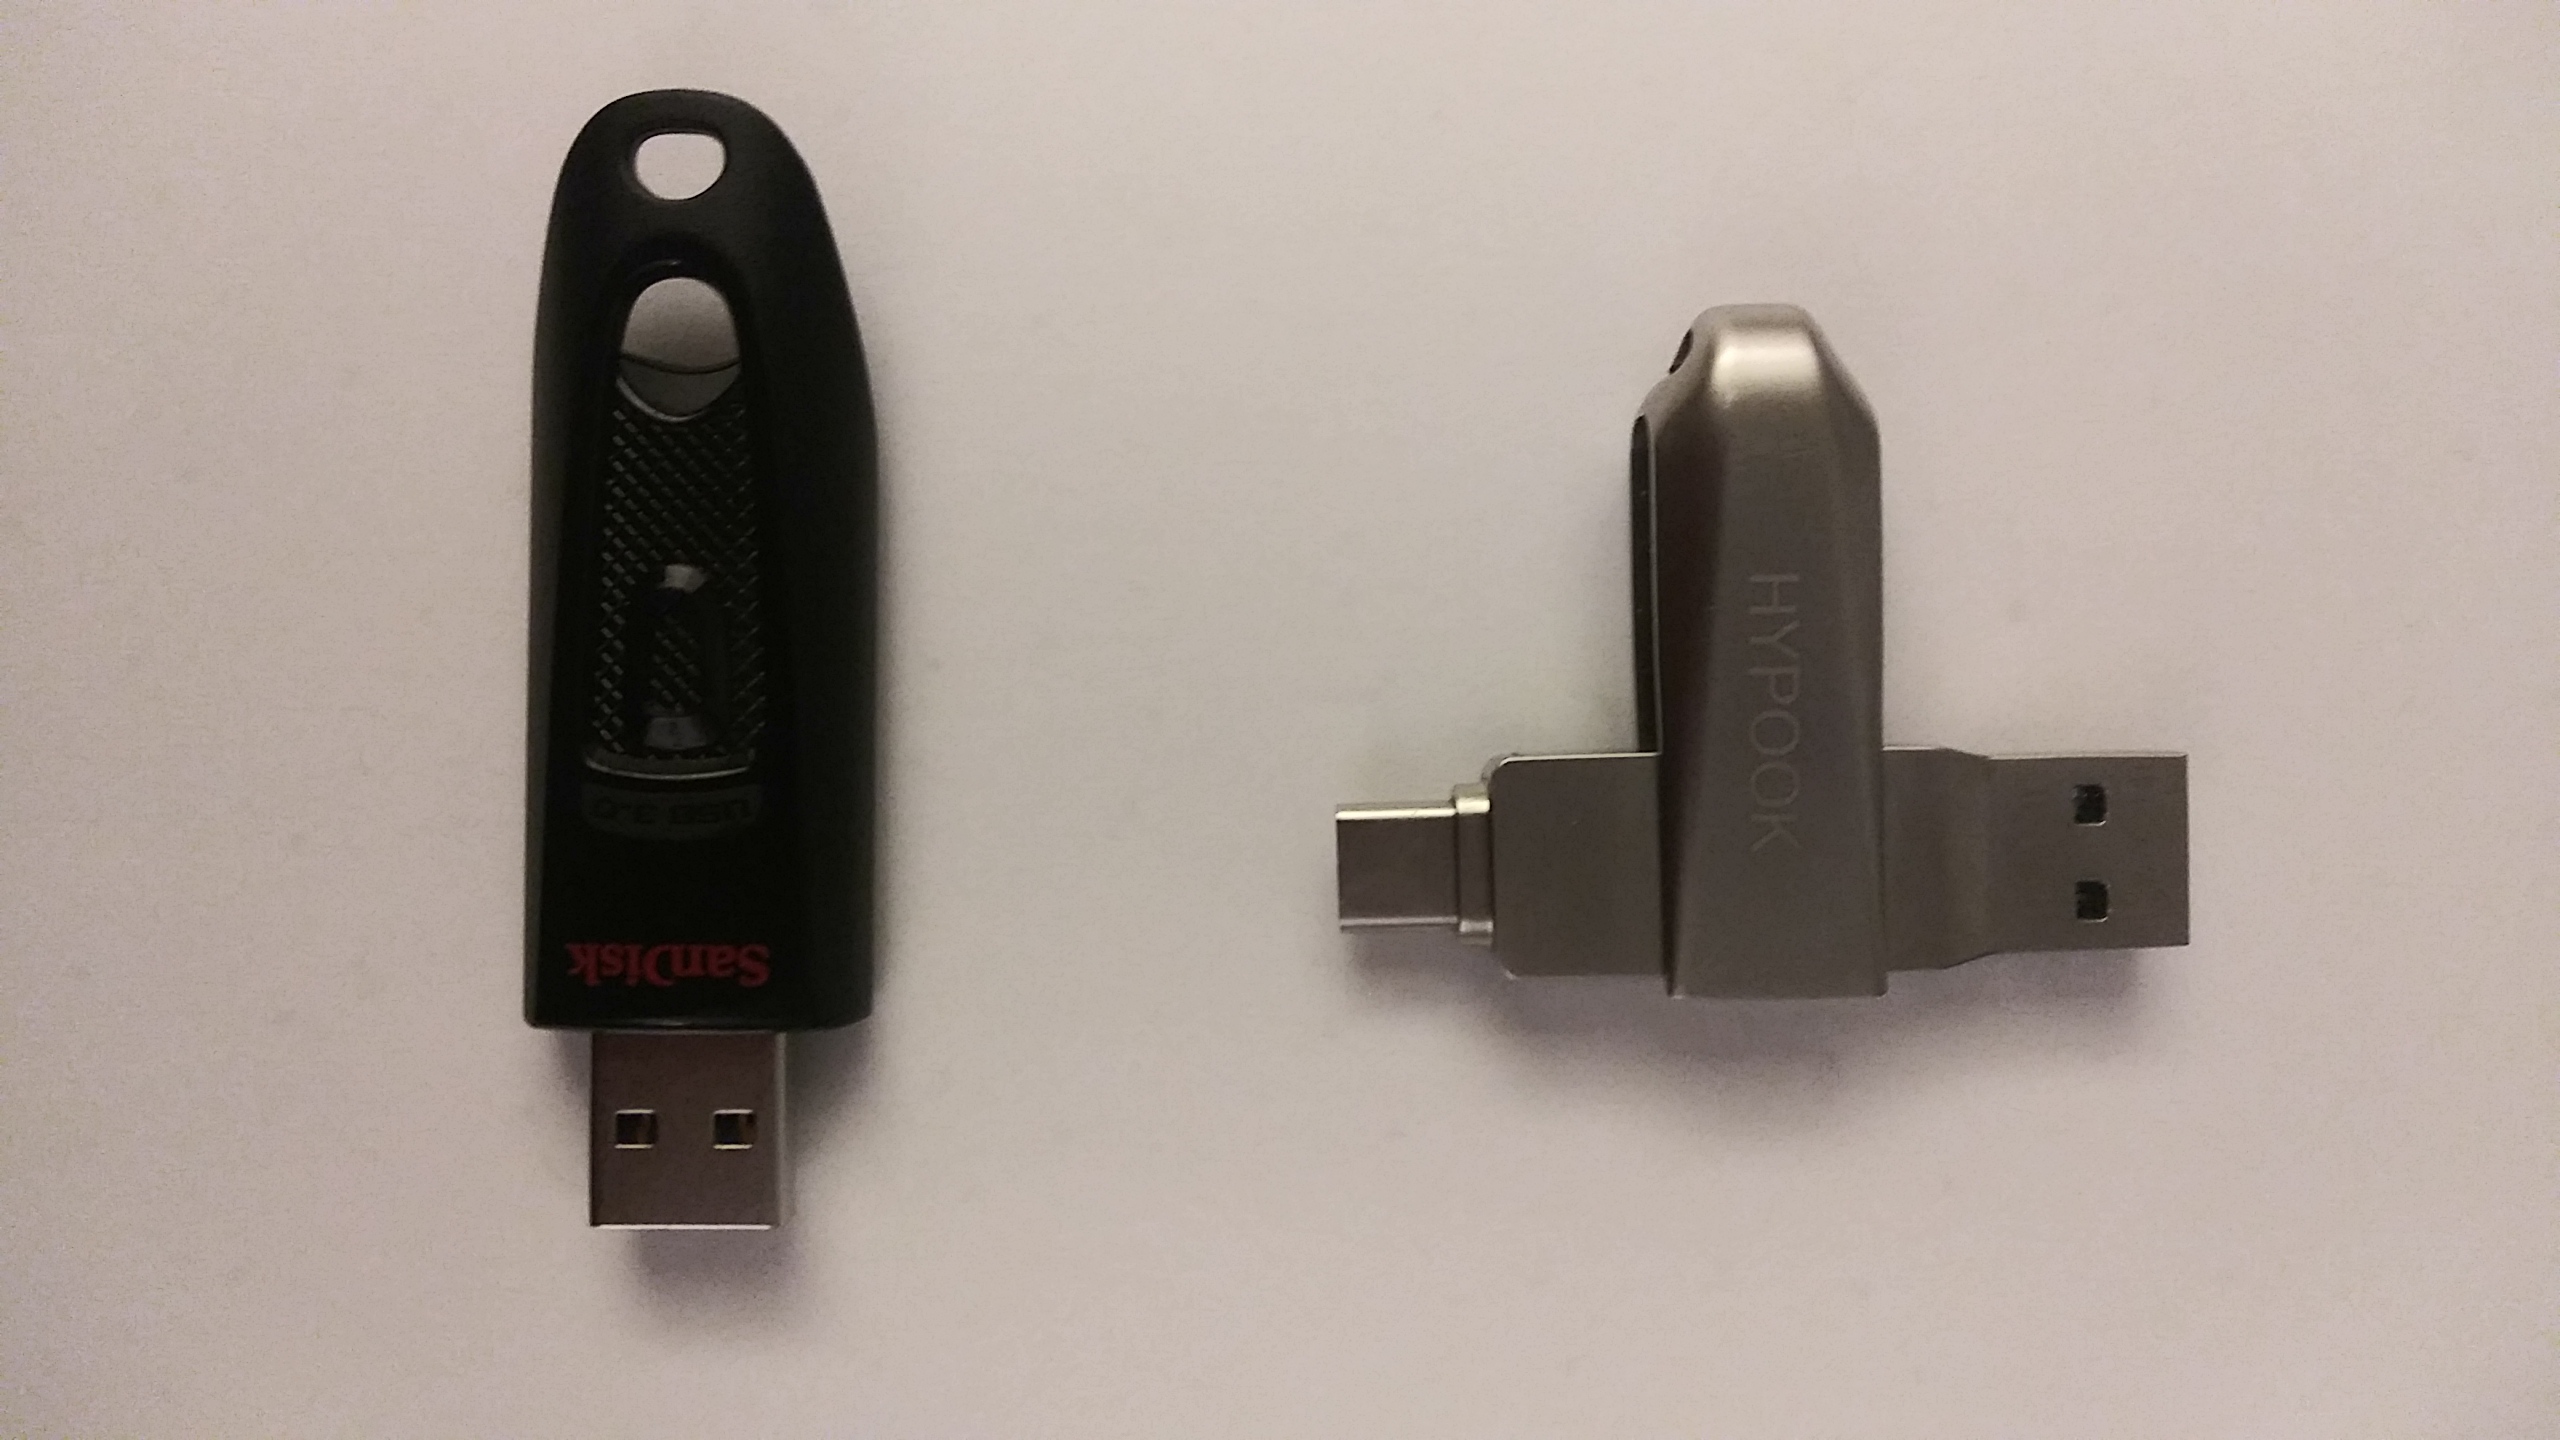
If you don’t have a Ubuntu system at home, you will need two USB sticks for this process. On one, you install Ubuntu as a live install, with no persistence. The first USB Live stick can be created with Rufus under Windows. This strict Live USB does not have to be large, maybe a 8 GB USB stick will do. After you create this first LIVE USB, you boot up with this USB stick into Ubuntu, and then you follow the instructions below to setup the second persistent USB stick, which could be larger. In my case I used a 256 GB USB stick.
NOTE: although Rufus is also capable of building the final product (the persistent USB stick) by itself under Windows, it did not give me good results. It is best to build the persistent USB stick from within another Ubuntu system. That’s s why we use two USB sticks for the process.
***WARNING. When booting up from the USB sticks, select the default options to run Linux in Live or Persistent mode. DO NOT SELECT THE OPTION TO INSTALL UBUNTU PERMANENTLY, as this will overwrite your hard drive and damage your Windows installation. Later on I will show you how to remove these options from the grub menu, so as to eliminate the possibility of booting up into a permanent installation mode of operation by accident.
To boot from a USB drive, you have to explore the BIOS options of the computer for the “boot menu”. You have to tell the BIOS to search for the the USB drive first, prior to attempting to boot up from the hard drive. This way, when the USB is inserted and the machine is booted up (from the USB drive), it will go into Linux. But when the USB is removed and the machine is rebooted again, it will go into Windows (from the hard drive).
For this setup, I downloaded the the desktop version 19.10 of Ubuntu. The previous versions of Ubuntu desktop didn’t work during my tests. I used a USB 3.1 drive with 256 GB space. Once the persistant USB drive is built, the boot up into the desktop takes about 25 seconds on an HP 360 laptop. During the process, I assigned 50% of available space for persistence. This means that about 115 GB went into the /cow partition (the persistent partition related for the system) and 115 GB went into the /usbdata partition. The /usbdata is also a writeable partition that is created for storage in the USB drive that the user can use to save files.
Here are the specific instructions on how to build the persistent USB system on the second USB drive:
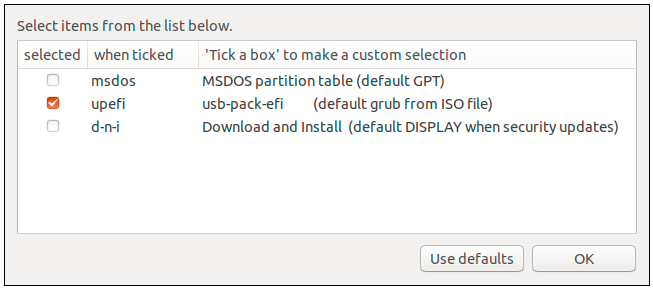
The only step I did a bit different was the one related to the window below. Instead of just selecting upefi, I selected upefi and msdos, and then I clicked the “USE DEFAULTS” button.
There is also an icon on the desktop what is used to install Ubuntu permanently on the hard drive. You can eliminate this icon by looking at the programs in the system. There is one program associated with this icon. Uninstall this program in the Ubuntu system to safeguard the Windows system.
To eliminate the “permanent install” options in the grub bootup menu, you will have to mount the partition that has the grub menu, then edit the menu, save it, and after that point the USB stick will boot with the menu edited. I found this under the /dev/sdb3 partition of the USB stick. After mounting, the partition, you will find the grub.cfg file under /boot. On the next posting, I will send further instructions on how to edit the grub menu of this persistent USB stick.
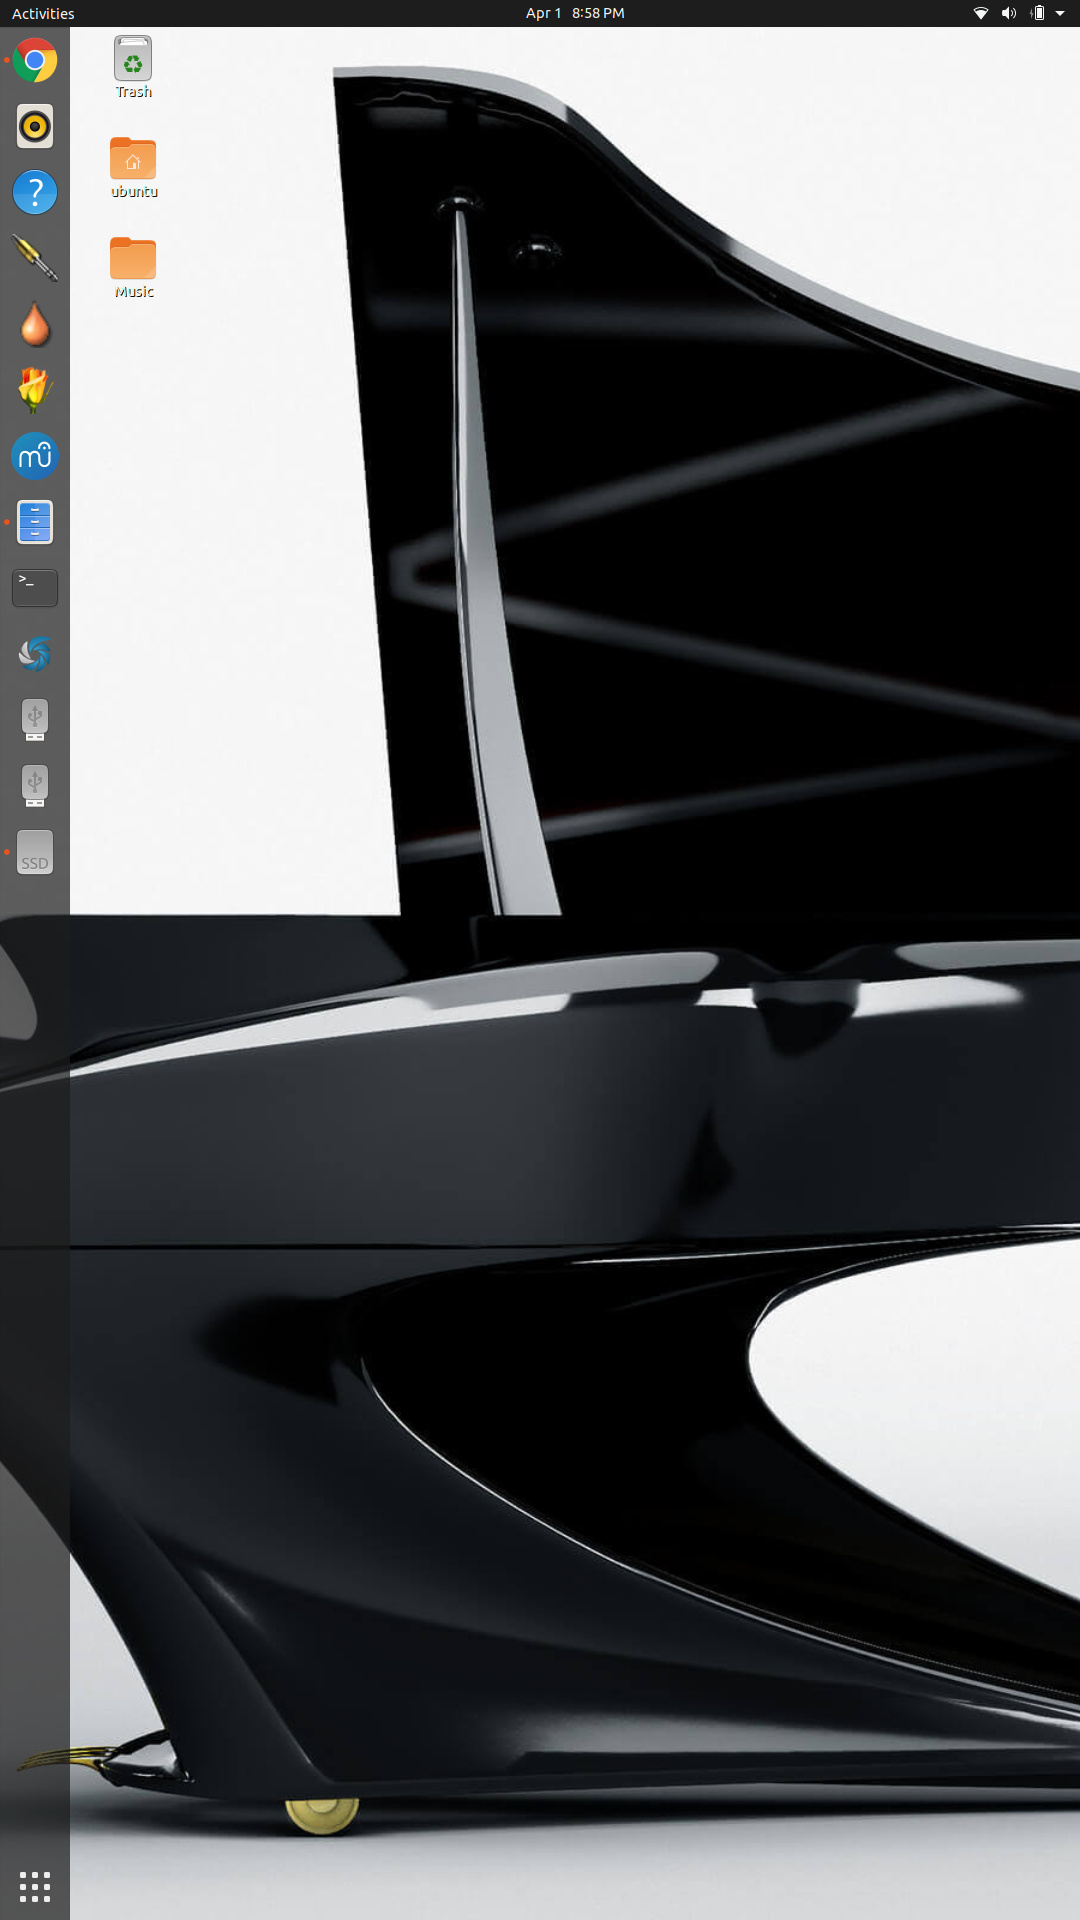
After setting up the Linux persistent system on the USB drive, I updated the system, installed some music programs (including Rosegarden). In effect, I created a music lab on a USB stick.