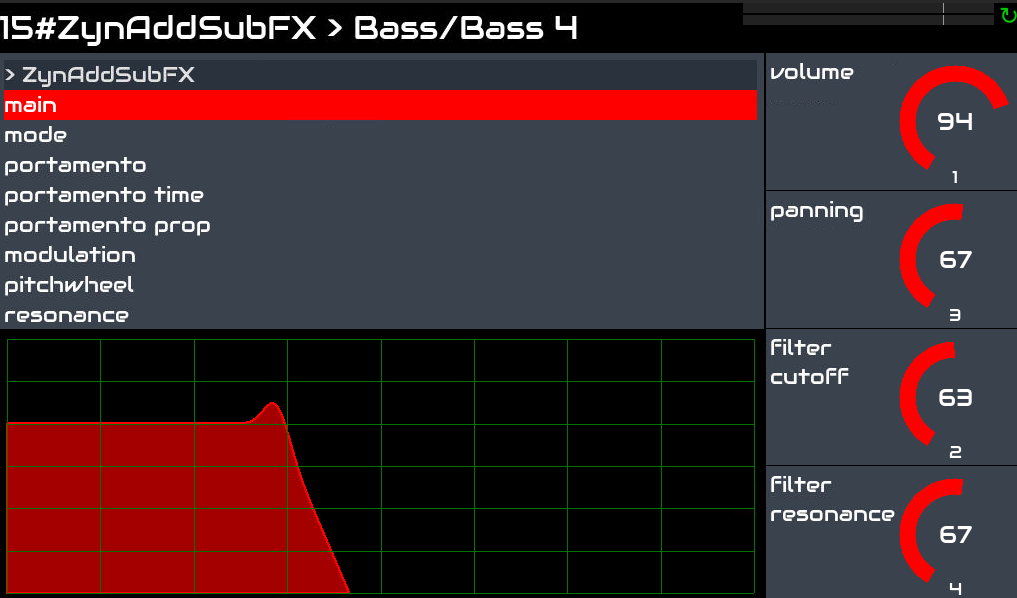
Cool! This is going to be pro. Will it be instrument-based? I can see in the video the automation of cutoff and resonance but it will be the same for every other parameters?
I think that would be very usefull a step automation for panning, regardless of the instrument engine.
And what about a parameter randomizer inside the pattern?
Very cool. Would there be a way to have the cc pattern on a sequence of lets say 16 bars, and have that sequence working on another sequence that was maybe 4 bars, or do the CC pattern and the Note pattern have to be on the same (pad i guess)?
Hi @jofemodo, I’ve been staring at this CC screen for a while trying to figure out how to use it. It was only when I came back to this thread I finally understood. It’s exactly what I was looking for to change a delay for a pattern.
It seems to be:
Pick your parameters from the list and assign them to controller knob in the usual way
Go to Edit CC from the pattern menu
I think the screen shows CC64 by default so unless you assigned something to that, the control will be blank/empty
Use knob #1 to rotate to the CC that you assigned the control to e.g. filter
Hit record and start spinning dials
Use knob #3 & #4 to highlight parameters in the list to adjust
Clear pattern CC# is in the pattern menu if you make a mess of things
I was hoping I could assign parameters to a CC without having a midi device attached. Is there or will there be a workflow for this?
A more descriptive name for the menu item like ‘Parameter CC Automation’ or similar would be helpful. The right panel in the pattern menu could be used to fill a description on what it is/how to use. I notice none of these pattern menu entries have any information yet though.
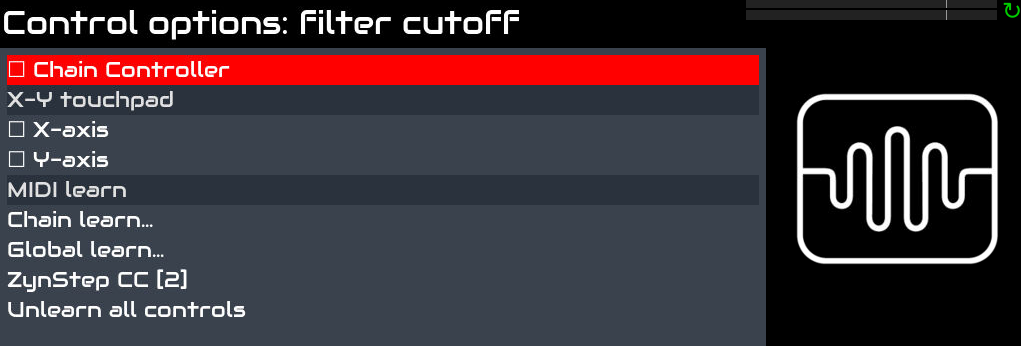
I figured this out, it wasn’t obvious at first. My suggestion for the help page is to clearly state: When in midi learn mode bold press any knob to access the controller options…
When you read it currently, it states you can bold press any knob in the chain control view to configure the parameter control options which is not true. You will simply get the typical UI response for a bold press.
With V5 layout is much easier. I frequently forget that V4 workflow are more twisted.
Although we try to support V4 layout as much as possible, we have increasing problems to find acceptable workflows with the limited V4 UI. And this is not going to improve improve while we add new features.
If you are using the step sequencer, you should think of moving to a V5 layout. V4 is very limited and workflows are more twisted, specially regarding new features.
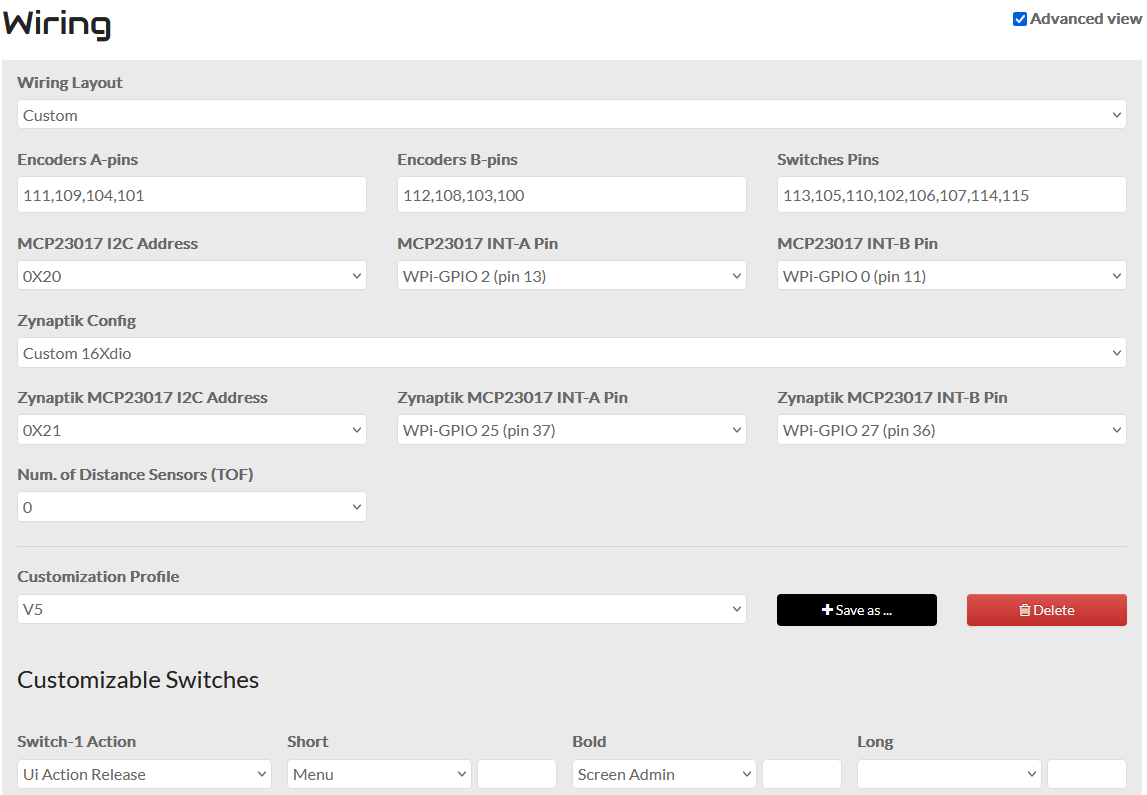
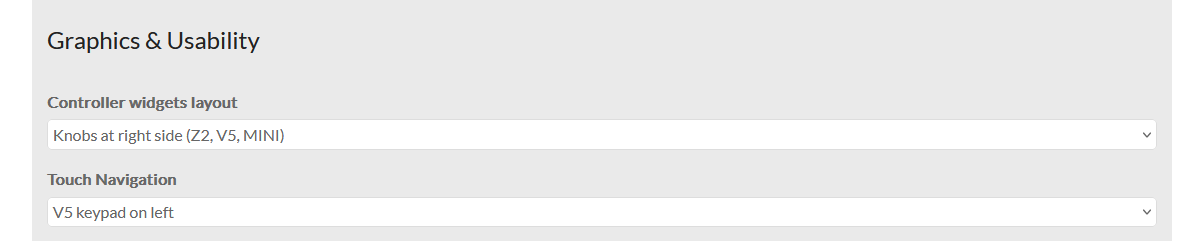
Can you tell me how I set a V5 layout for my custom zynth? It already has V5 chosen in the wiring menu. Is there something else I need to do? I always get confused about this.
I set my wiring page with V5 profile, also the UI page has V5 related settings. What makes it ‘become a V5’? I guess once that happens it changes how the encoders behave?
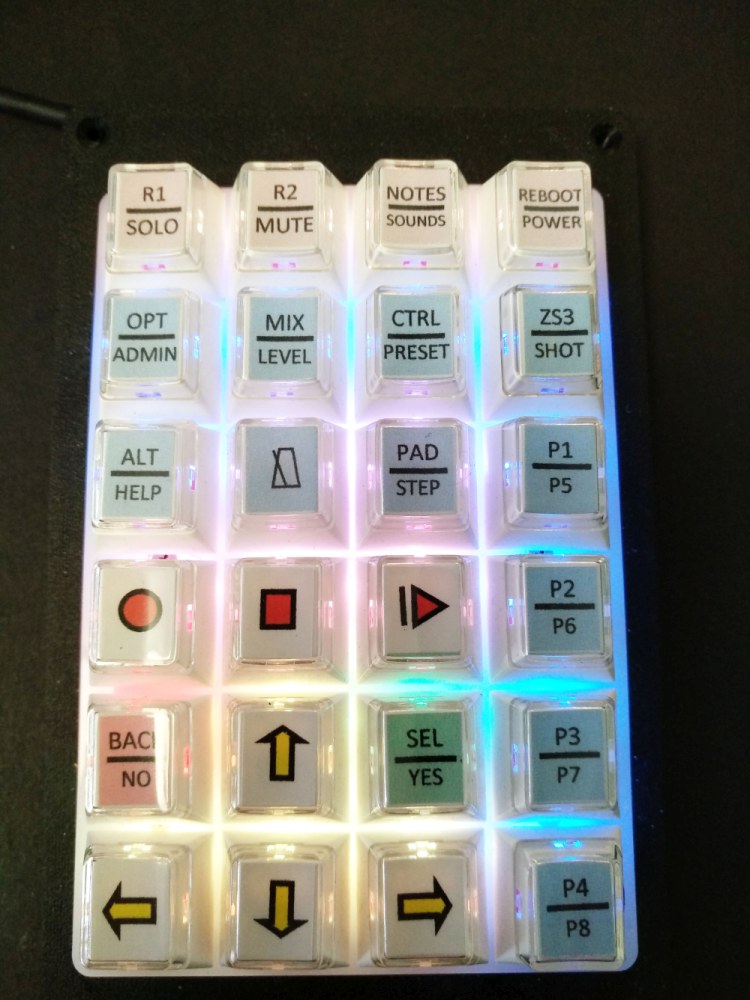
Apart from the encoders, the most important difference are the buttons.
A simple and not invasive way to let your V4 “become” a V5 is add a USB keypad like this:
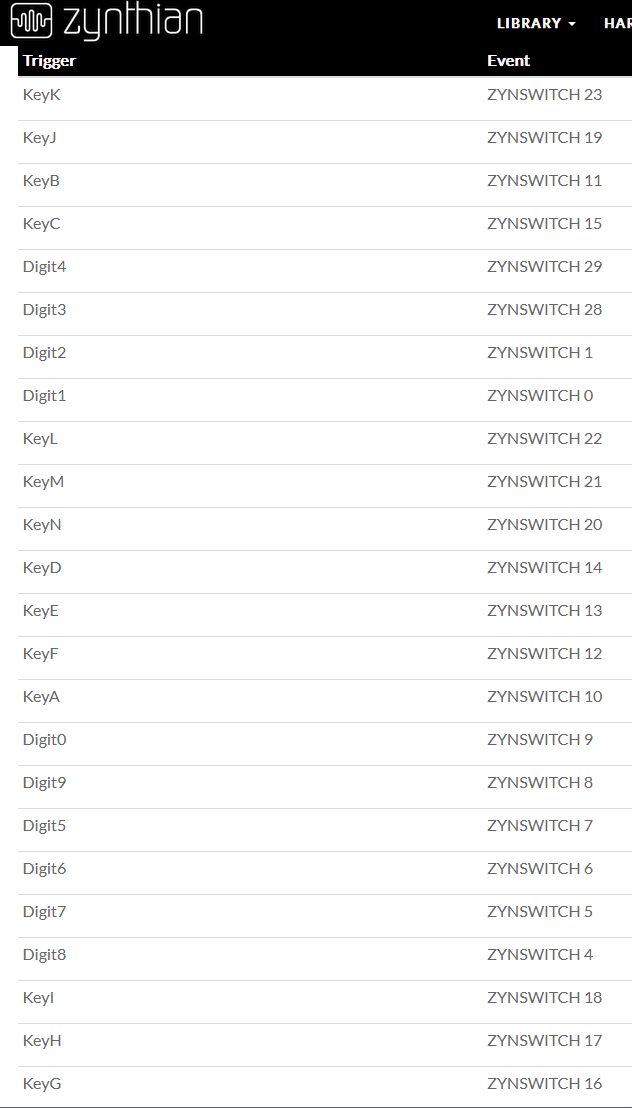
Yes, I should be more clear. I have built a case with encoders on the right and buttons on the left like a v5. I never got the buttons working fully (I did it the hard way with separate keyboard buttons and an extra mcp23017). In their place I use a launchpad with device mode that emulates the buttons well.
I think the problem might be, the function of the encoders should change in a V5 setting (so the bold press functions change as jofe suggests). I think the encoders on my device are still behaving like a V4. But I’ve never used an official device so I don’t know what it’s like.
I’m talking about the encoder button presses you need to access the control options menu. Do you have to enter midi learn first or can you just Bold press and you go straight to this menu? That was my confusion about how the encoders are working on my Zynth box.
First you go to a chain control view (whatever instrument you have)