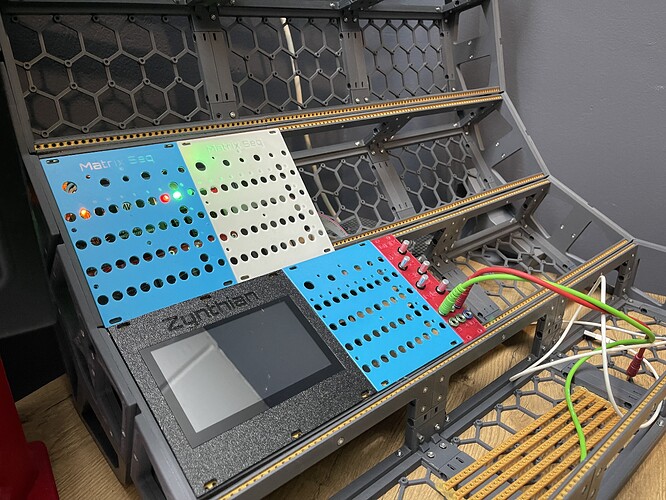
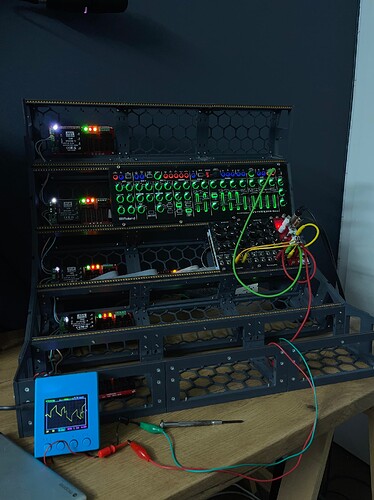
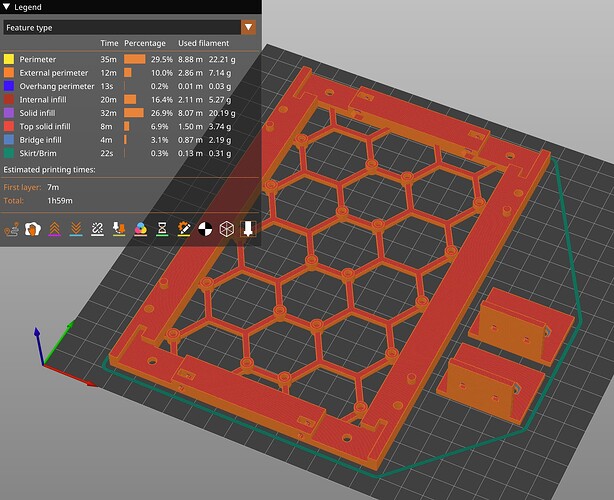
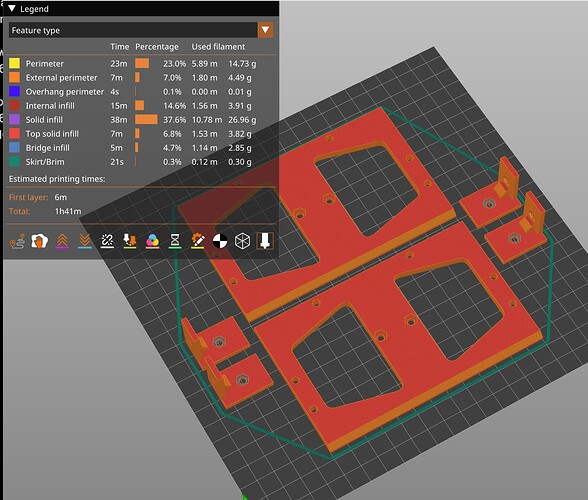
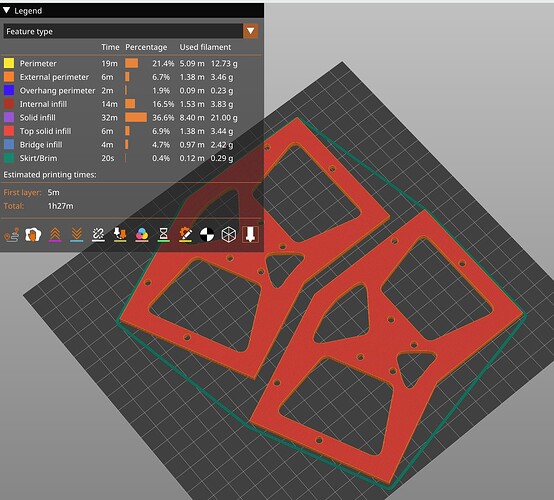
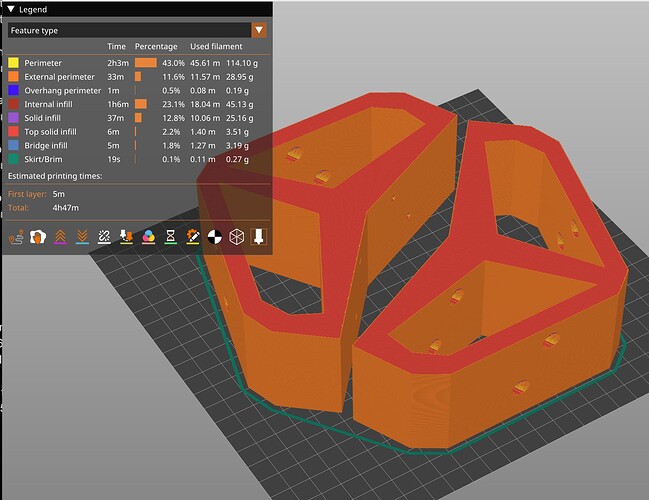
Still very early days with zynthian, but keen to make a custom eurorack build in fully self designed and 3d printed racking system.
Can you share racking system design? It is really impressive and I would like to 3d print it too.
Da Chonkthian.
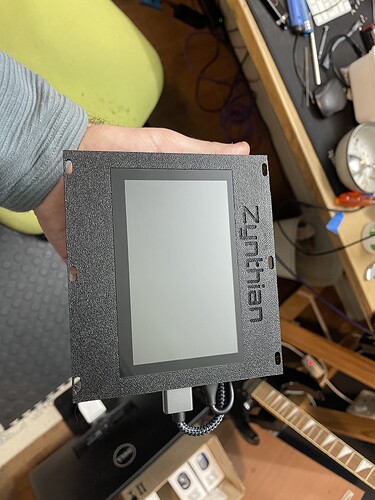
Cool! Did you 3D print the zynthian front panel? How did you get the surface finish? It looks good. Is it strong enough? I worry that large, thin, 3D printed panels tend to bow or warp, even with reinforcing columns. (Maybe I need to be more generous with my reinforcement.) I am building a rack mount unit and plan to put it on a 2U steel front panel but may consider something like what you have done. (Although the euro-rack mounting strips reduce the available height - that may not be to much of an issue.)
It looks like front panel is 3d printed face down - it has printer’s bed surface texture.
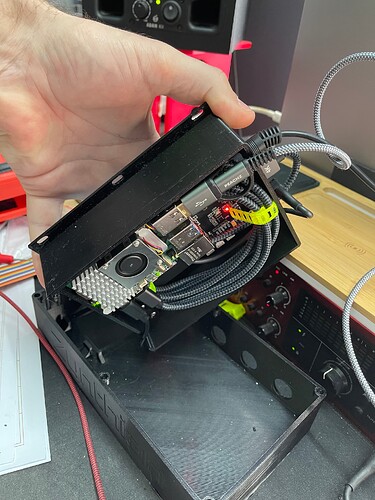
This is a box… it’s printed from petg … there’s plenty of reenforcement so won’t bend. Previously I’ve cnc’d my front plates out of copper-clad board…
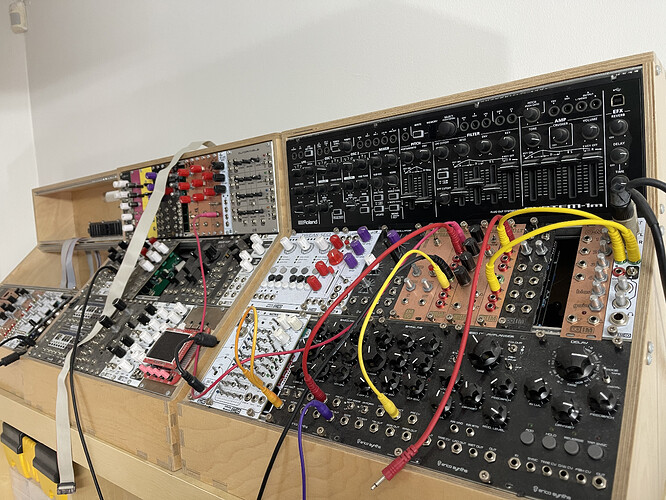
I’m going to migrate most of this to my new rack…
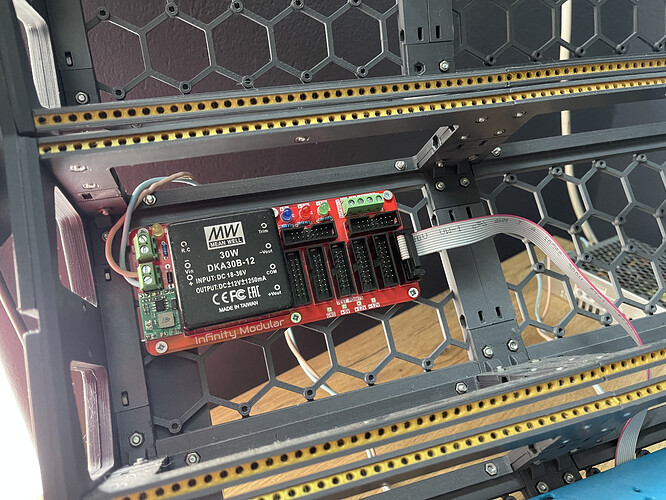
I designed a power distribution system for this rack too…
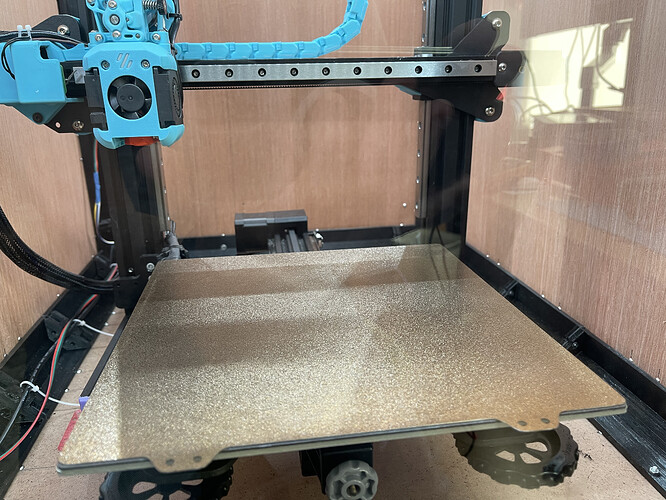
The surface texture is from the textured PEI build plate on the printer…
Hi Stojos… it’s very much a work in process, but I’m happy to share… Give me a bit of time to create a project on my github for the racking system. It’s a lot cheaper to print this extensible rack than buy anything of a comparable size off the shelf. Being in South Africa, none of this stuff is available in country. The closest rack I could find that can do what I am doing is about €3000 before shipping… and shipping would cost a lot.
Here is a link to the brand new github. I’ve simply placed the .stl files there for now.
be warned… depending on size it can be a fair amount of printing ![]()
Power to the rack… it’s coming along nicely … zynthian rubber button pads arriving tomorrow, oorah! I can’t wait to integrate zynthian into this lot.
Impressive work and setup. But total y at the opposite of my conception of a Zynthian gear: damn simple and portable.
That in itself is quite a compliment to the overall design.
hehe … yeah, I get that. In my instance, my eurorack setup is sorely missing a heart i.e. sequencer, more FX, more Synths and additional LFO’s to control eurorack modules. I’m keen to see how interoperable using Zynthian as the heart, and being able to have bi-directional control over parameters from analog gear and the digital world.
Tell us all about it. It’s an impressive piece of planning. What’s the psu spec…?
It’s just part of a synth project I’ve been working on over the years. I’ve always found enclosures and racks to be madly over priced especially living in my part of the world. So I designed a rack than can be printed and expanded.
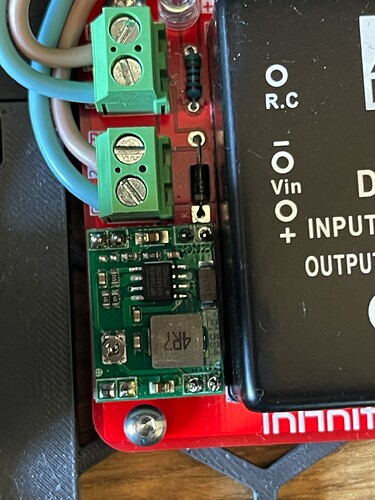
I’m using a meanwell 200W 24V psu, and a 30w ±12v buck and seperate 5v buck on each row. Up to 3A 5V and 1.25A on both ±12v rails per row. With up to 8 module power ports on each rack block.
I designed the power boards and distribution boards. Basically I wanted a system where I could place any module anywhere without worrying too much about power usage.
I realise of course that the PI5 is quite power hungry compared with traditional eurorack kit, so may have to add specific acd-dc psu just for that.
All my modules are hand made, a couple of kots, but mostly me stuffing around with various schematics. I still need o migrate everything across from my old system.
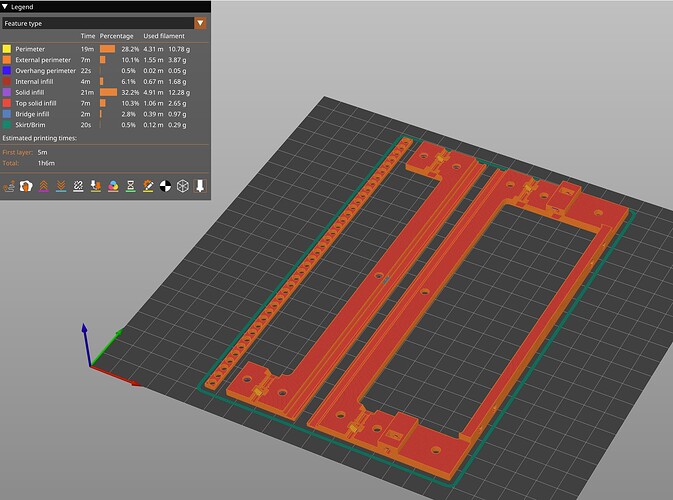
How long did it take to 3d print this? I would assume it will take around a week of constant printing on my 250m/s printer. 5 racks with around 11 printable components per rack, each part taking around 2 hours to print. 5x11x2=110hours.
5V 3A buck should be ok for zynthian. Do you have schematics for it? I am investigating the most elegant way of adding power to zynthian mini project.
Printing time will depend a lot on speed, accel, nozzle width, and layer height. At the time of printing my printer was maxing out at about 80mm/s, although now with a better hotend I’m able to print a LOT faster. I used a 0.6mm nozzle with a layer height of 0.3mm.
With a 0.4mm Nozzle 1 rack module wall takes around 1hr (x 6 for a row of 3):
A base with to joiners @ ± 2hrs (x 3 for a row of 3)
Two row end caps and end plates @ ±1.75hrs (x1 for a row of 3)
Two angled skiff connectors @ ±1.5hrs (x1 for a row of 3)
Two stand feet @ ±4.75hrs (x1 for the entire rack)
In Summary
A single row (0.4mm nozzle)
= 6hrs (walls) + 6hrs (base) + 1.75hrs (end caps) + 1.5hrs (skiff connectors)
= 15h15m for a single row of 3 units that are ready to be connected to another row
For the full rack
0.4mm Nozzle = 15hrs (row) * 5 rows + 4.75hrs (stand feet) = ±80 hrs
0.6mm Nozzle = 80hrs *0.66 = ±52hrs
I’m not so sure about this. While it might work, I see the PI power supply is 5.1V @ 5A… of course with fewer peripherals e.g. screen and audio you could probably run reliably at a lower amperage… But I would err on the side of caution here and provide at least 5A.
Are you going straight from AC to zynthian, or from a DC source?
It looks like that straight from main is going to be too bulky. So probably I will need to get 5V from DC similar to what current V5 design is doing with step down converted. You are right rpi power supply is 5A. I am not sure yet what step down DC converted to choose that is small, can sustain 5A and is cheap - mini needs to stay cheap - otherwise what is the point compared to v5.1. I am currently looking at this kind of thing 5V 5A MINI560 Step Down DC-DC Converter Voltage
And you aspire to off-the-shelf products to minimise custom build stages. However you do design a PCB for mini so it could have some PSU components on it. That needs design iteration to get something that works and fits so has higher design cost but could provide lower final cost and size.
