Zynthian Discourse
Success Cases
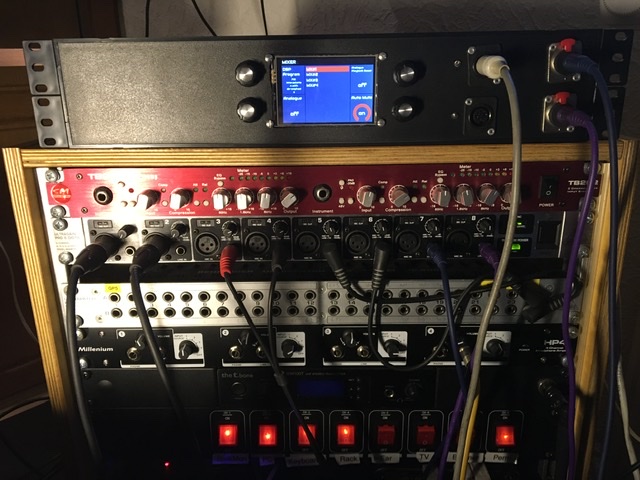
Building Zynthian
Wilhelm
December 22, 2019, 2:21pm
266
My 19" Rack 1st try. Its ABS.
12 Likes
Usb Midi behaviour
Eurorack Zynthian
show post in topic