Has anyone used these types of mechanical switches on a custom build? I’m trying to emulate something like a V5 and I realised if I’m going to use an array of buttons I could choose some nice keyboard style keys with a good action and insert them in the case that I’m going to laser cut. I understand that it requires the I/O expansion chip to allow for control of the additional buttons. I’m not sure if there’s any considerations for using this style of button?
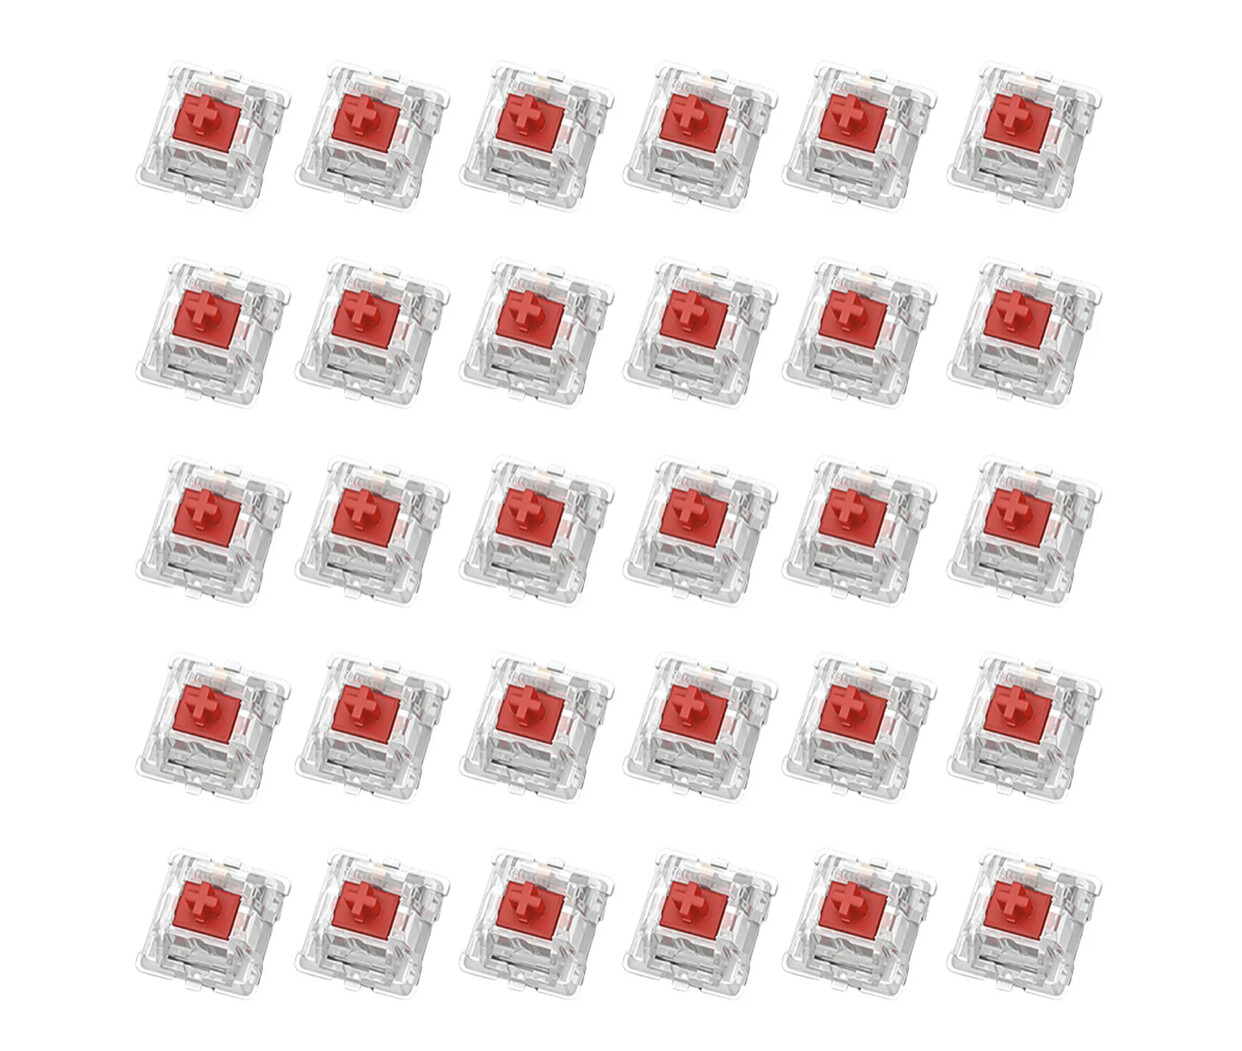
not on a zynthian, but because I am into building mechanical keyboards I have a lot of spare parts lying around and I use these mx-switches for many projects. They work great - but they are big and probably a bit overdose. Cheaper ones would work perfectly well.
What switch type do you typically use? Red? Or do you like the click from blue/brown style?
I think they could work ok in this scenario because it is a group of 20 in a rectangle arrangement.
Do you have any photos of the wiring? Did you solder directly to the bottom of the keys or did you use another method?
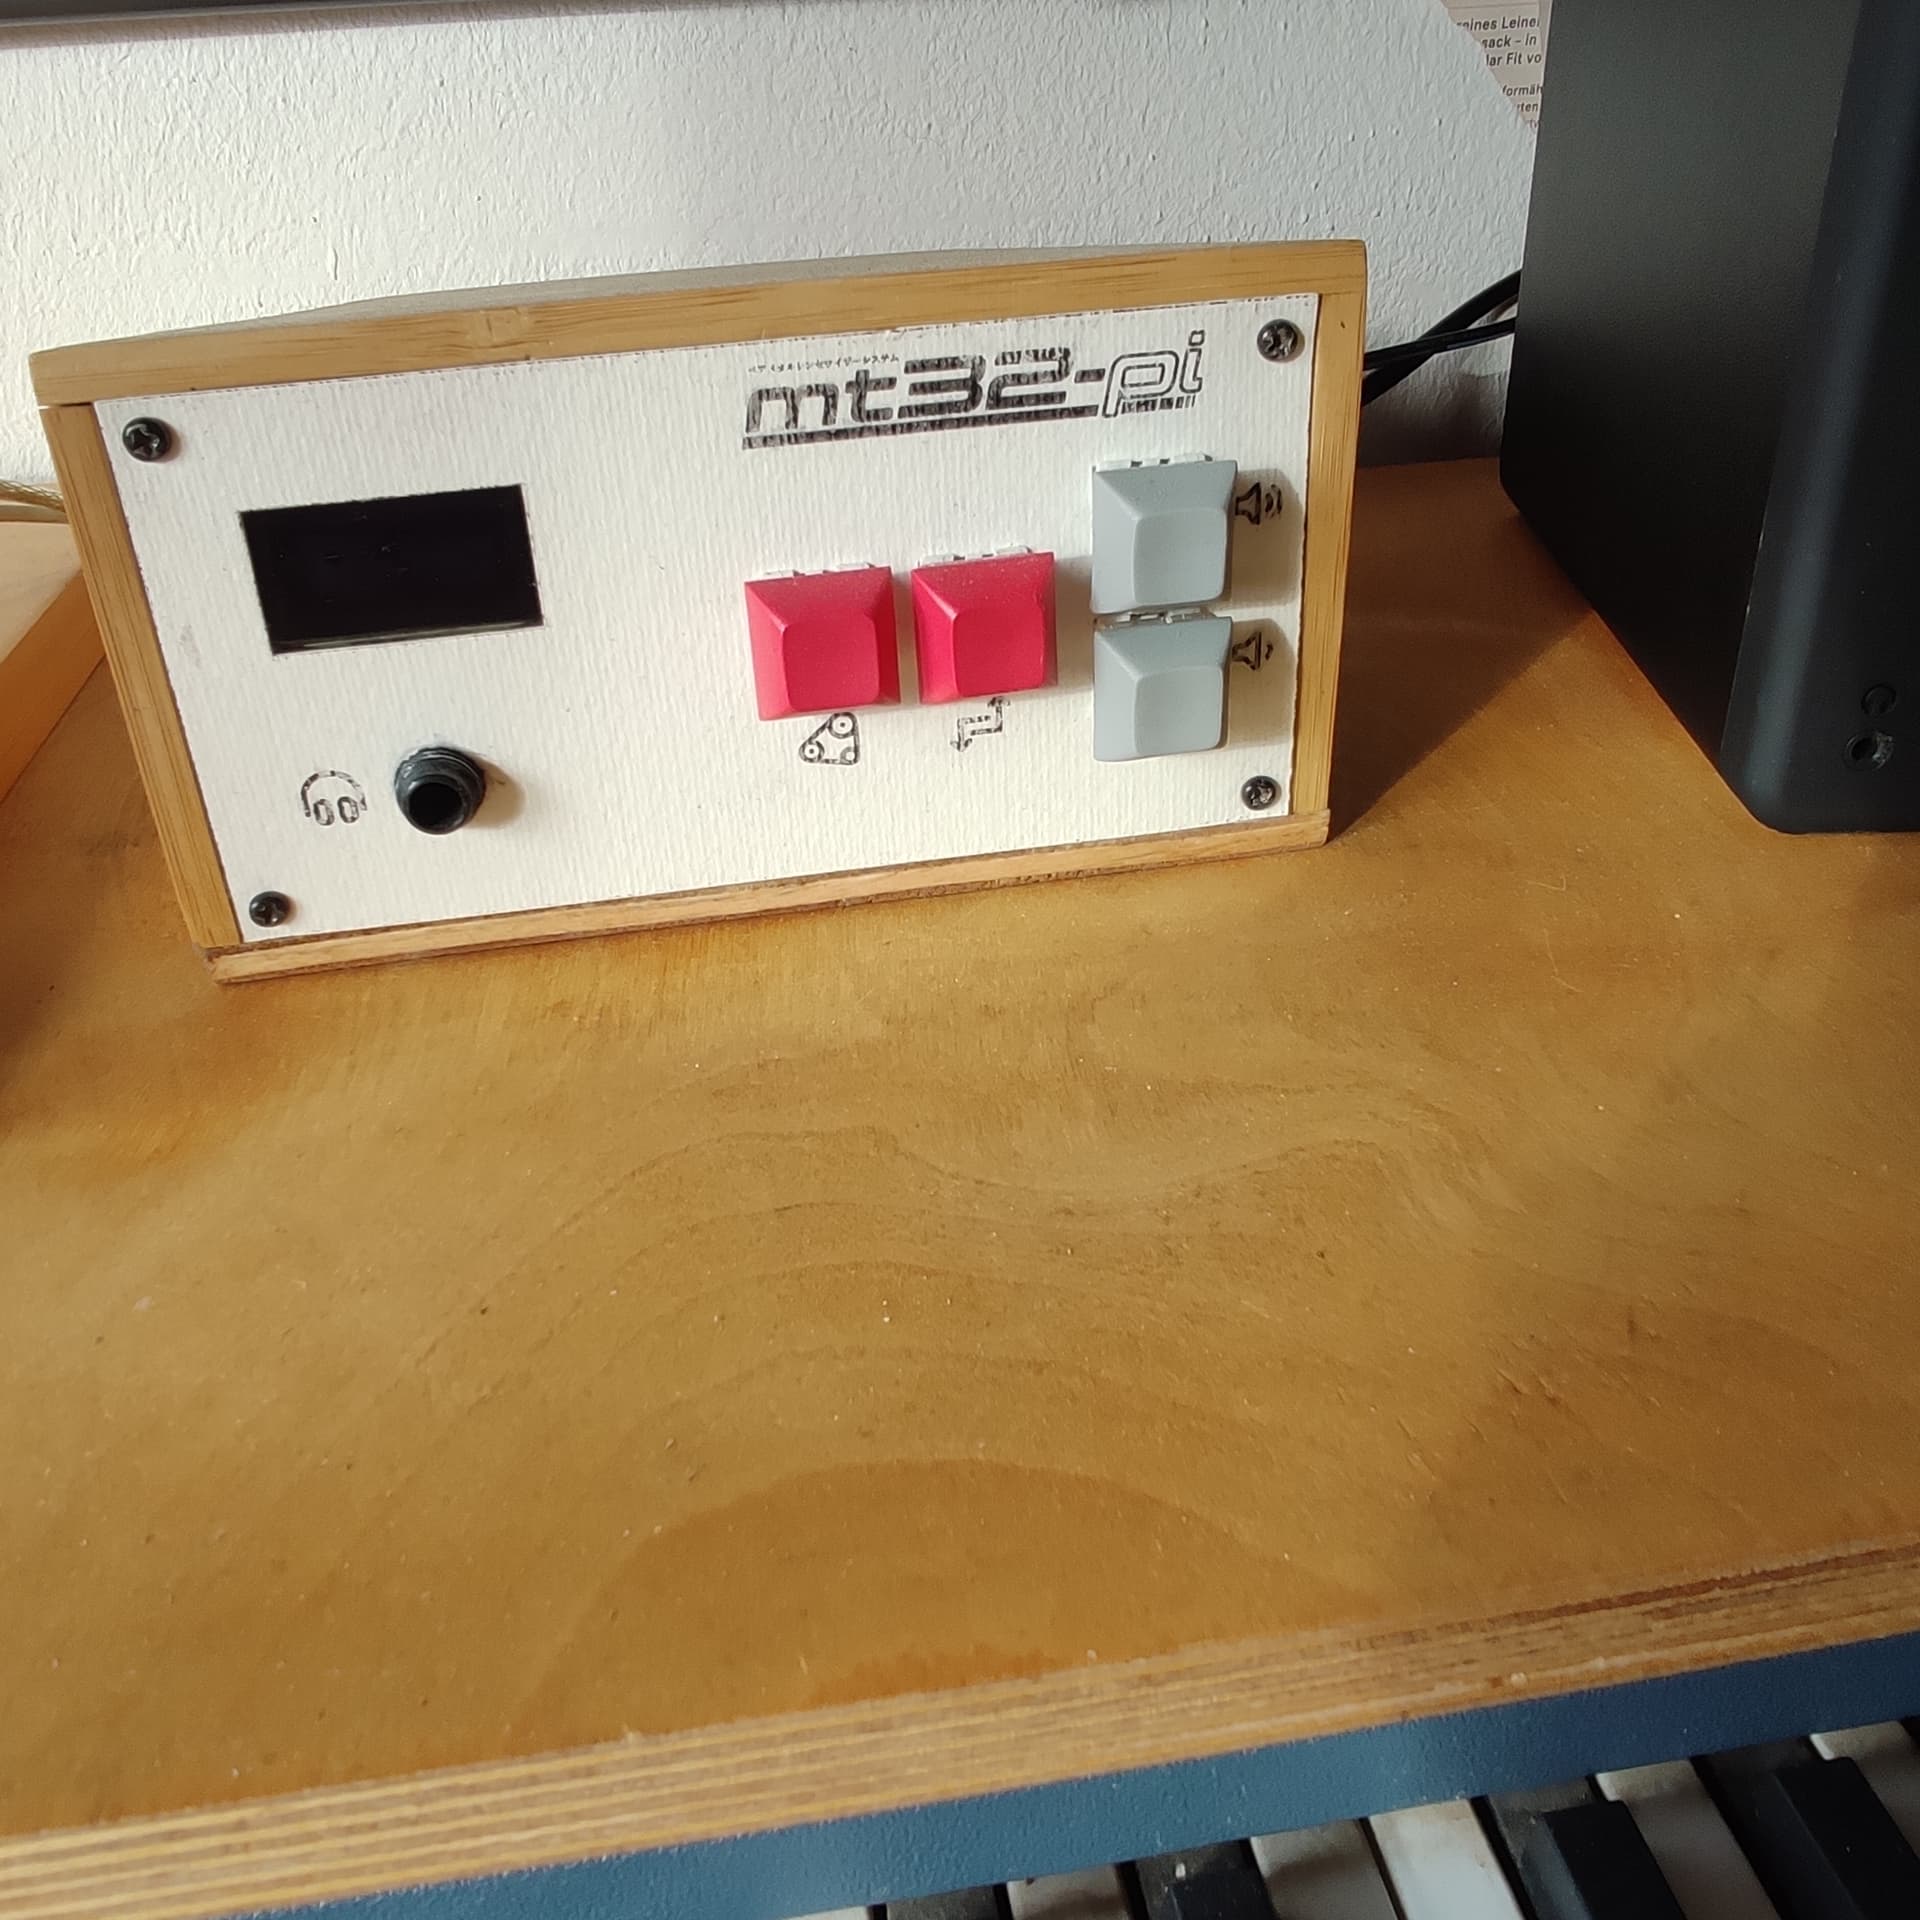
What does that box do by the way?
Oh gosh, I don’t suggest that you follow my lead on this. I am totally into hand-wiring, building my cases out of plywood and cardstock using book making techniques. See here for a WIP:
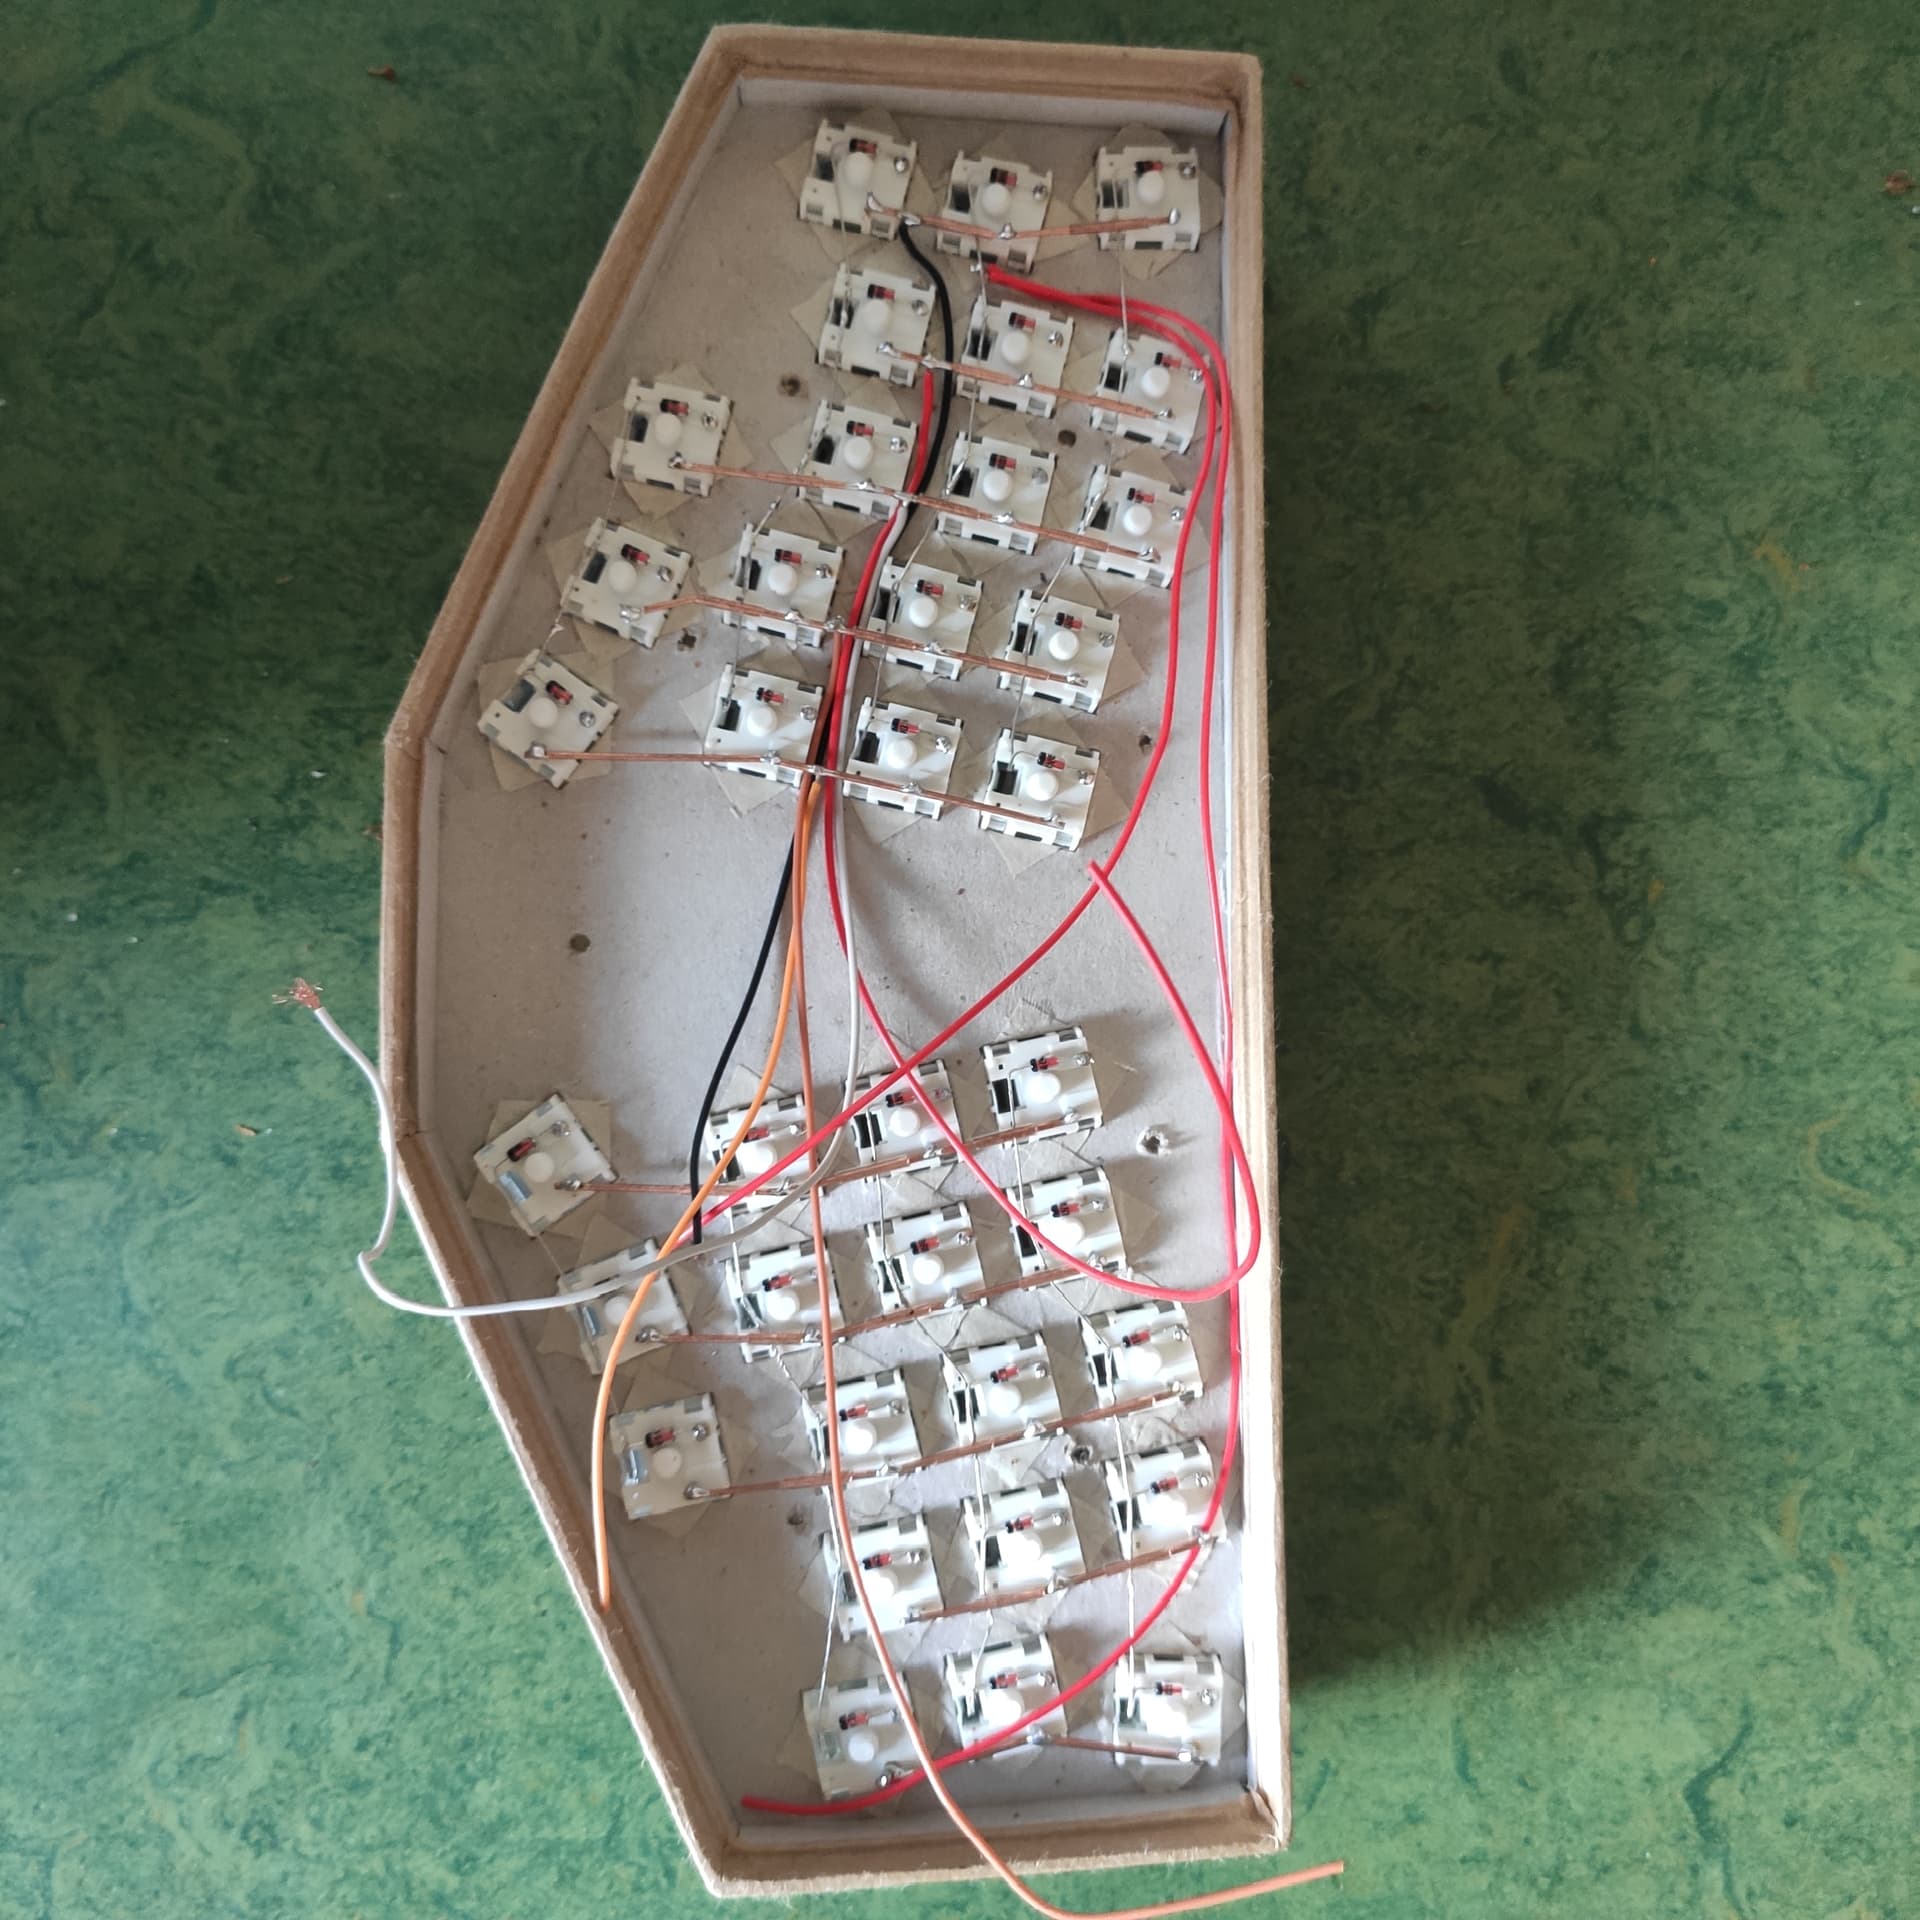
You should instead look what the keyboard builders do and lasercut yourself a front plate where you can snap the switches in and a pcb behind with sockets (there are some nice kicad footprints you can use)
Regarding the box, this is a MT32 Pi, mainly thought to play old MS-DOS games with original sound but I use it as a piano expander. It runs baremetal on the raspi (i.e. without OS) which gives you great latency (but awful soundfont loading times). Wouldn’t recommend it for music making.
Btw. I once thought of building a dedicated “Zynthian Controller” with ergonomic key layout and perhaps another 16 keys to control the sequencer using QMK and a raspberry pi pico, but I never followed through …
I was having the same thought, but switches do require something like ESP32 to emulate keyboard. So I settled to this: 11.86€ 44% OFF|16/20/24 Keys Mini Mechanical Keyboard Macro Custom Shortcut Programming Keypad Osu Gaming Keyboard For Windows Macos - Keyboards - AliExpress
That thing is amazing, you can configure it for any type of shortcut (or even mouse actions), or makro, or skript almst anything really. Also every button has configurable RGB led. Settings are stored in the keyboard itself. Now I have to figure out what UI actions do I need to map it in WebConf so it would be as close as possible to official kit. Someones are obious (like arrors, select and back), others not so much.
Even MIDI?
No that is not possible, but you could use ESP32 and write a program that would translate predefined keys to HDMI output.
1 Like
I don’t see RGB LED mentioned in the sales page and they do black key version which are even less likely to have this feature. There is this type which has buttons and encoders with RGB LED (althought this particular supplier does seem to get quite expensive as you reach the better / bigger layouts).
We did consider producing a USB keypad for Zynthian but as you are finding, there are so many options that users may want to configure that it is seldom a “one size fits all”. There is a template of keybinding for numeric keypads (which I think is implemented by default in the build) that maps a standard USB keypad in (what I think is) a useful way.
It would be nice to driver the LEDs of some of these USB interfaces but this is likely to need more work for mapping in our configuration tools.
1 Like
Yeah I was suprised by that as well. I was looking for simple 45 keypads + ESP32 and that was mission impossible. 43 and 4*4 is all there is. So I was quite happy with what I found. The LEDs are mostly just for fun, since you have no way how to change them once they are configured (done via Web-based app). Well not easily at least. I would appreciate if someone could come up with some sort of map that would show what CUIAs are mapped to what v5 KIT`s buttons. That would be awesome.
I am gonna support this project for sure. Has been a fun ride so far.
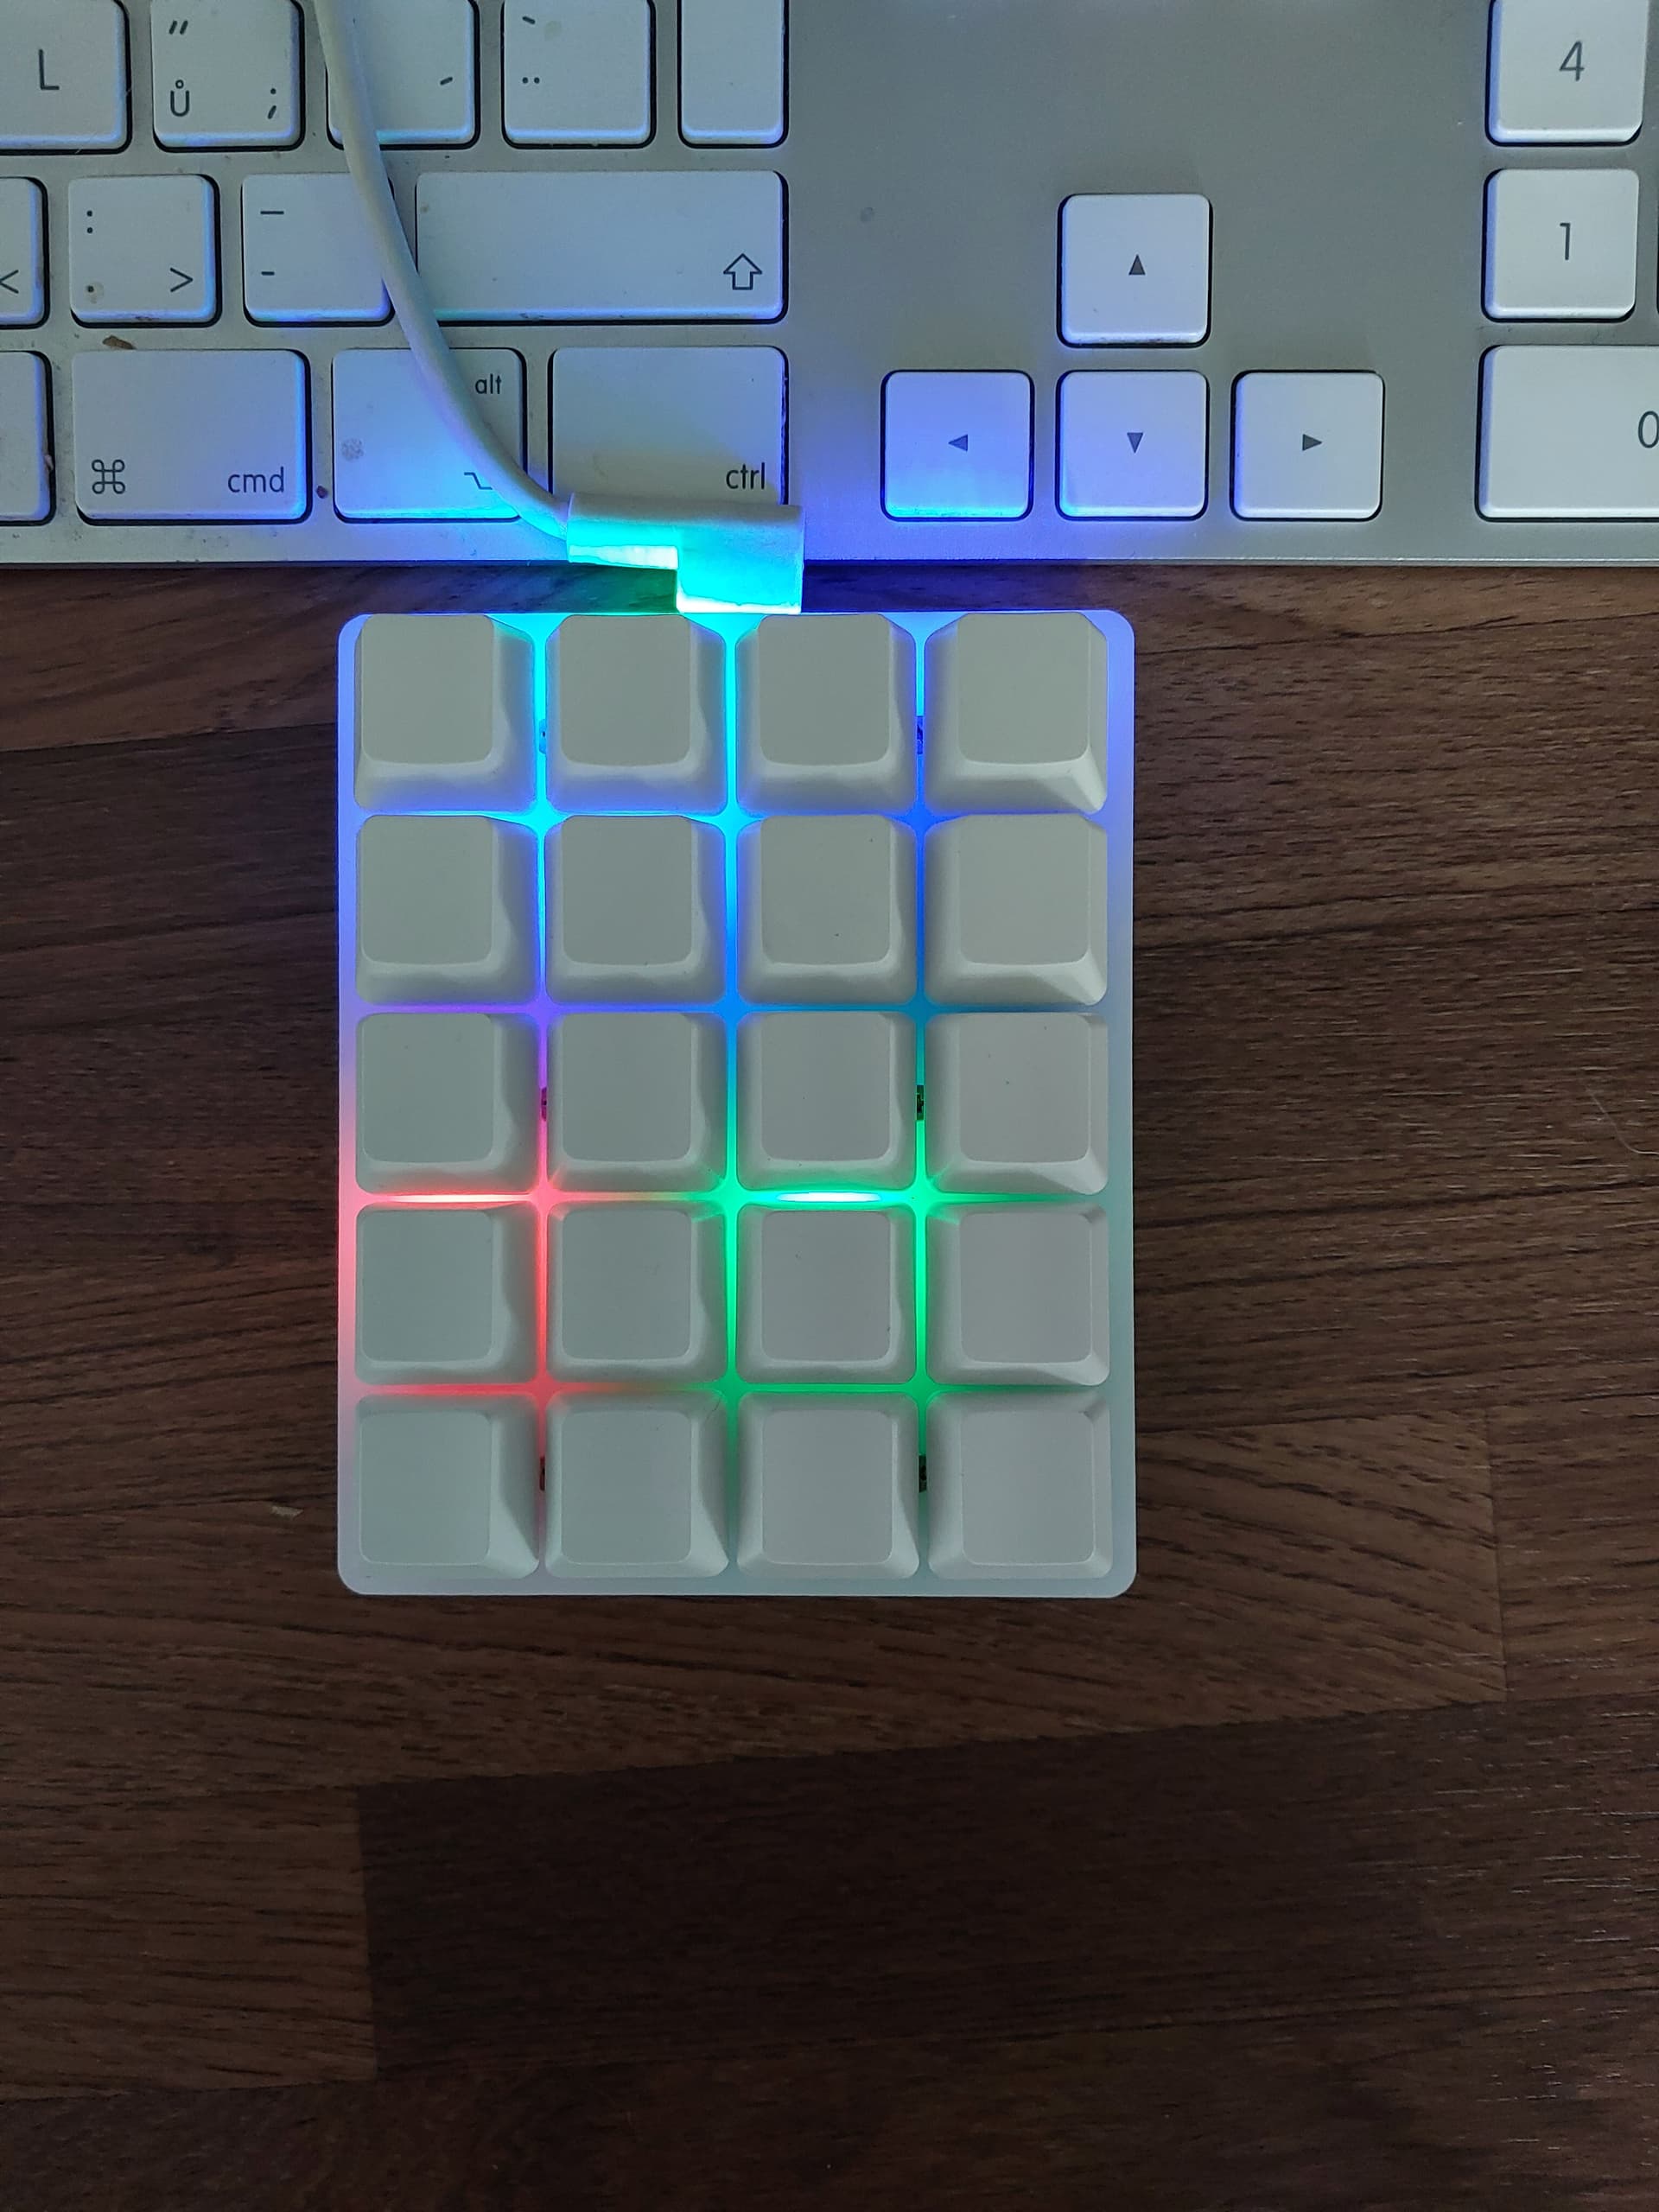
Those LEDs look nearly useless! they don’t seem to represent individual buttons so don’t give much useful feedback, even if you could dynaically drive them.
You can see this in webconf. Go to HARDWARE->Wiring and enable “Advanced View”. You will see how all the buttons are mapped. I think there is (or should be) a diagram of which button is which for the V5 in the hardware repro.
Thanks for the hint.
LED placement is good, those caps are the problem. Perhaps with some transparent or translucent caps would be usable. But again, it was not my intention, i did not even know that the keyboard had them.
There are a few issues to resolve with LEDs associated with buttons:
- You need to be able to see them - the LED must be bright enough to shine through any hinderences like enclosures but not so bright as to glare.
- Bleed - the LED from one button should not be visible on the adjacent buttons. This can be done by building lightboxes.
In riban modular I 3D print a spacer between the PCB and the panel that has individual cells for each switch / LED and hence acts as lightboxes avoiding spill. I also use translucent button pushes to allow light to shine through the button. It is not tranparent so diffuses and reduces the light level. I then use LED drive to avoid driving the LED too hard so as to avoid glare.
I looked for small pushbuttons with individually addessable RGB LED but there seem to be none on the market so I built my own with PCB mounted tactile switches and WS2812B LEDs, front panel with holes for button push, translucent button pushes and spacer to act as lightbox and spacing / rigidity.
1 Like
@culfytt I think for the price this is handy just as a simple USB HID device.
If it can send MIDI message that’s even better
How are the leds adrsseable ?
For RGB leds, one can think as per button or per function (Global / ZynPad / Engine / …) and make something simpler ![]()
I mean matching the right RGB led in the strip with the corresponding button is doable but …
RGB are set via WebBased App once they are set they stay that way. Unluess you plug it into ESP32 and reverse engineer the app itself. You colud download the app, i think it is simple JS so it might be doable.
Question is how would you know what the state of the buttons are or should be (normal mode, alt mode etc). I dont know what the original kit uses for this, perhpas I2C and some sciprt that controlls the keypad?
Regarding the MIDI, if you use ESP32 I think that might be doable and you could integrate short/bold/long presses which is something that you cannot do if you use this device in keyboard mode. Unless you sacrifice some keys to be ctrl/shift/alt etc. and you press key combo.
If you use it as a simple HID keyboard look at zynthian.local/ui-keybind. If you want to mimic the V5 layout and behaviour, look at zynthian.local/hw-wiring.
See also:
https://wiki.zynthian.org/index.php/Zynthian_UI_User_Guide_-_V1/V4#CUIA:_Callable_UI_Actions
And
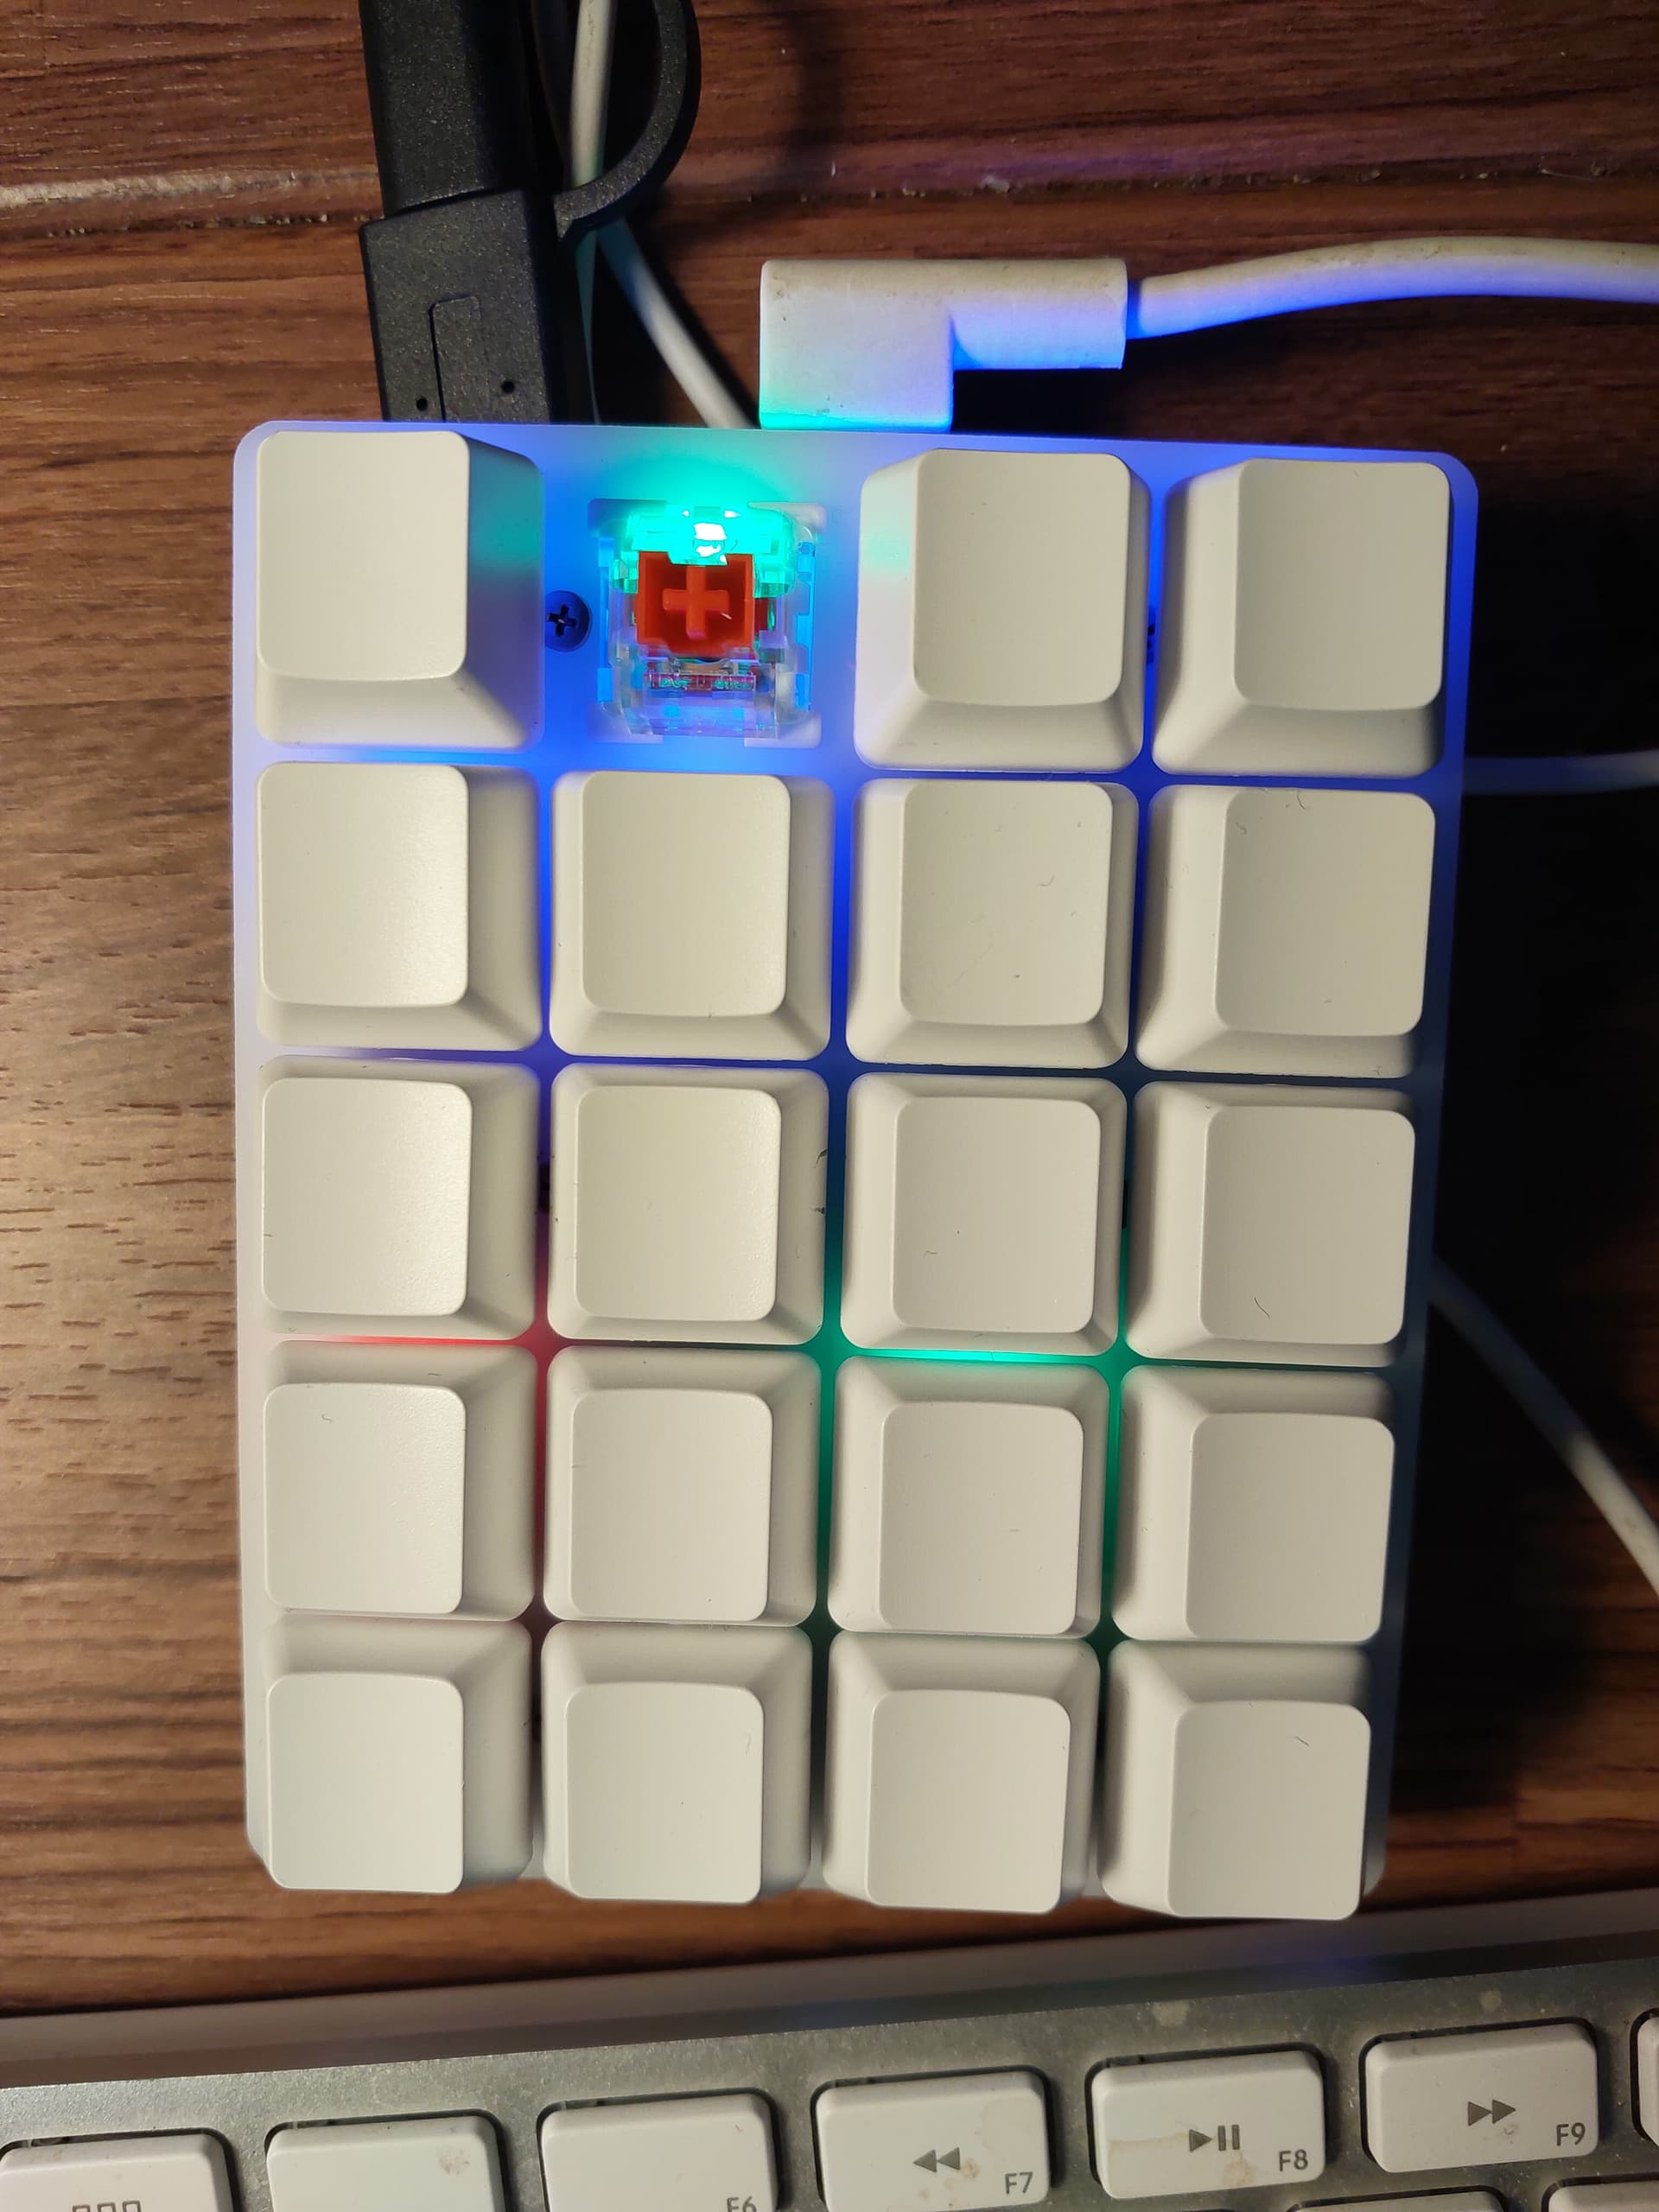
I laser cut a face to host a 7" screen (haven’t decided which one though), encoders and the buttons.
They fit quite snugly but there’s a small tab which I think is used to spring snap into place on a keyboard frame. They get a bit squished when I insert them in these openings but it’s probably ok. The openings are just a bit close together so the keys actually overlap. When I press the down arrow, all of the buttons go down! I will have to increase the spacing when I cut it again.
I’m not looking forward to soldering and I’m thinking that I should solder wires with connectors on the keys so that I can still remove them after everything has been soldered together.
@mbvs It looks nice and I like the idea of the book binding technique but yes, it looks like a lot of work! All that soldering wow. If you decide you want to adjust it, you may have to destroy the thing and make it again?
That website is a window into a world I didn’t know existed…next level custom keyboards


1 Like
Looks great - standard spacing of MX switches is 3/4 inch, 19.05 mm. Thickness of the plate is 1.5mm, Switches snap then right in. Cause I cut the openings by hand I add a bit more.
And yes - handsoldering is (more or less) a one way ticket and a lot of work - mostly planing and preparation but I like it and some people go really bonkers with it:

1 Like
btw. you can buy sockets for these keys. They are meant to be soldered on pcbs but perhaps they could come in handy when using wires like you suggested …
2 Likes