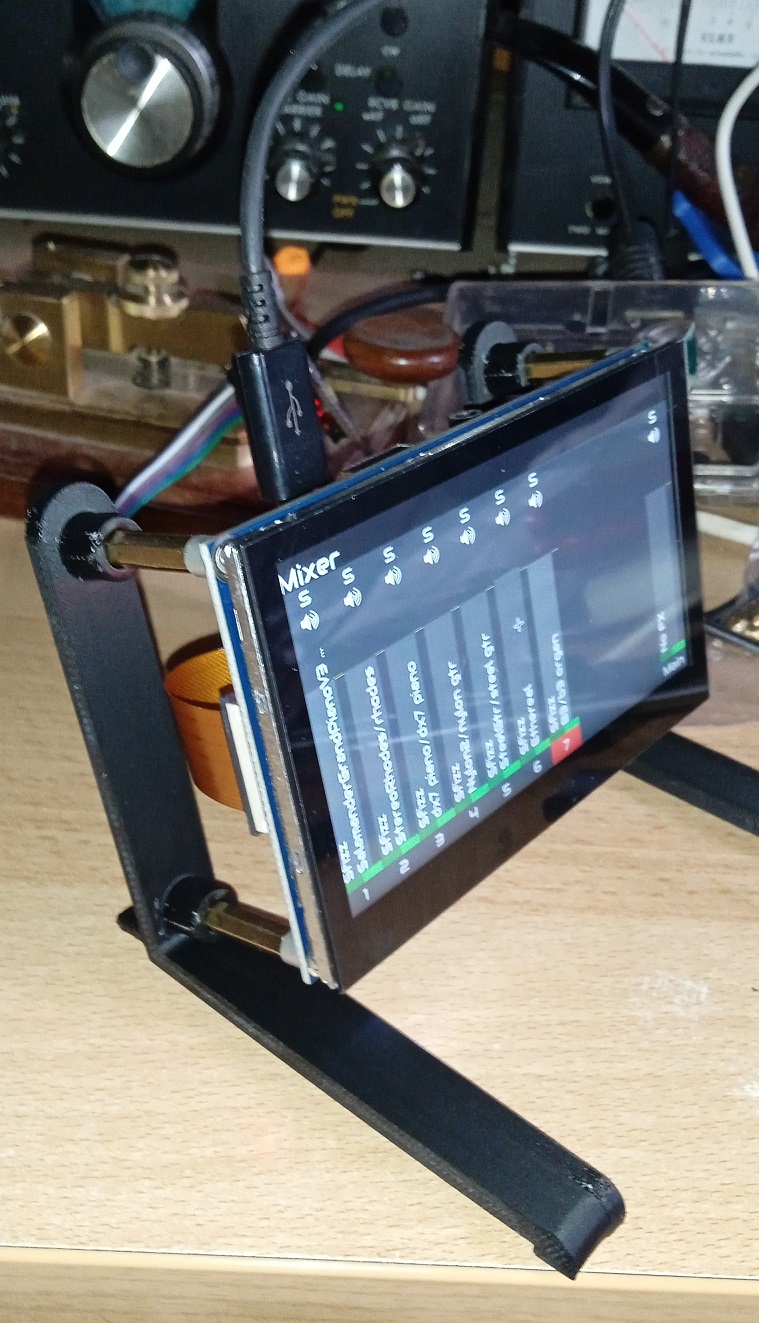
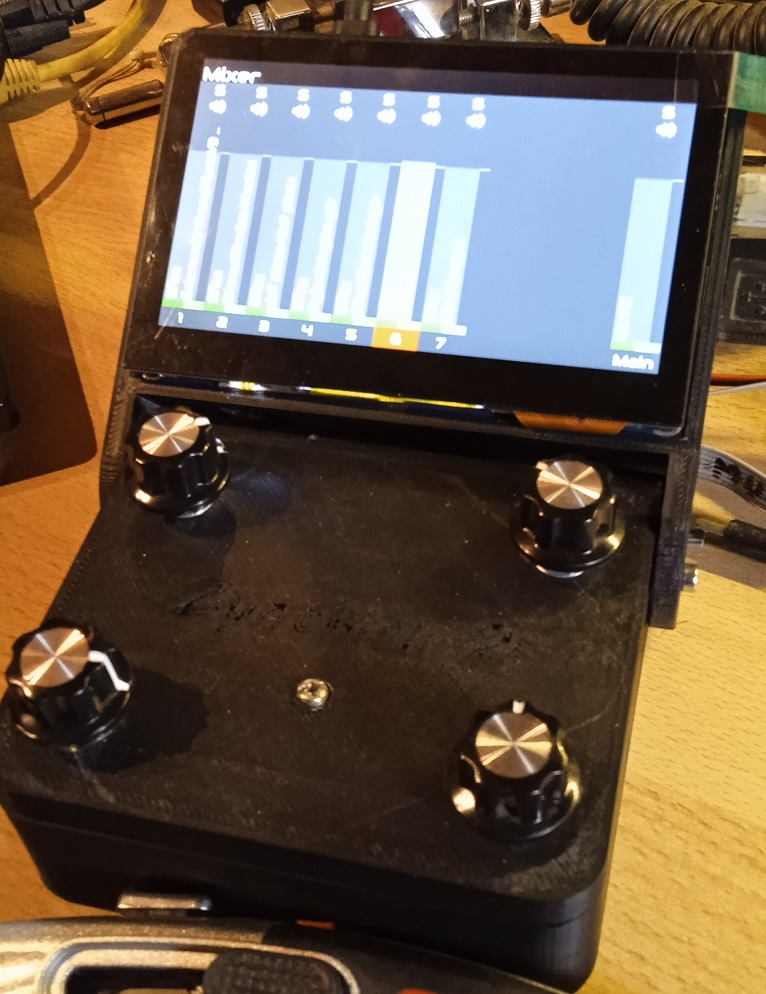
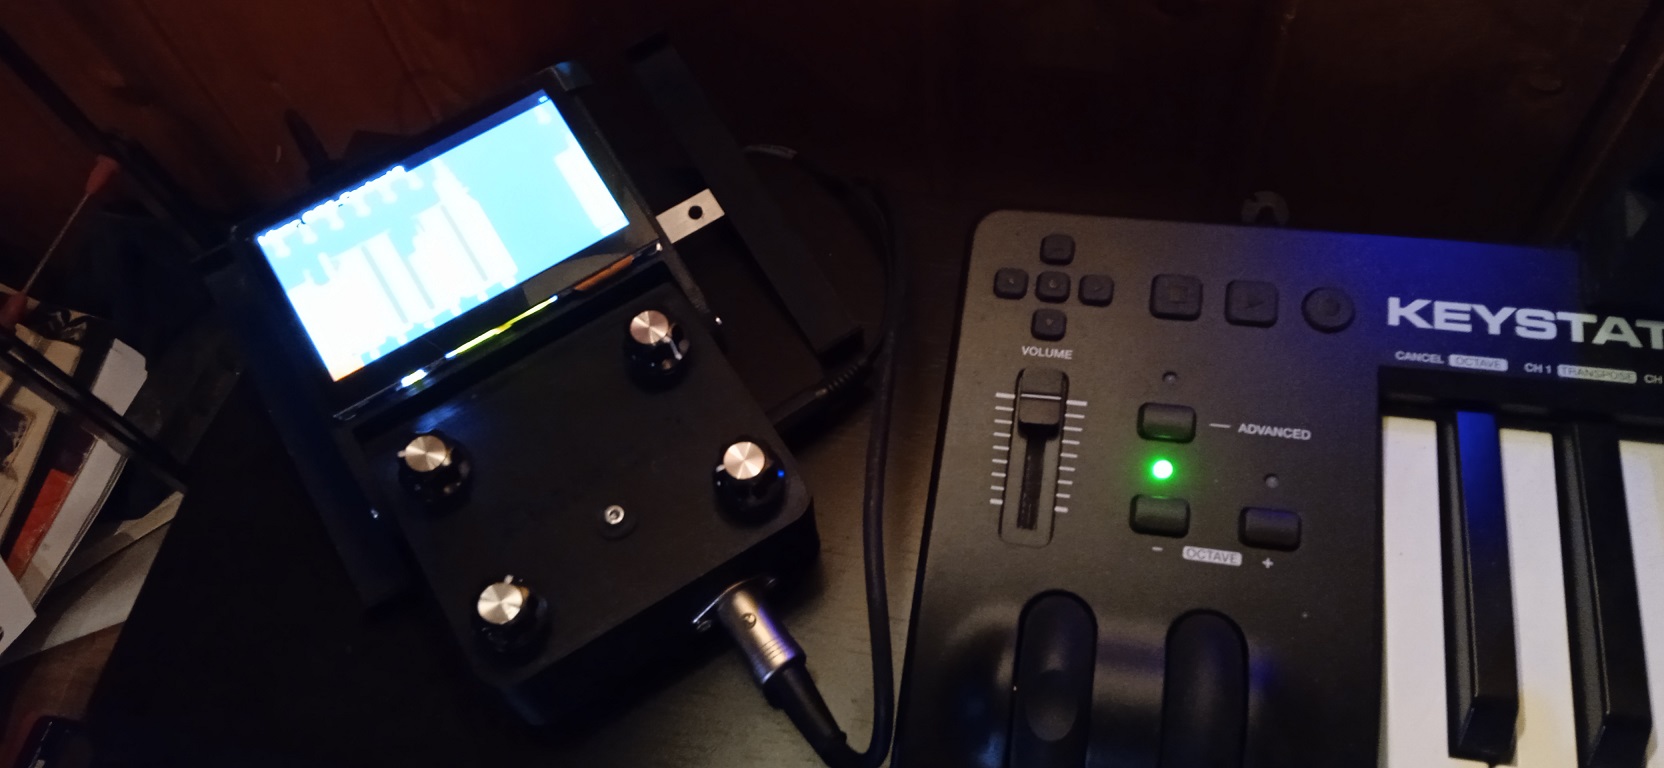
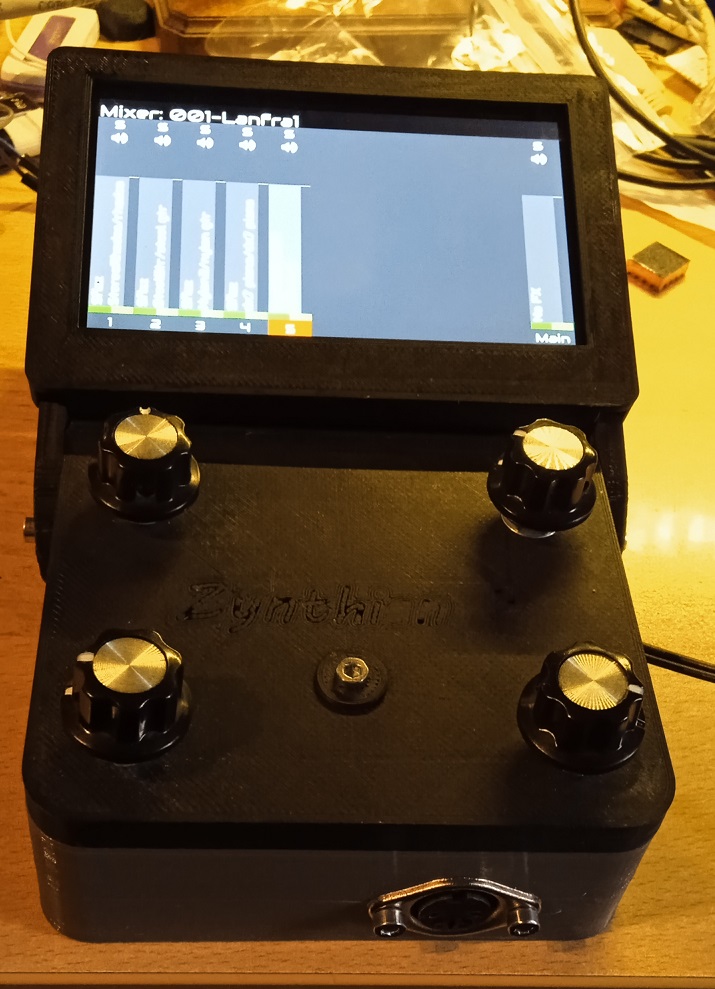
I had a Raspberry P3+ with display and I made two supports to have a Zynthian on my desk (sometimes I use it with Kodi and sometimes to check the passage of the weather satellites…) ![]()
![]()
![]()
![]()
4 Likes


Since someone liked it, I’m attaching the 3D print files tomorrow.
hey good !
But tell me, is it really needed ? Did you notice some huge improvement in the way that Zynthian acts with a cooling system.
great ! I find your DIY Zynthian so nice. Don’t forget to attach a kind of “BOM” with your 3D file
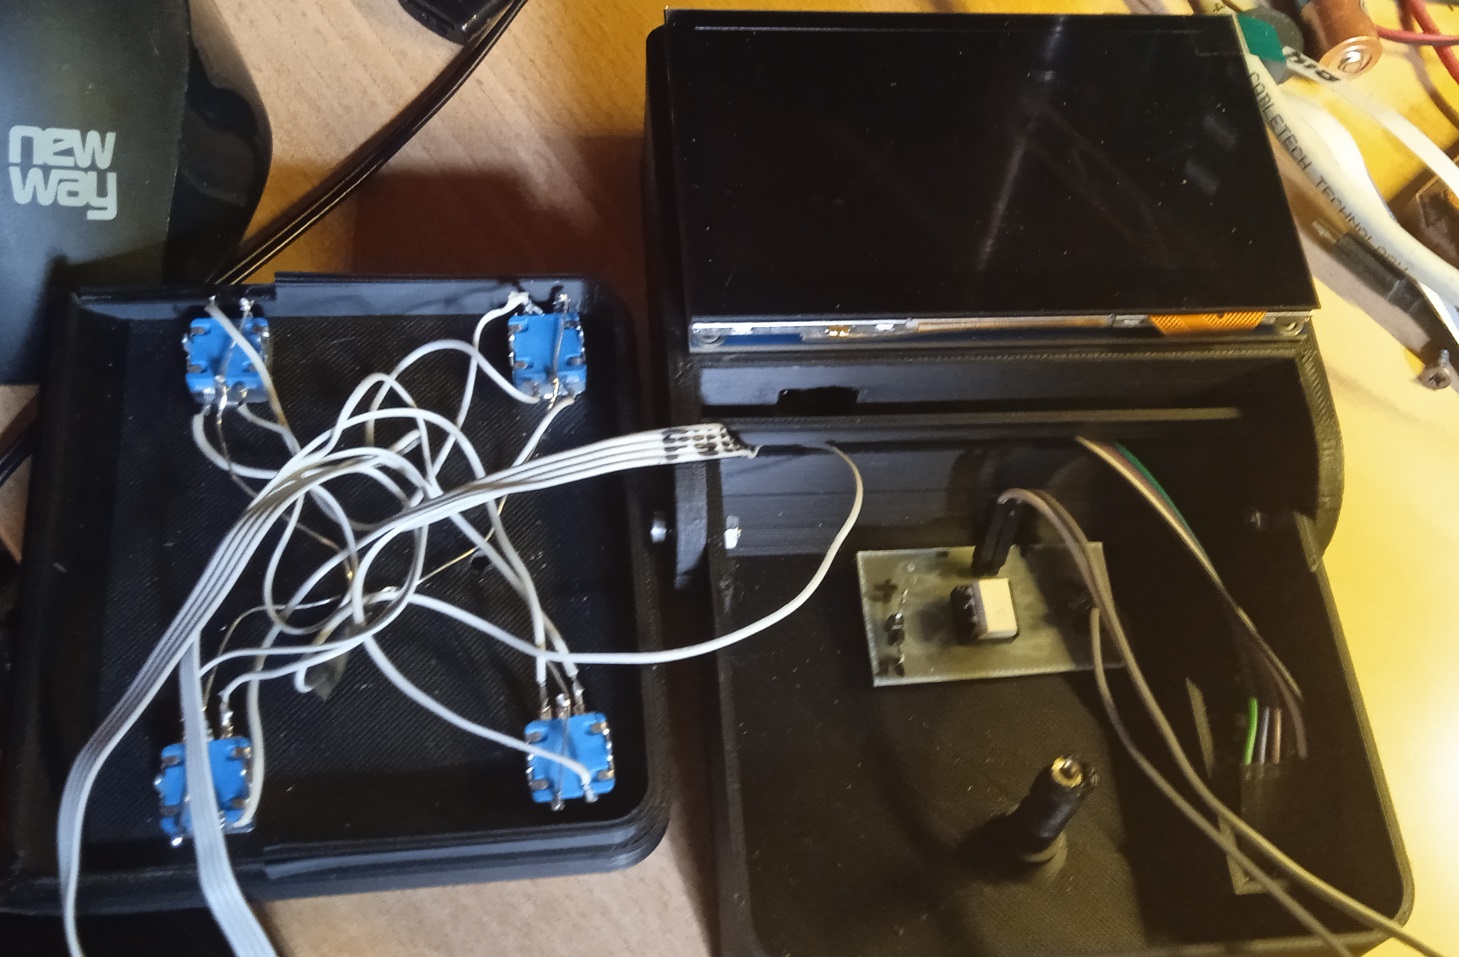
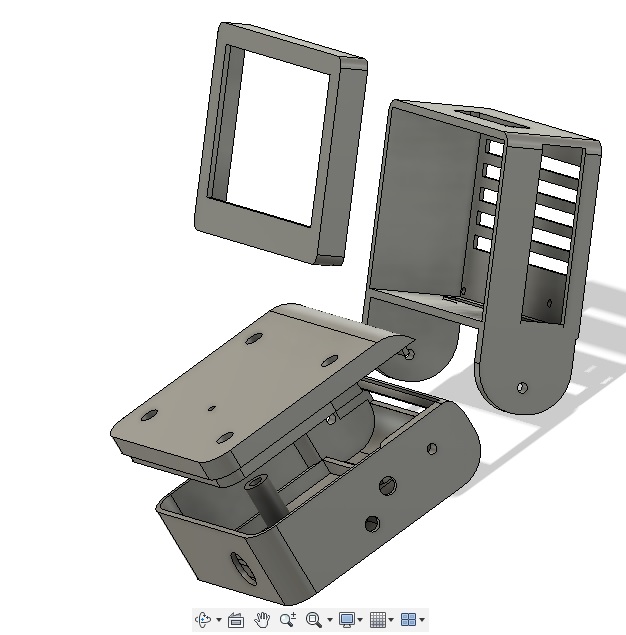
Thanks le51… if by “BOM” you mean an exploded view… here it is:
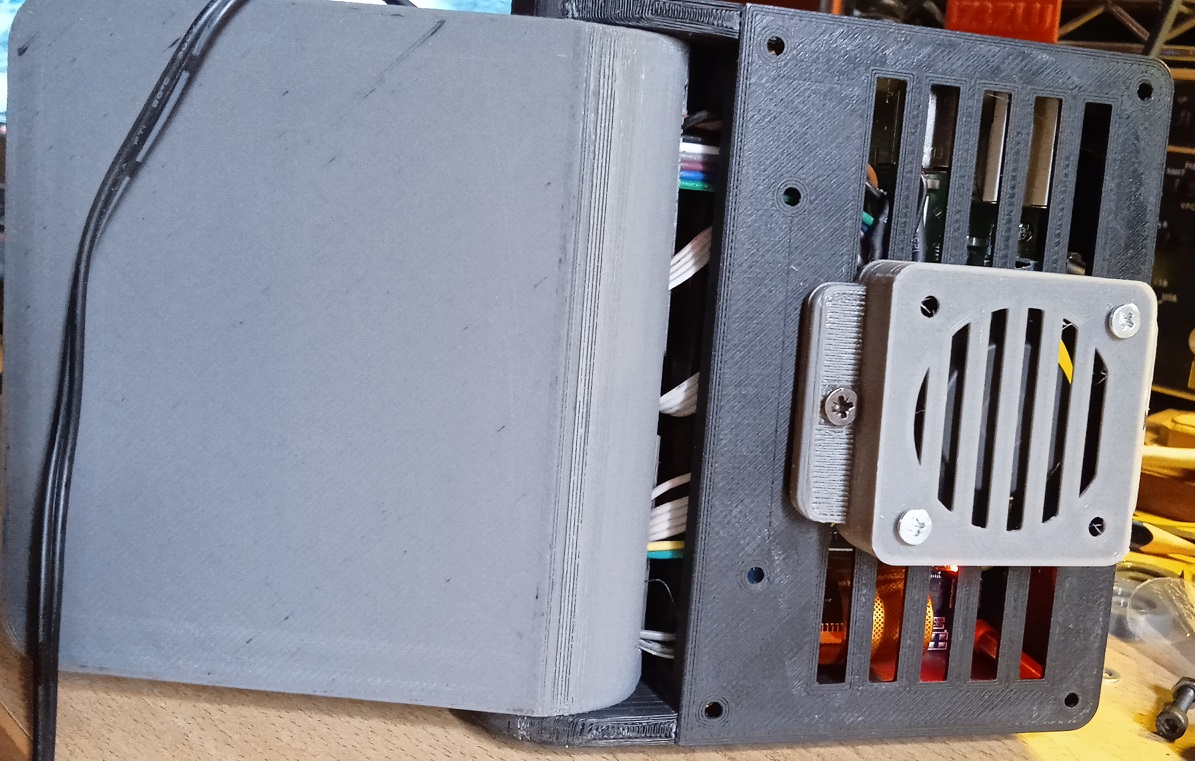
I put the fan on because trying the minimal Zynthian… and by “trying” it means played for at least 3/4 consecutive hours, the “temperature” icon came on.
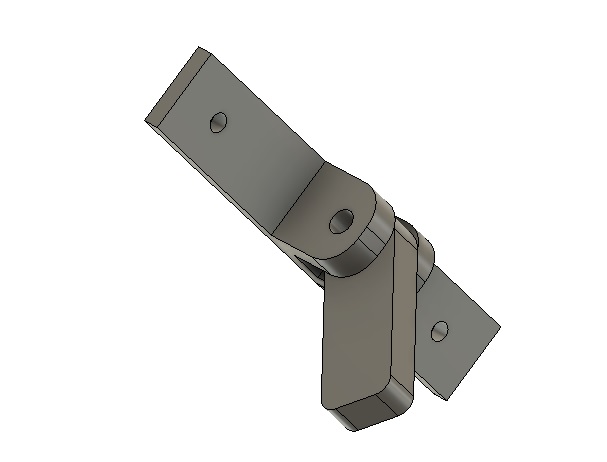
Being the Raspberry and the display in the upper part of the case, it is necessary to print an arm that rests on the table… otherwise the weight will overturn everything.
BOM = Bill Of Materials - a parts list - which in this case i think means the specs in terms of fan and hole size, perhaps even a model number for the fan - and maybe even recommended screws - whatever you think would be useful to the DIYer trying to use your plans.
2 Likes
Oops… thanks.
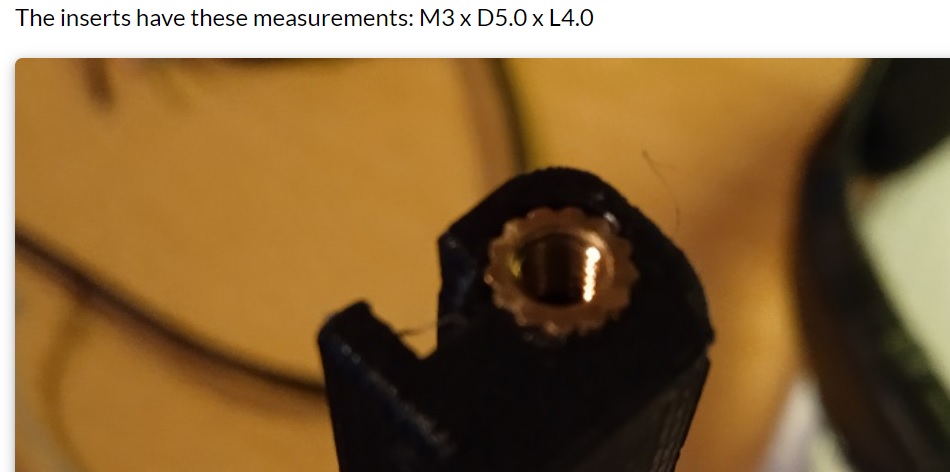
All parts are printed in ABS or PLA or PETG… it doesn’t matter if you have a good printer. Apart from the Raspberry (in this case a P3 B+), the display (Waveshare 4.3inch DSI Lcd), a five-pole socket for MIDI and the PCM 5100 audio card, the rest is homemade, therefore the pcb with the few components for MIDI it is self-built. Everything is molded to fit together and you only need two 3X20 and two 3X10 screws with nut for the MIDI socket, then a 3X20 with an insert to close the lid:
2 Likes