Oh dear… I just slipped and accidentally bought my first eurorack module. Well, not exactly a module… a face plate and a circuit board. I didn’t even think it through. Just ordered it. Have not ordered the components to solder on to it yet. In my defence, I have been left unsupervised throughout 2020. Did I screw up? Is it too late? Should I warn my bank manager? Is there any hope?
(p.s. I was going to ask “When is the zynth eurorack form factor being released?” but i am fibbing a bit about ordering my first eurorack module… I have already received a 3d printed eurorack mount for a raspberry pi official 7" screen. Can you guess what it is yet, kids? )
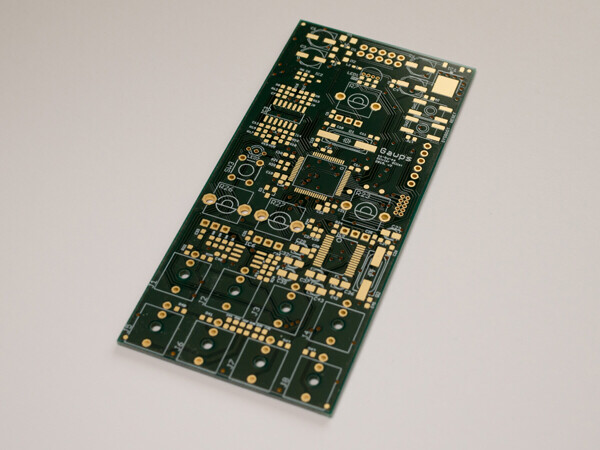
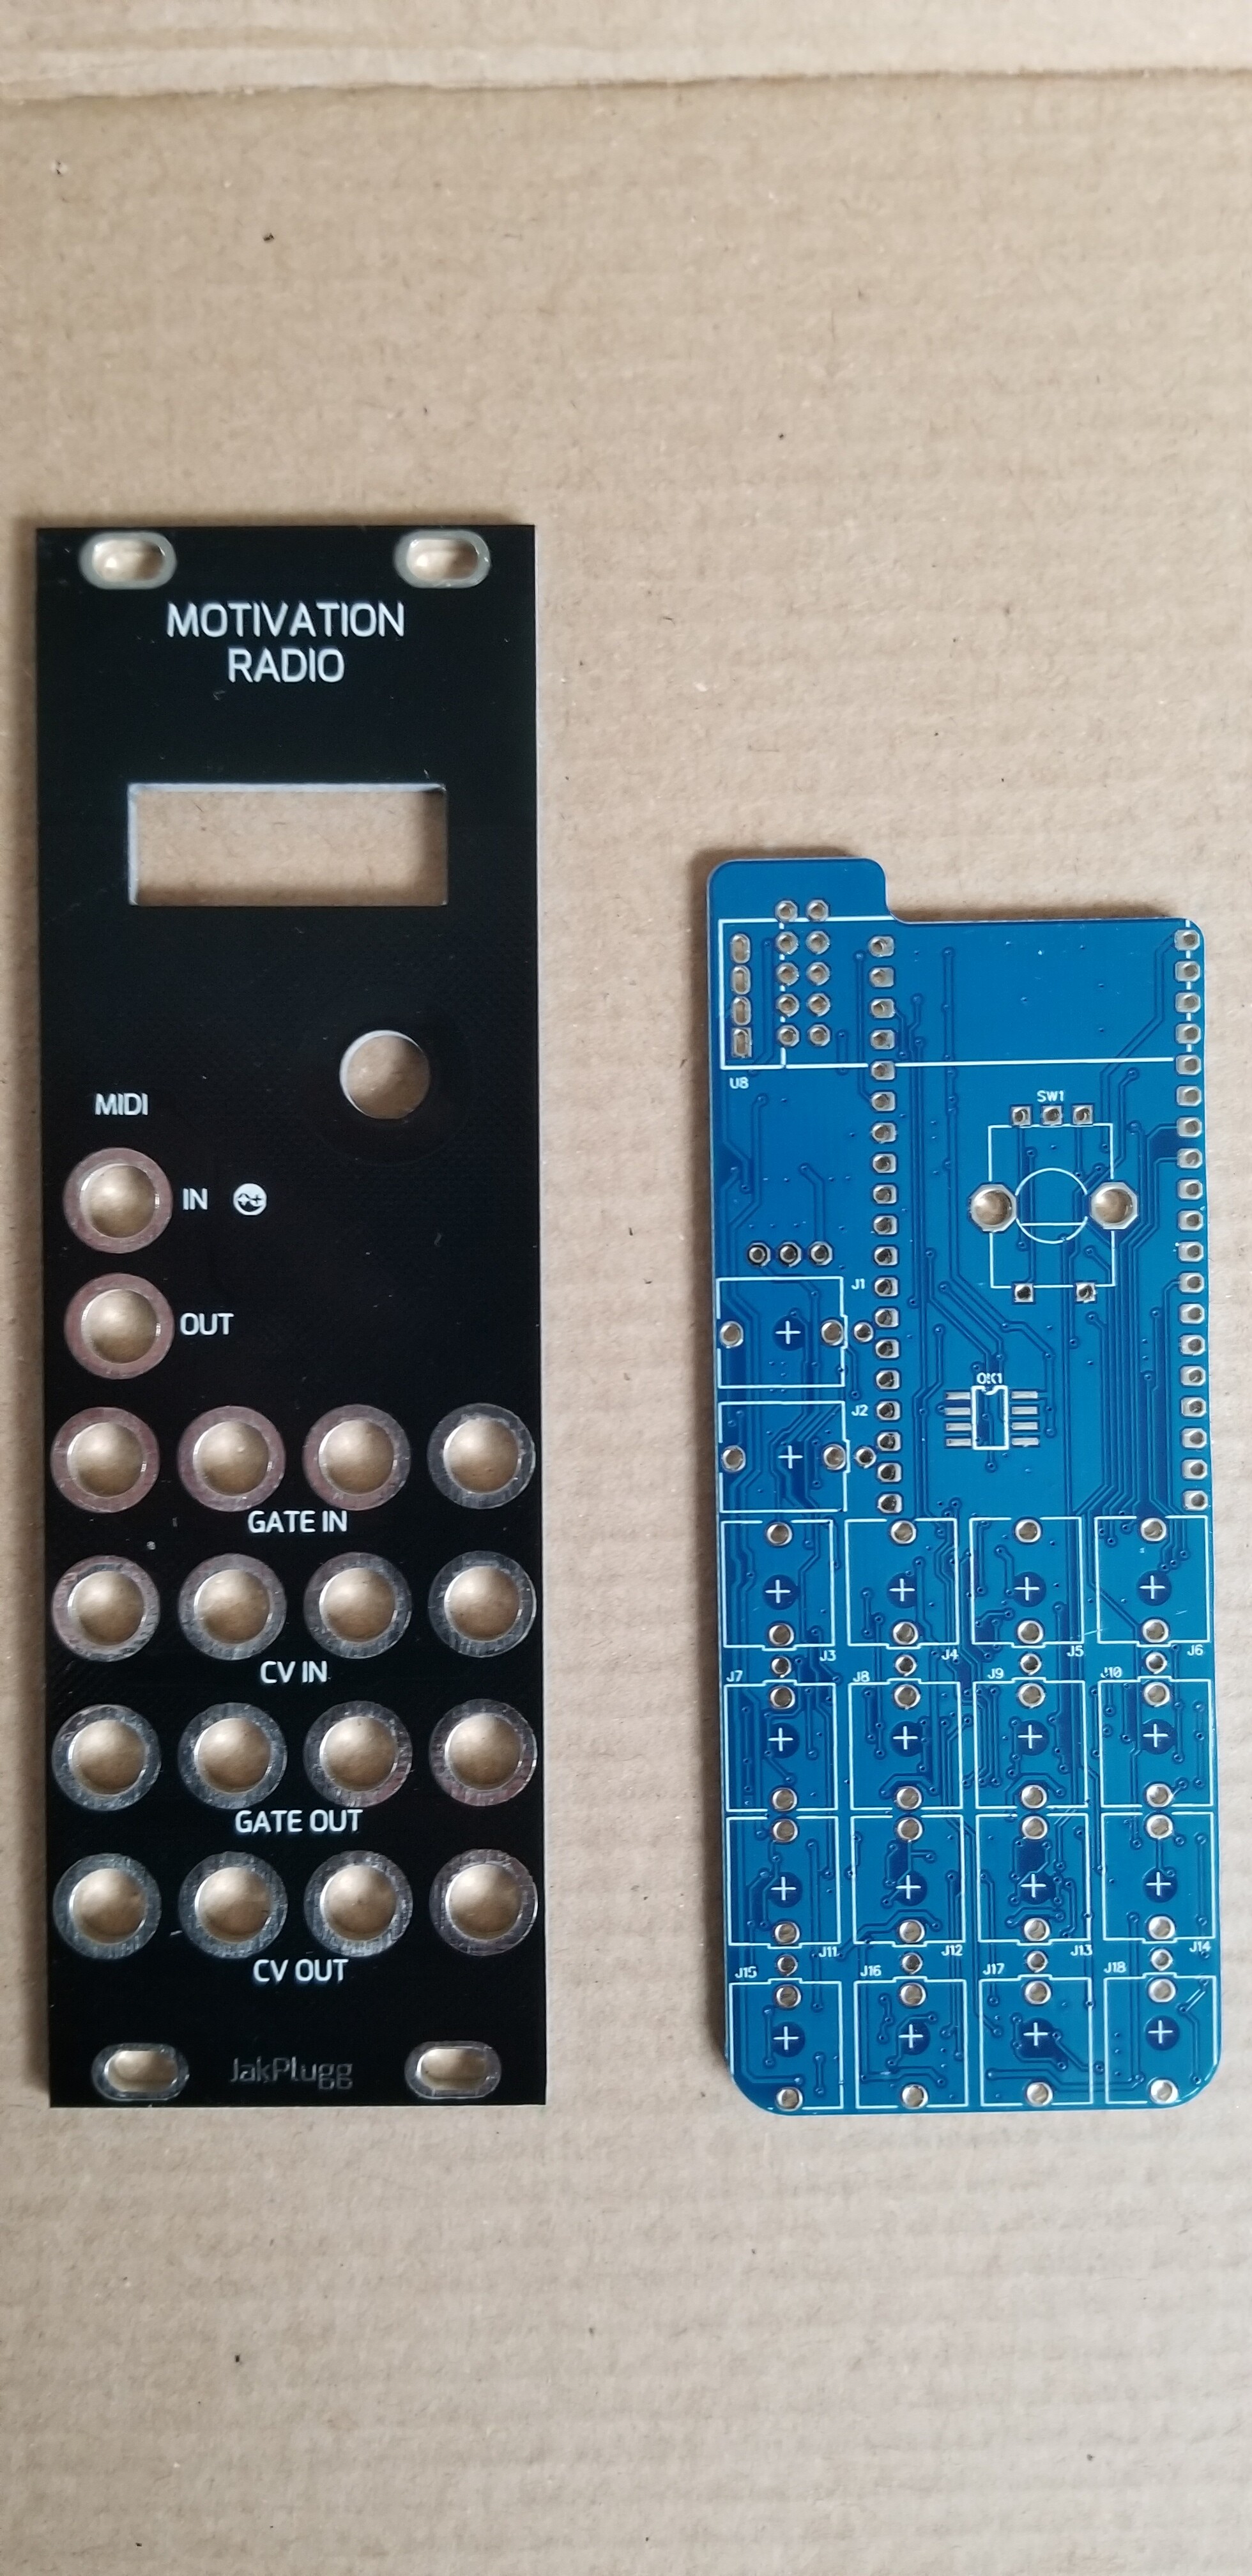
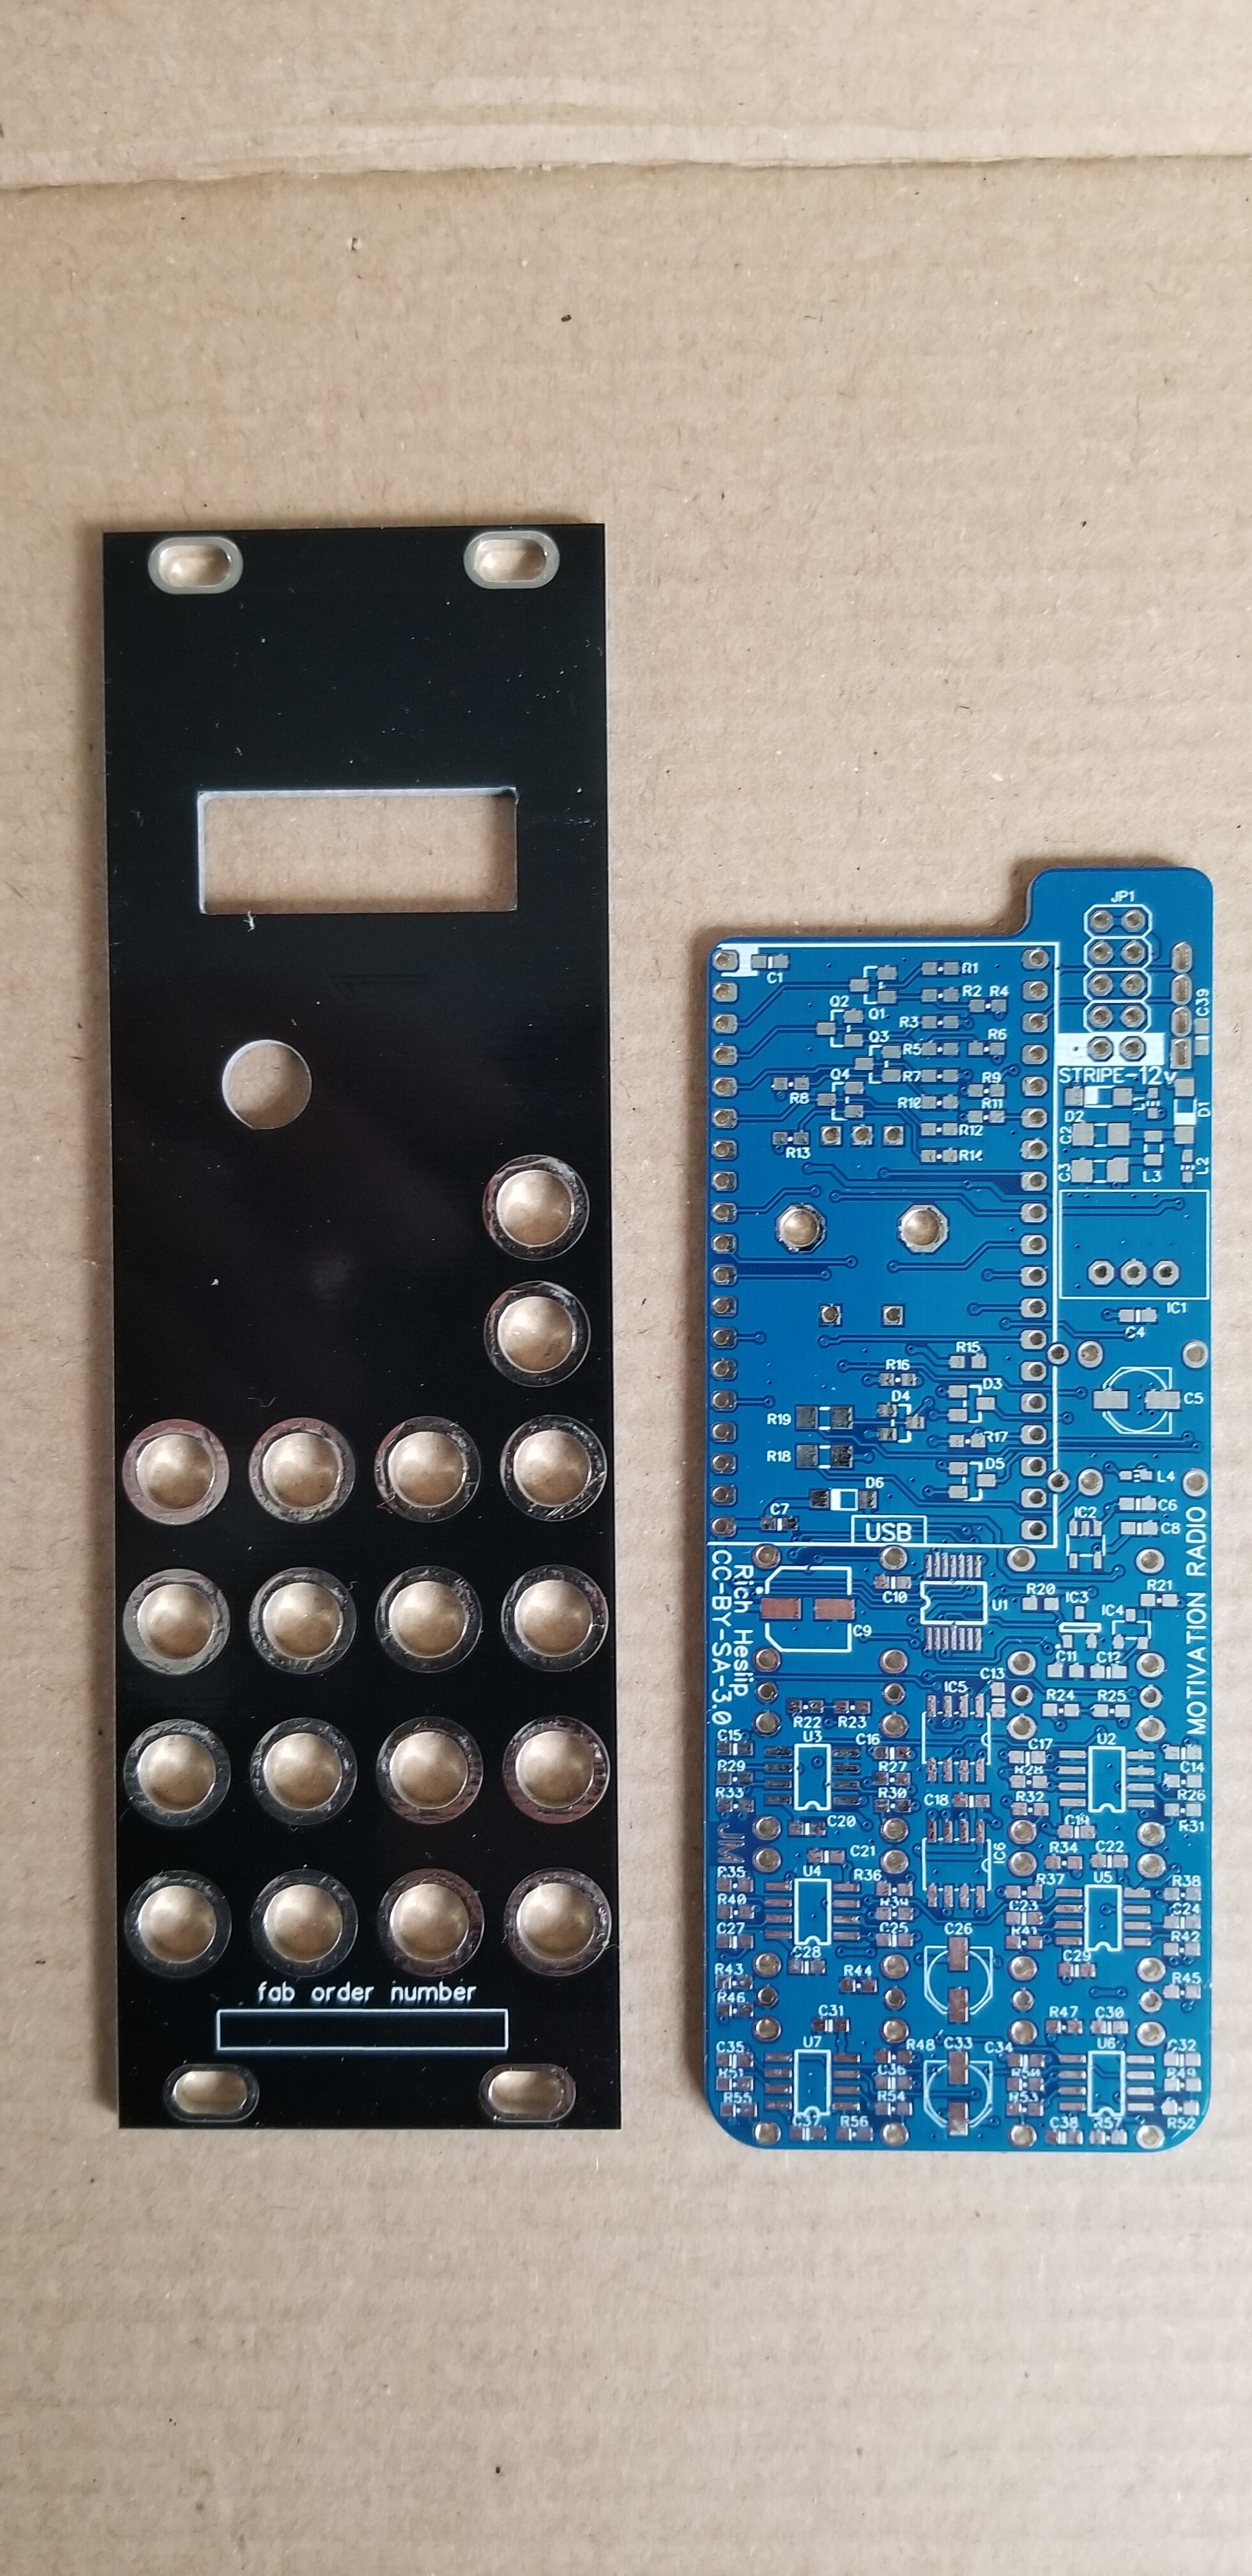
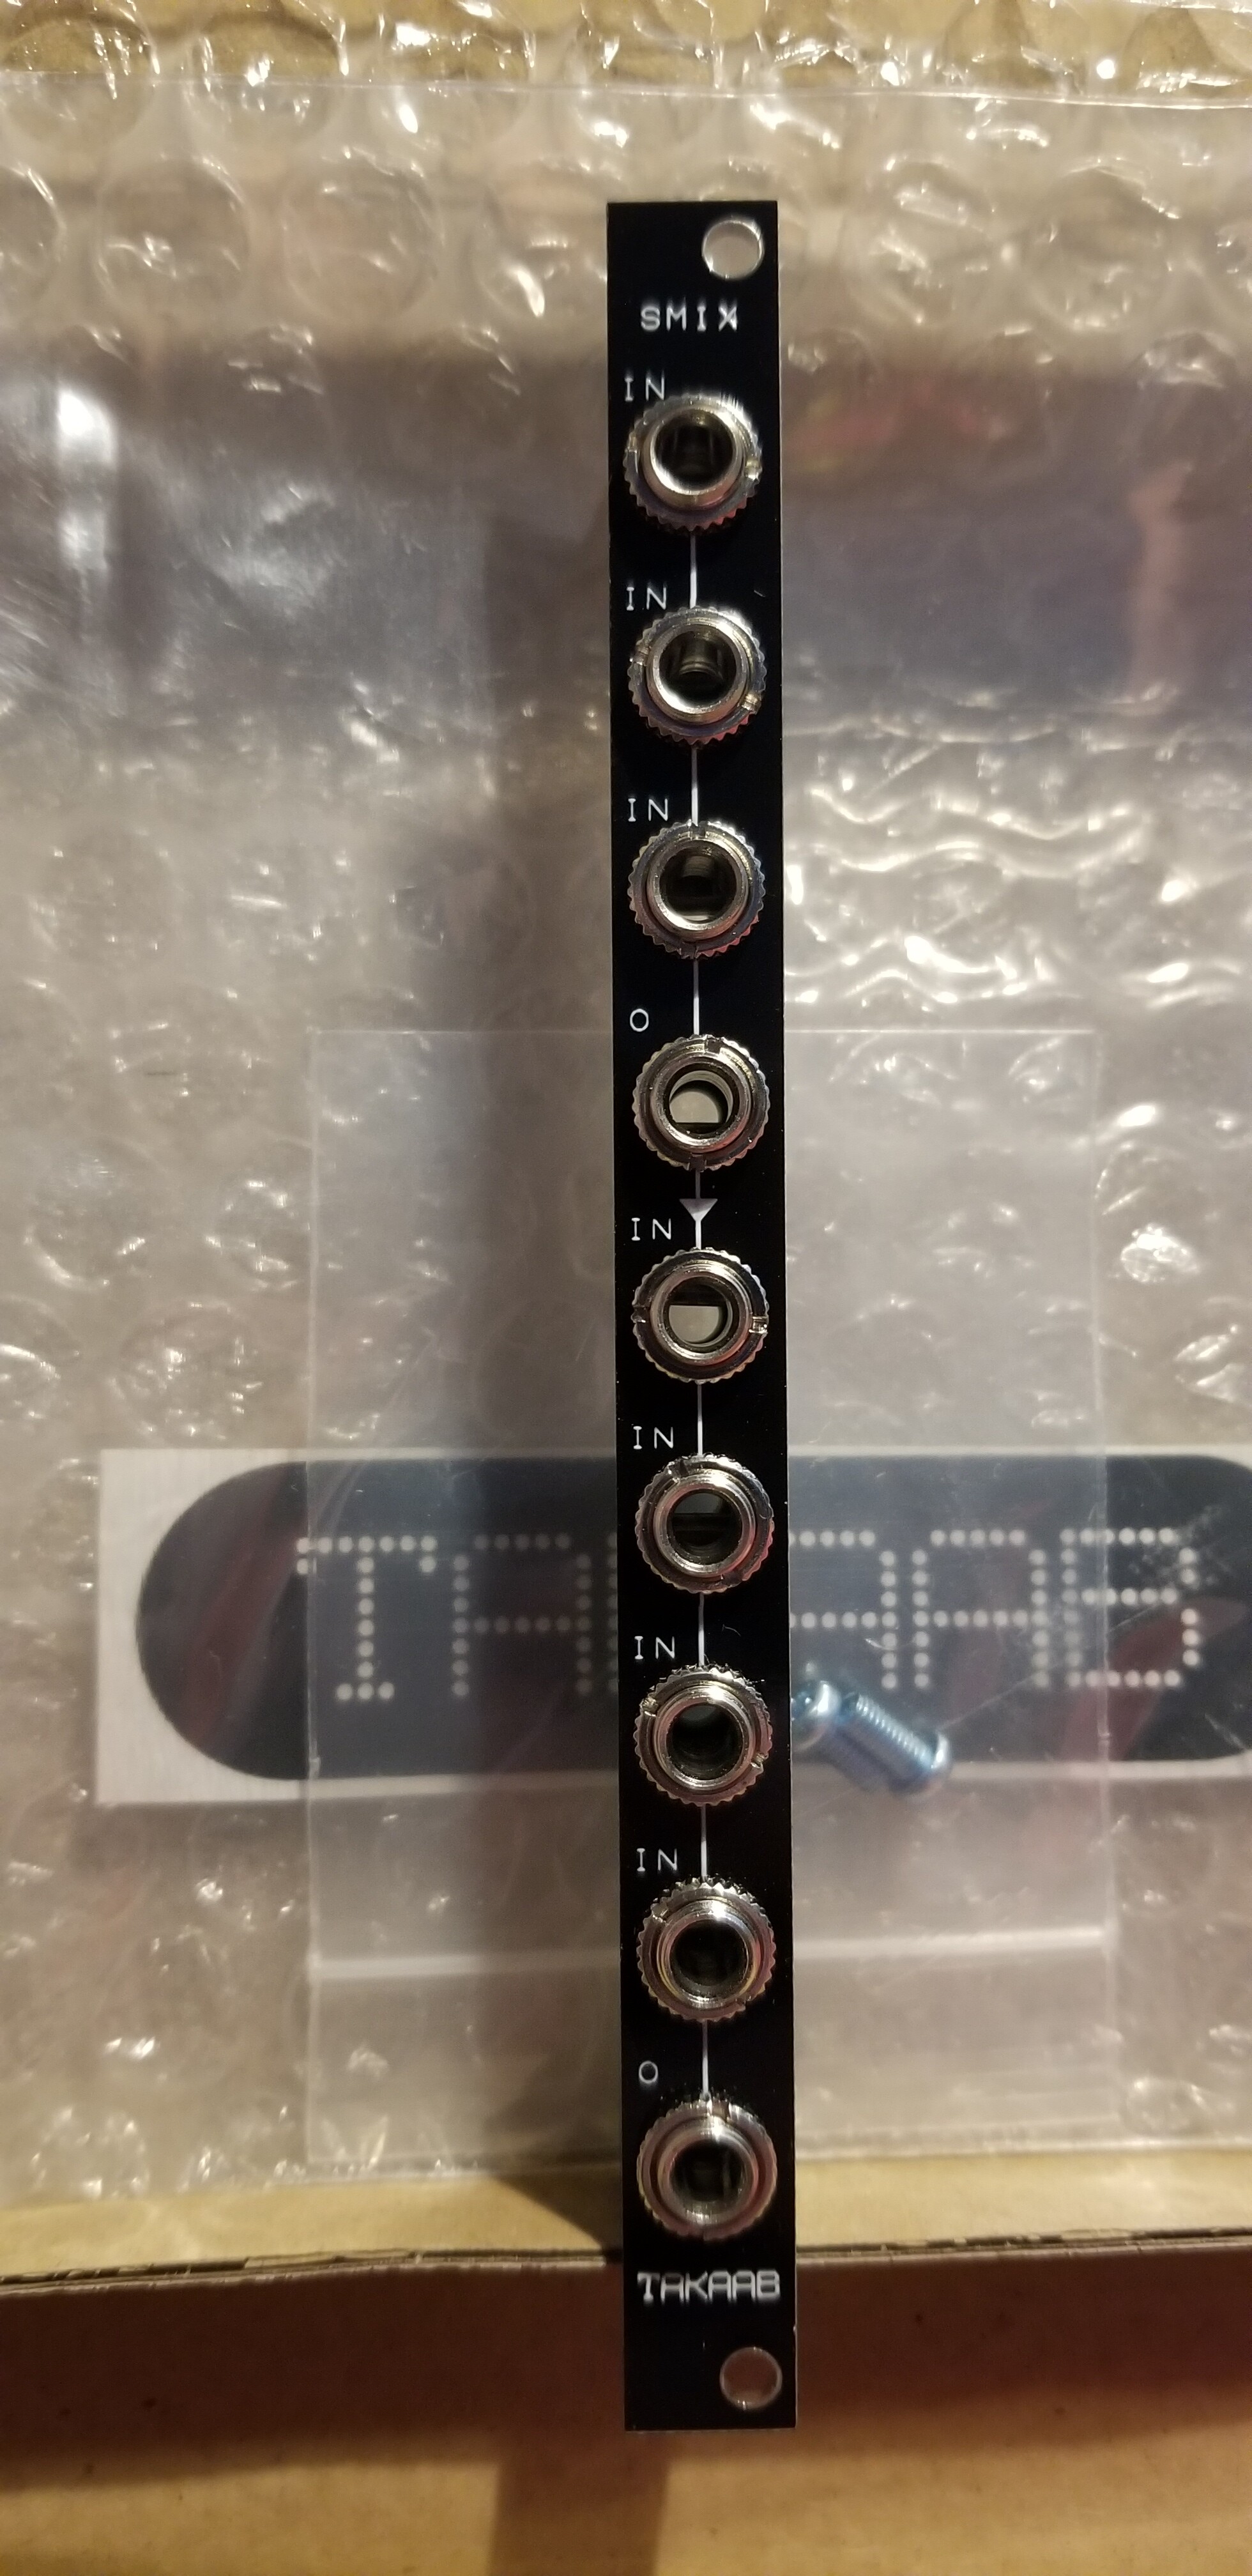
Ok great… The board and faceplate arrived for my first eurorack module. They actually look really nice too. Unfortunately, I am going to have to wait a while as I have not yet ordered the other parts on the BOM (bill of materials).
Anyway, it now appears that I may have to acquire a new skill, and I have to be honest, I am a bit worried about it. I’m already proficient in blowing up electronic devices that I have hand soldered badly. Now I have these boards in my hands, I can see that even the manual soldering is going to be tricky but a new challenge awaits me :- I have never even considered soldering SMC yet. Anyone got experience of SMC? How should I approach this? My gut feeling is that I could save myself a huge amount of time and effort by snapping these in half and forgetting about it… But where is the fun in that?
Obviously I have no sound to play for @wyleu yet, so I will just leave this here instead…
Yes,I’ve tried to solder a wm8731 (28 pins, 0.65mm pitch) codec IC on a small breakout board, but it was not that good at all
With that single experience, I couldn’t even tell you what no to do. I’ve tried to follow some tuts on YT but I had a lot of shortcuts between pins …
I can only recommend the same as @le51
Buy some boards like these and practice soldering some cheap SMC first
I have some semi-modular stuff, but I am still hesitant to go all the way and jump into the euro stuff.
I would probably spend so much money on all those nice things I already spend too much time reading and watching videos about
I had SMT soldering training about 35 years ago. I’ve done almost none in the interim. I did a little last year. You need a fine tip (point) iron. Your PCB pads should be lightly and evenly tinned with solder. You then heat each pad in turn to flow the solder. As with most multi-point soldering, hold the device in place whilst flowing the first couple of diametrically opposed pins so that the device is correctly oriented then do the rest. Unsoldering is very, VERY difficult so get it right first time. (Very difficult is quite close to impossible.)
I solder SMT regularly, although not very complex ICs. My record is soldering the MCP23017, that has 28 pins
I always order a stencil with my PCB designs, what simplifies the process of putting the solder paste in the right places, but if it’s not available, you can proceed without it. It’s convenient but not needed.
Initially I tried with “lead free” solder paste, but all my plastic connectors got toasted due to the higher melting point, so i changed to a more toxic solder paste
For the pick & place process, a good magnifying glass is very convenient too. Precision tweezers should be in the list too.
Next step is flowing the paste. I have a cheap chinese reflow oven that works OK for me:
Perhaps you could find some place (Makerspace??) where you can access this kind of devices. You also can build your own “reflow oven” with a small&cheap electric oven, arduino-like stuff and some tweaking. There are good tutorials out there.
After the reflow process, i check every part with the magnifying glass and remove the excess tin with the solder iron and copper-wick.
Initially it’s quite intimidating, but with decent tools and some practice, you will start feeling comfortable with the process very soon. In fact, currently i prefer to do SMT because is faster and safer (i rarely fail a PCB!).
Almost a year ago today I learned that the person who owns and runs my nearest (and heavily oversubscribed) makerspace about 5 miles away actually lives on my street. We have arranged to meet and have drinks a couple of times, but covid restrictions have made it impossible. Soon, maybe. Who knows. But yeah, I need to address this surface mount thing soon.
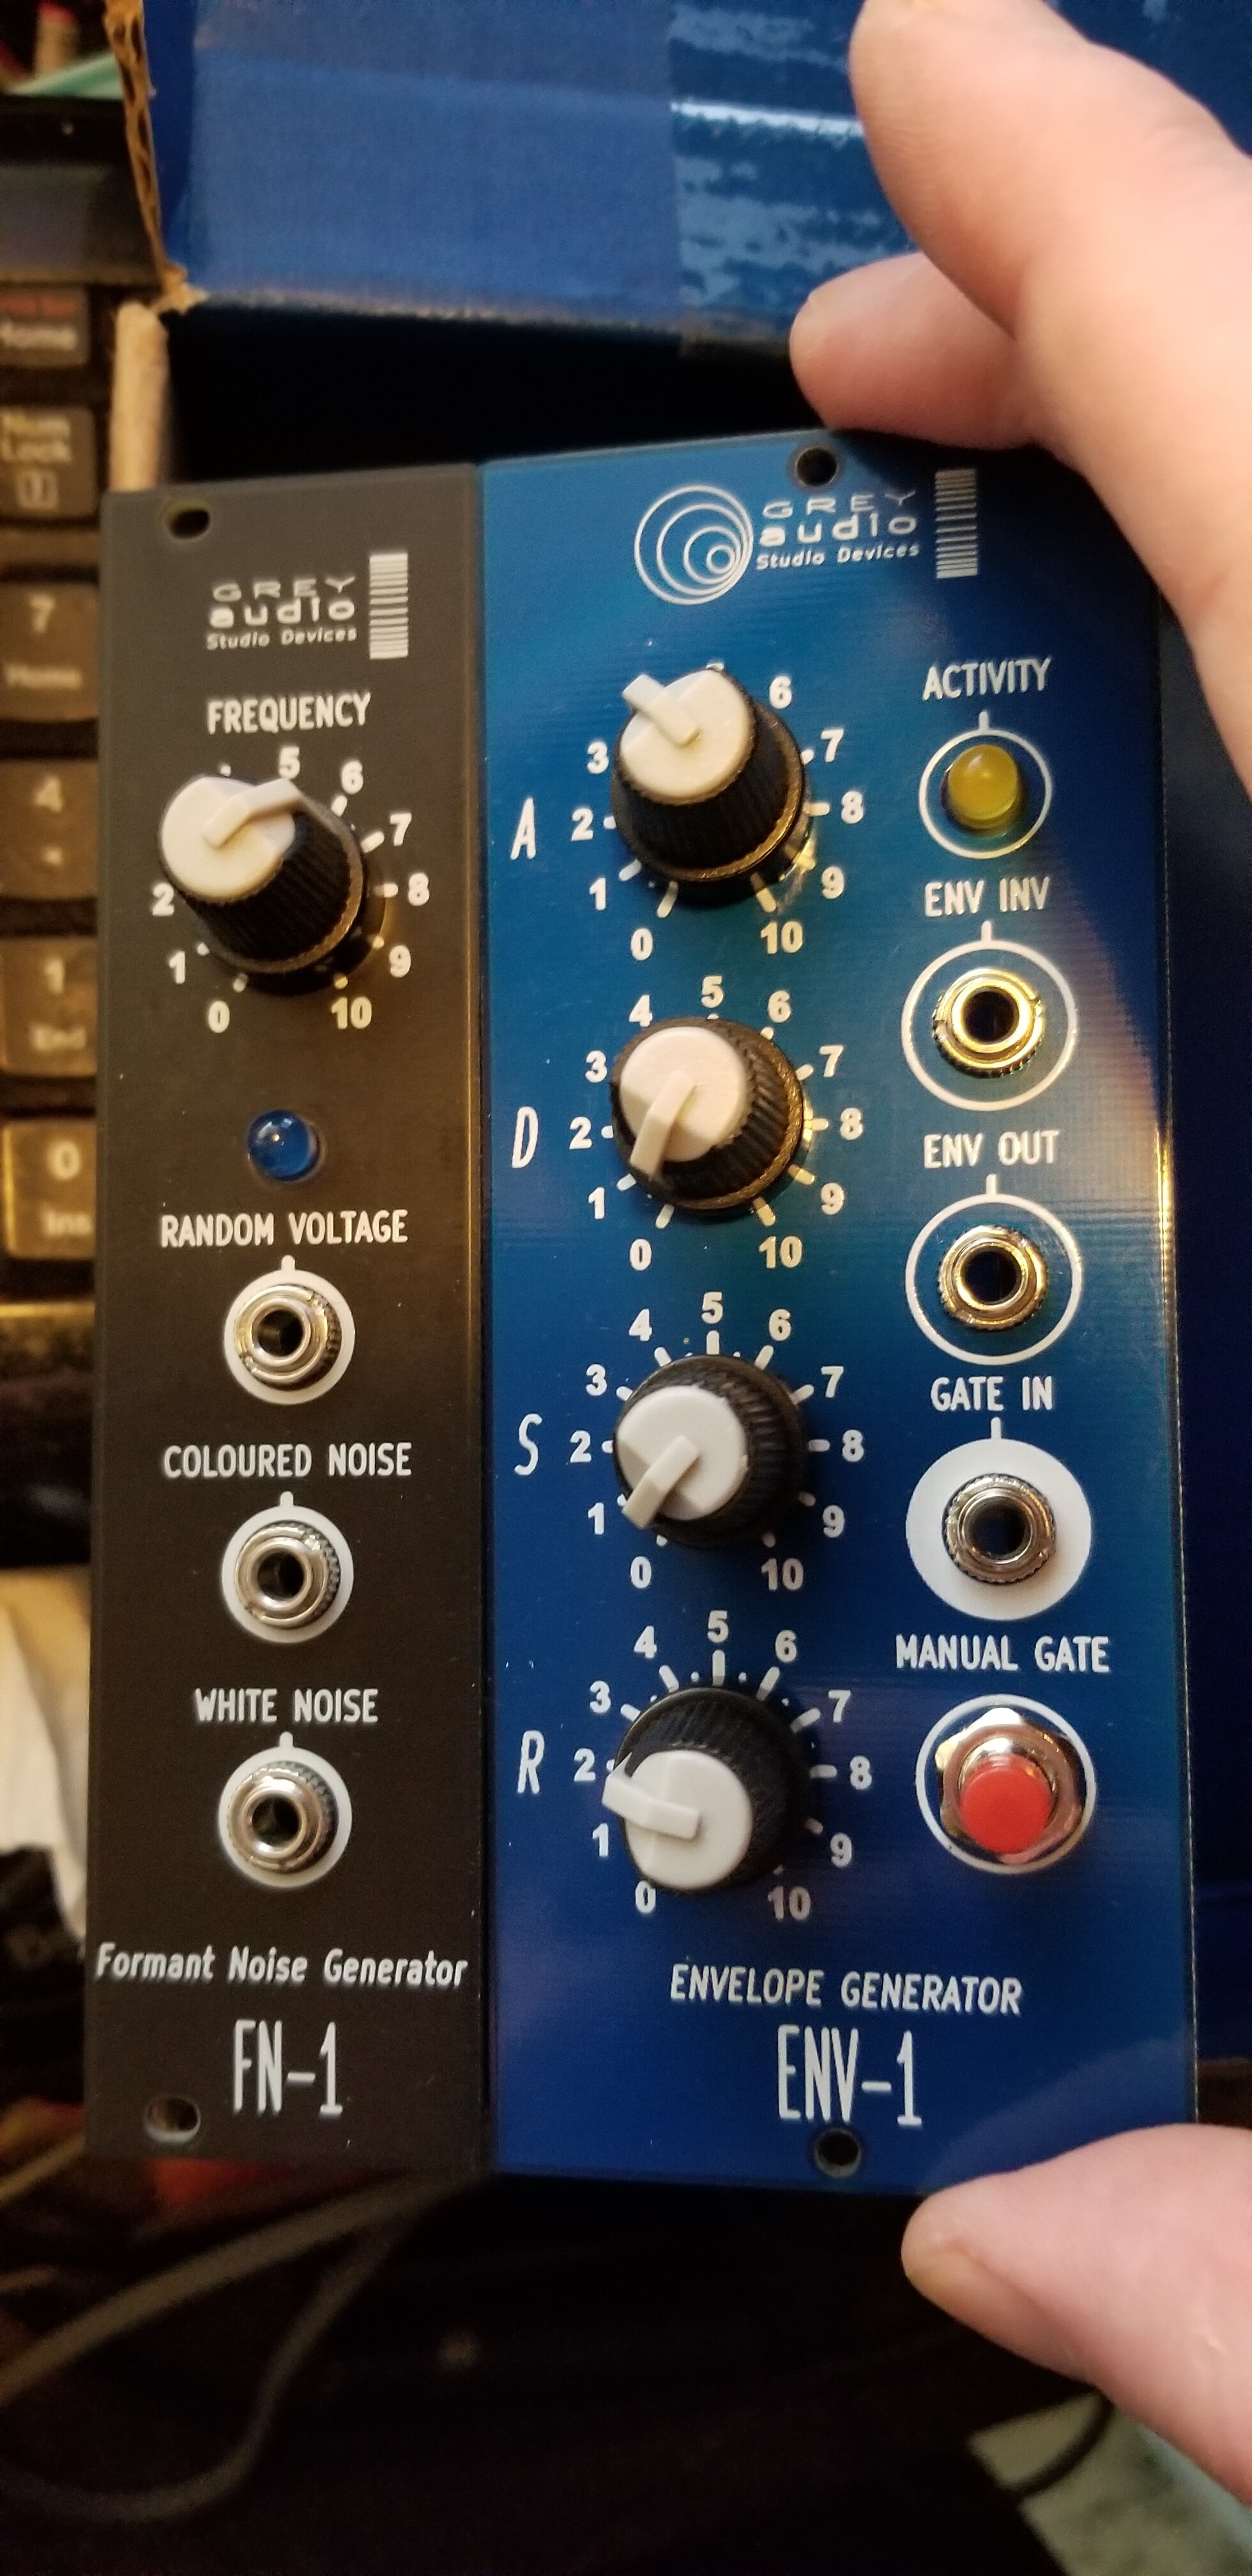
Ok, so these turned up. My very first actual proper sound making eurorack models. No way to test or play with them yet, as I have no wires, rack or psu… Next payday for some of them!
 doesn’t really hack it.
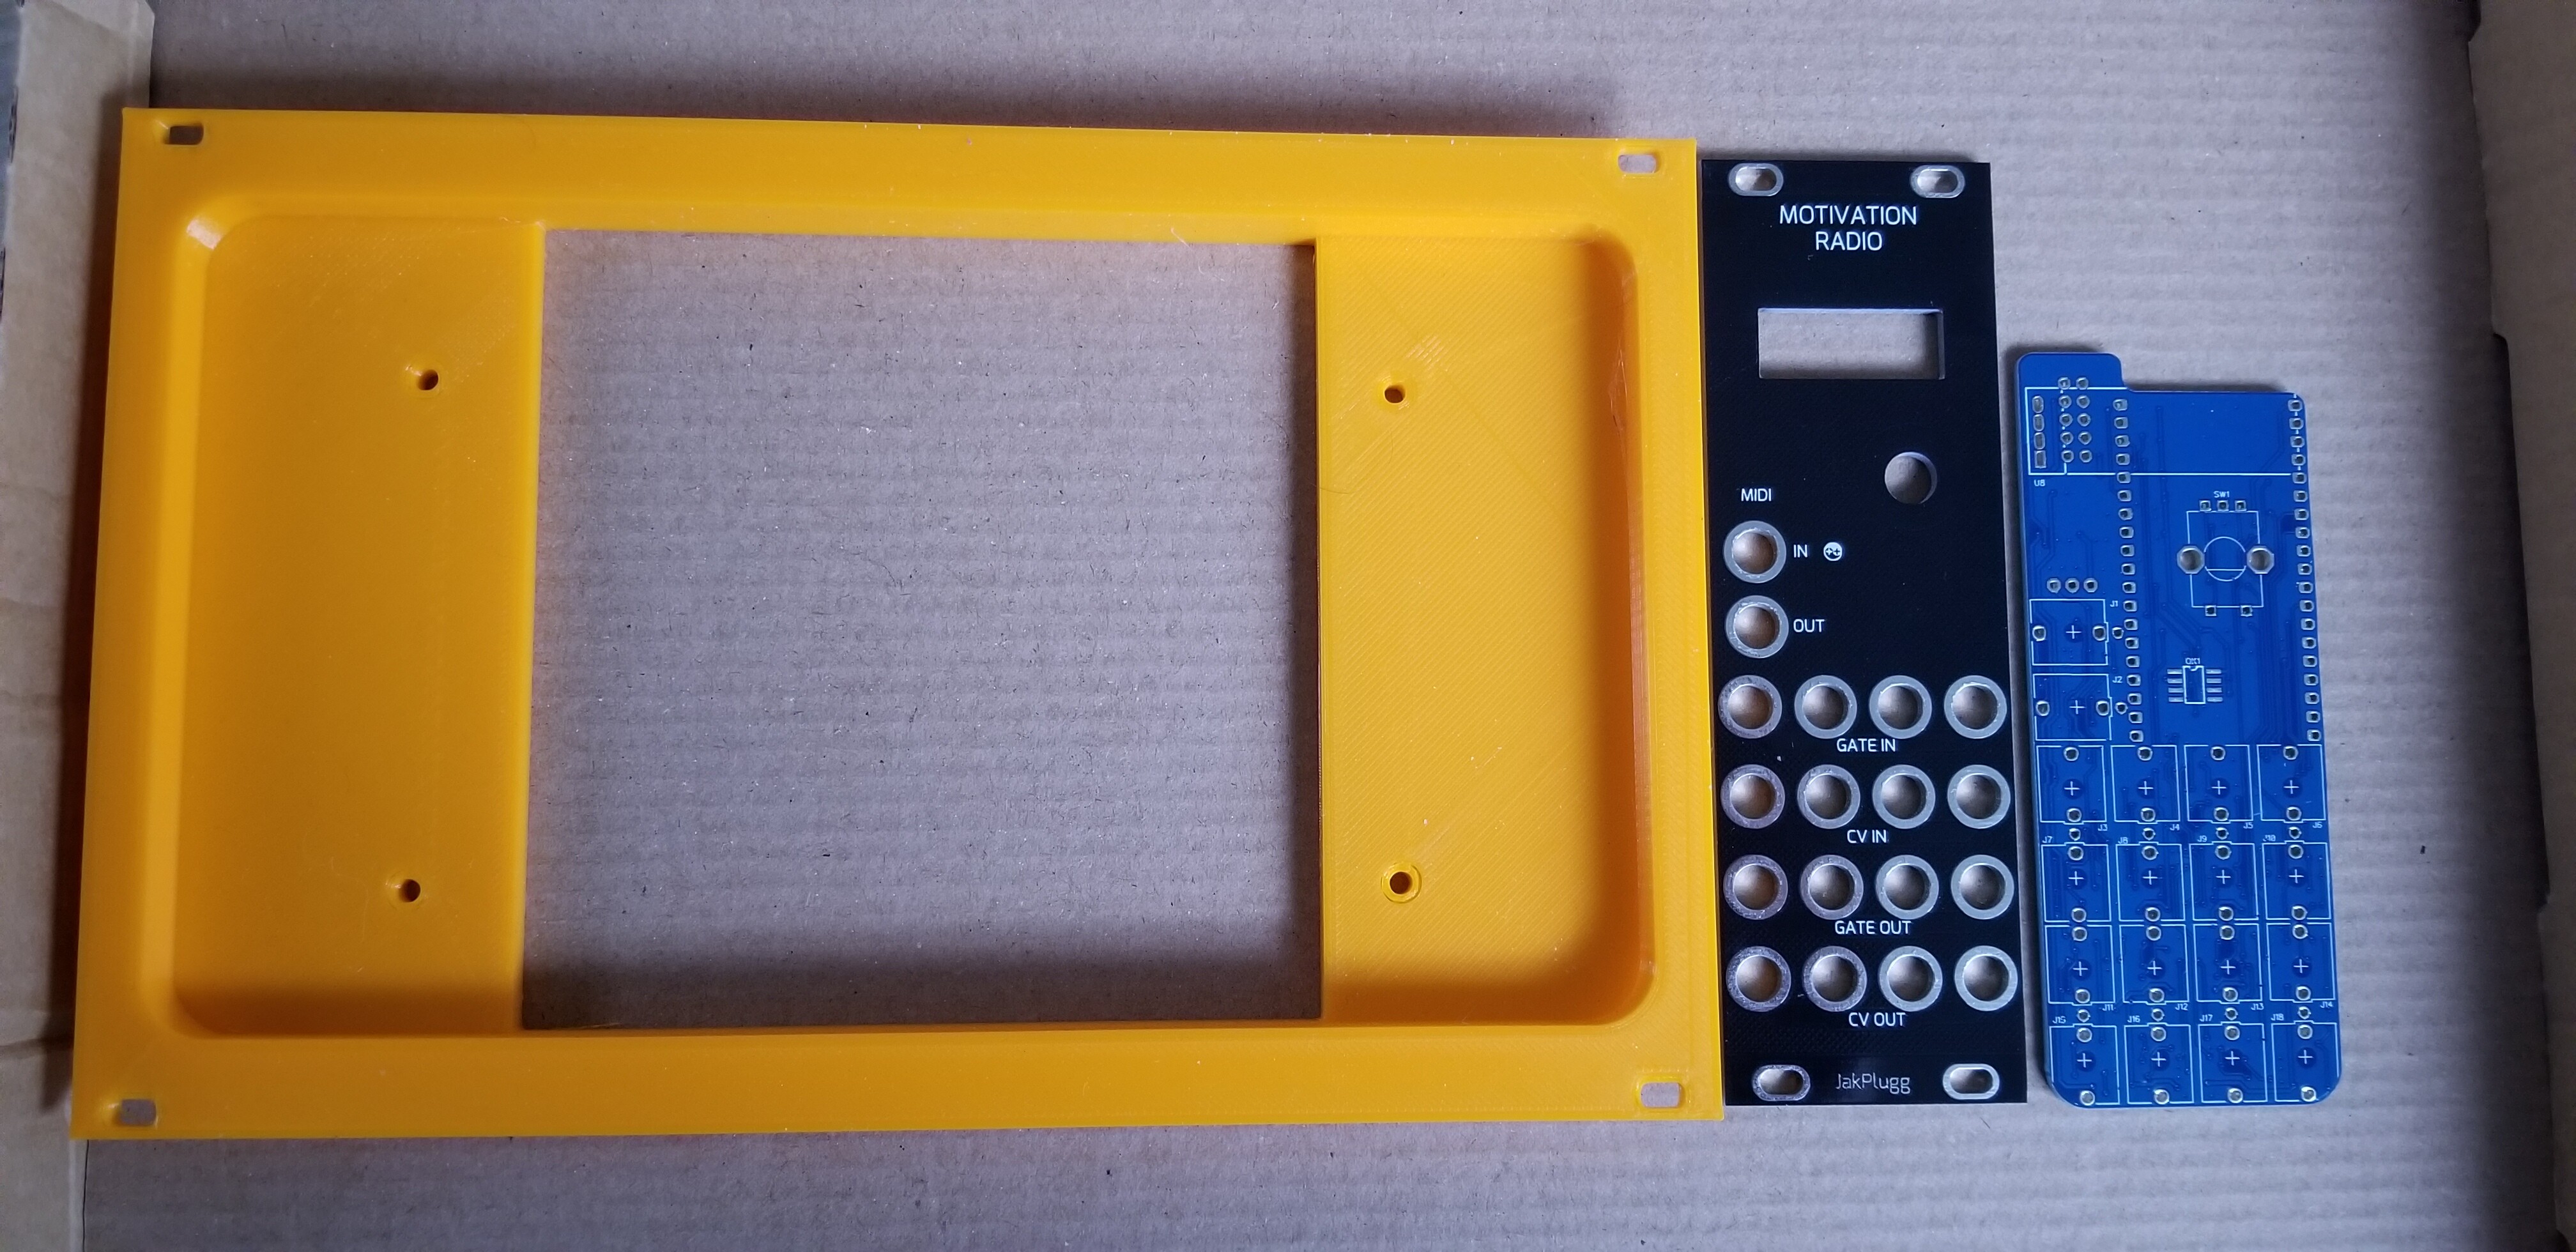
")


 ?
?