Trying the SWAM sounds of beautiful horns with a friend… I thought of a volume pedal that had been sitting in its box for years… never used…
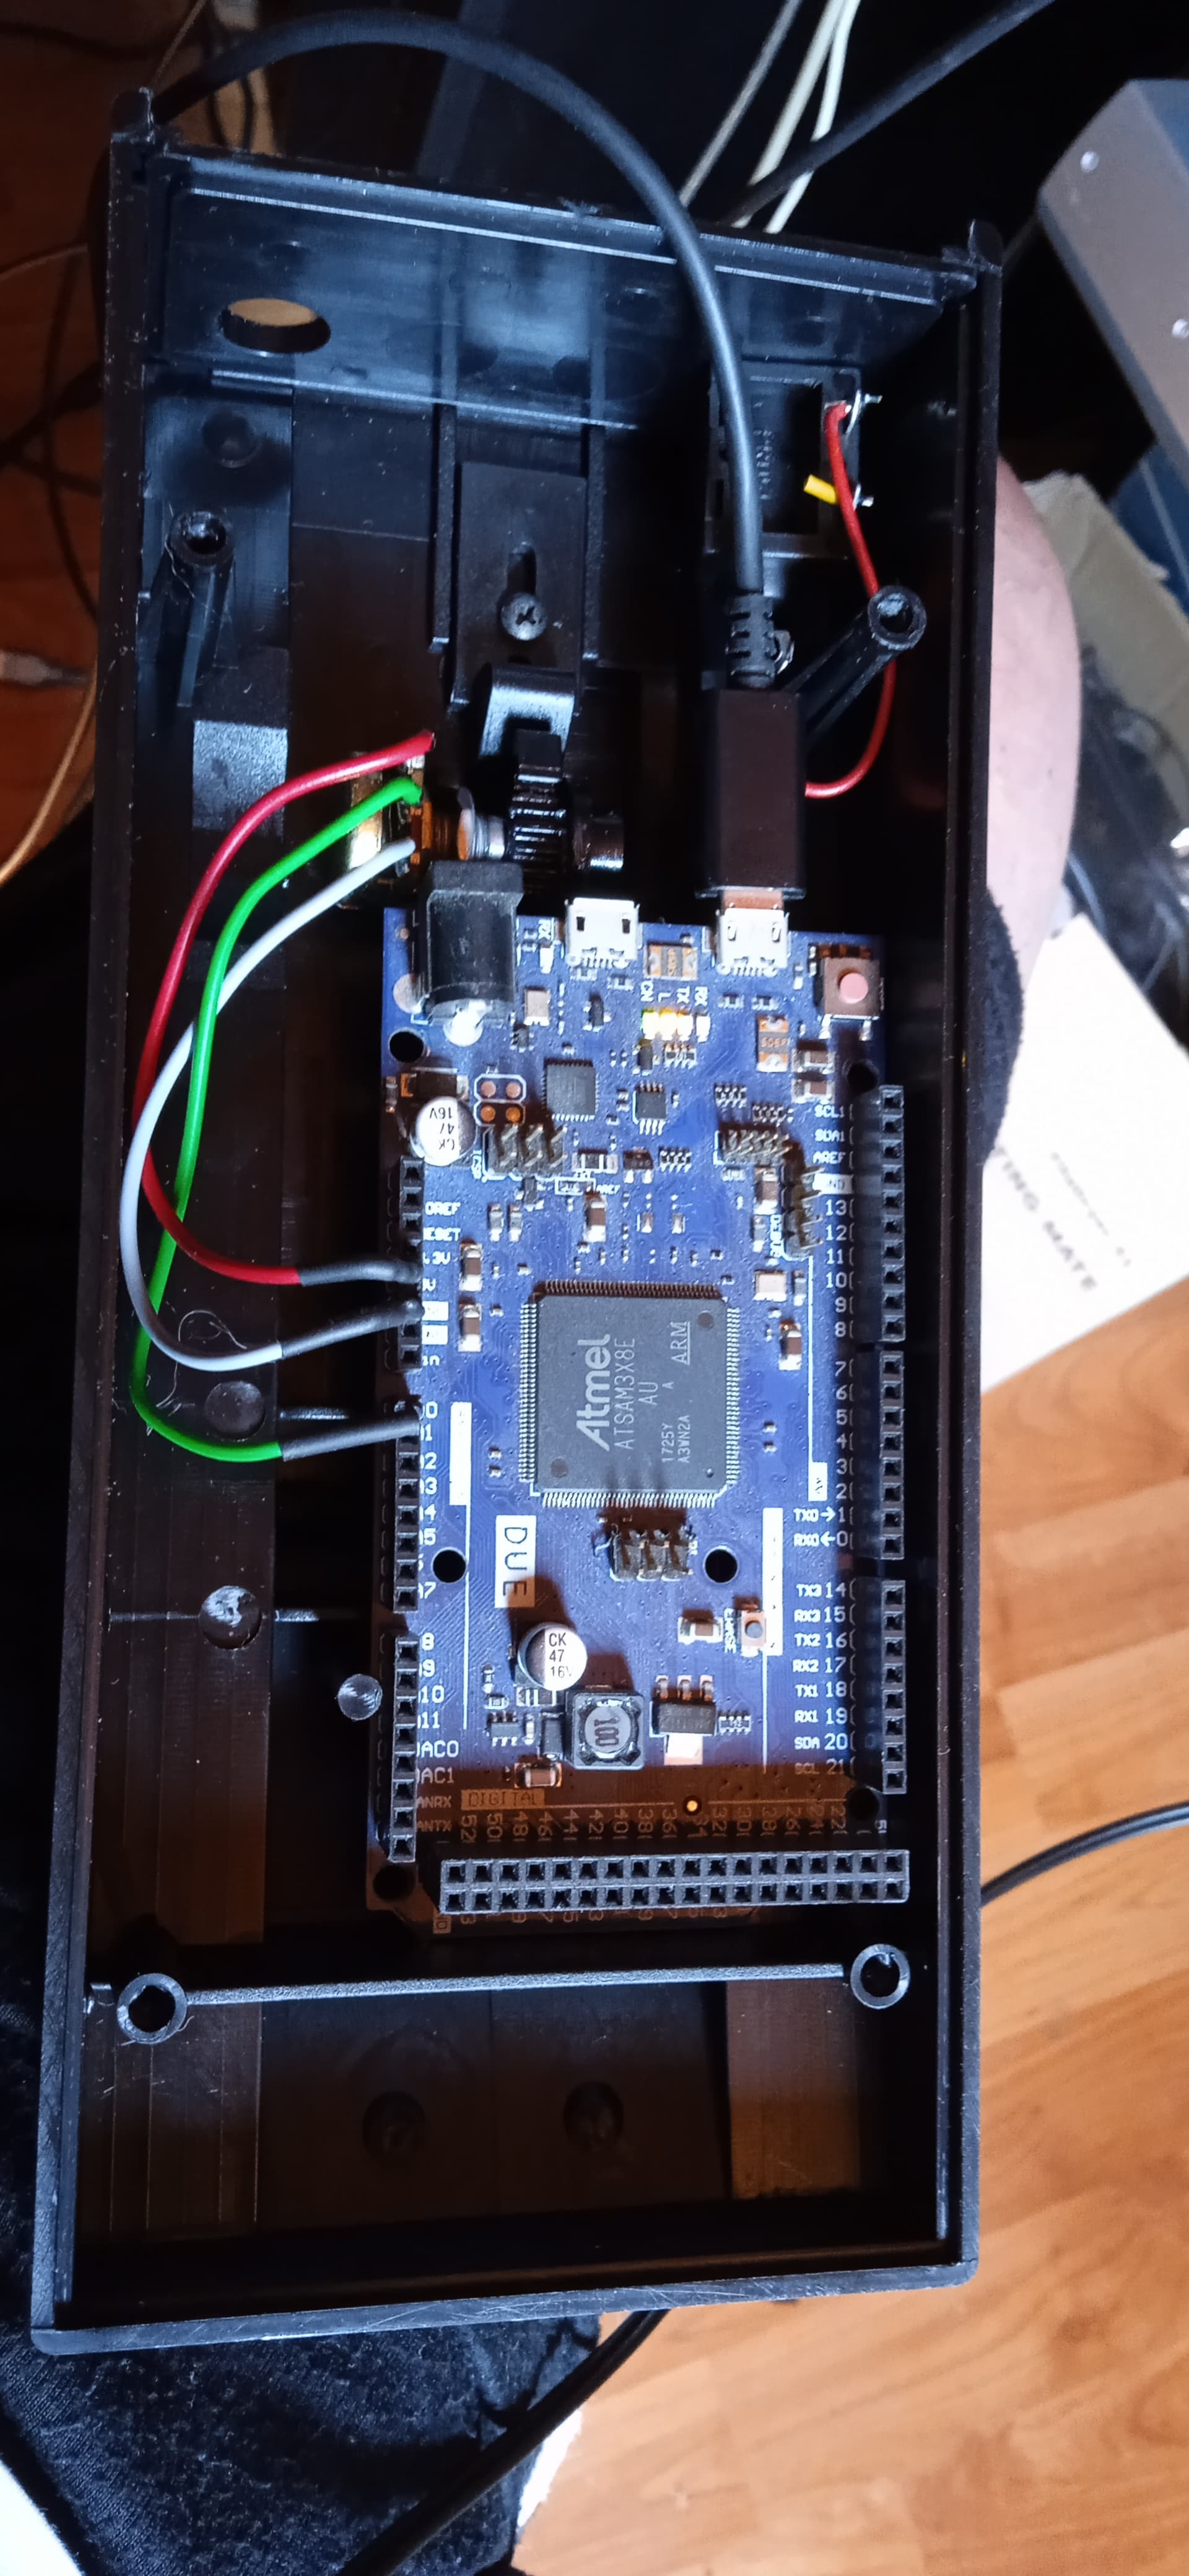
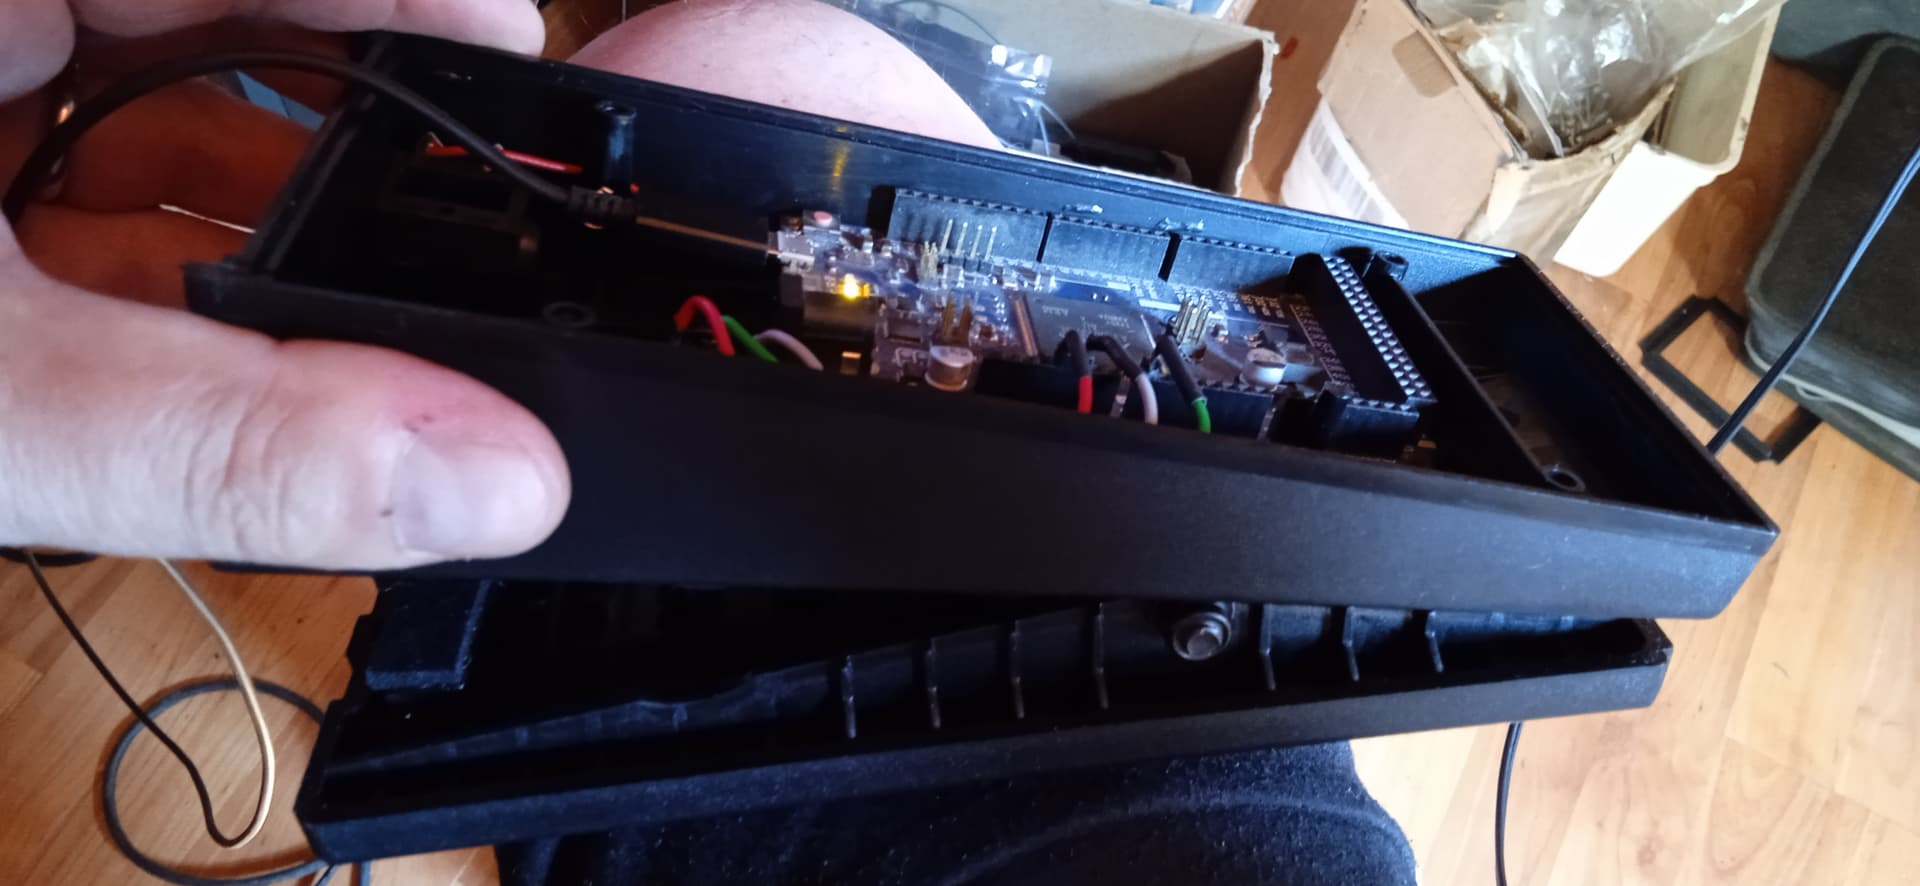
I opened it, put an Arduino Due inside, loaded a sketch… and here’s a pedal to control the Expression…
I would have preferred to insert an Arduino Micro, but I only had a Due available… a bit wasted… but for testing it’s fine.
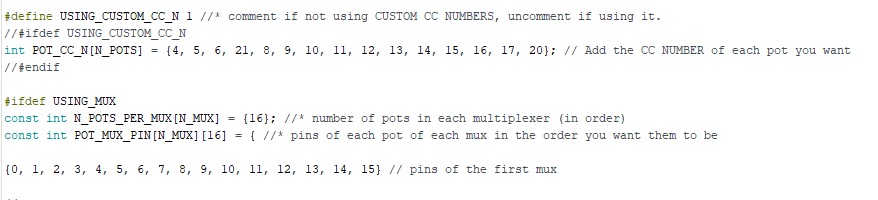
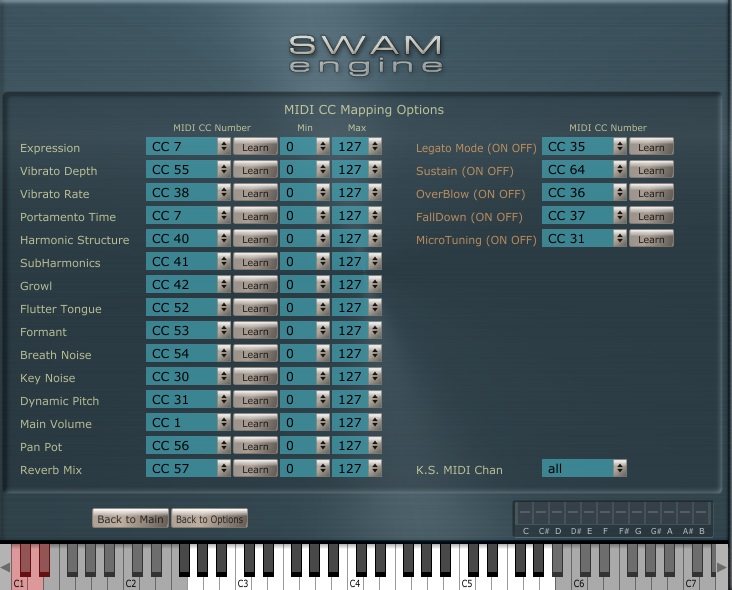
Remember to change the firmware to the right CC number.
There are many projects to have the MIDI pedal using Arduino UNO, but I preferred to use an Arduino Micro (Arduino DUE for now) and use it USB.
@Lanfranco, I don’t know how much into DIY and tinkering you are, but do you know this guy (and his youtube channel) who makes DIY breath controllers out of cardboard, balloons and distance sensors. His main interest seems to be in teaching children how to make their own instruments with low technical effort, but I found his experiments with custom made velocity sensing touchpads and breath controllers quite inspiring. Don’t know if this homemade stuff holds against the expectations of a professional musician but I am sure there is a lot of fun in it!
Thank you @mbvs for pointing it out to me… I was thinking about an interface that goes with the breath… I had an EWI, but I sold it because I don’t want to get distracted by the black and white keys (I first studied trumpet and then sax for 8 years), but a breath control connected to a keyboard… mmmmmmh, it inspires me…
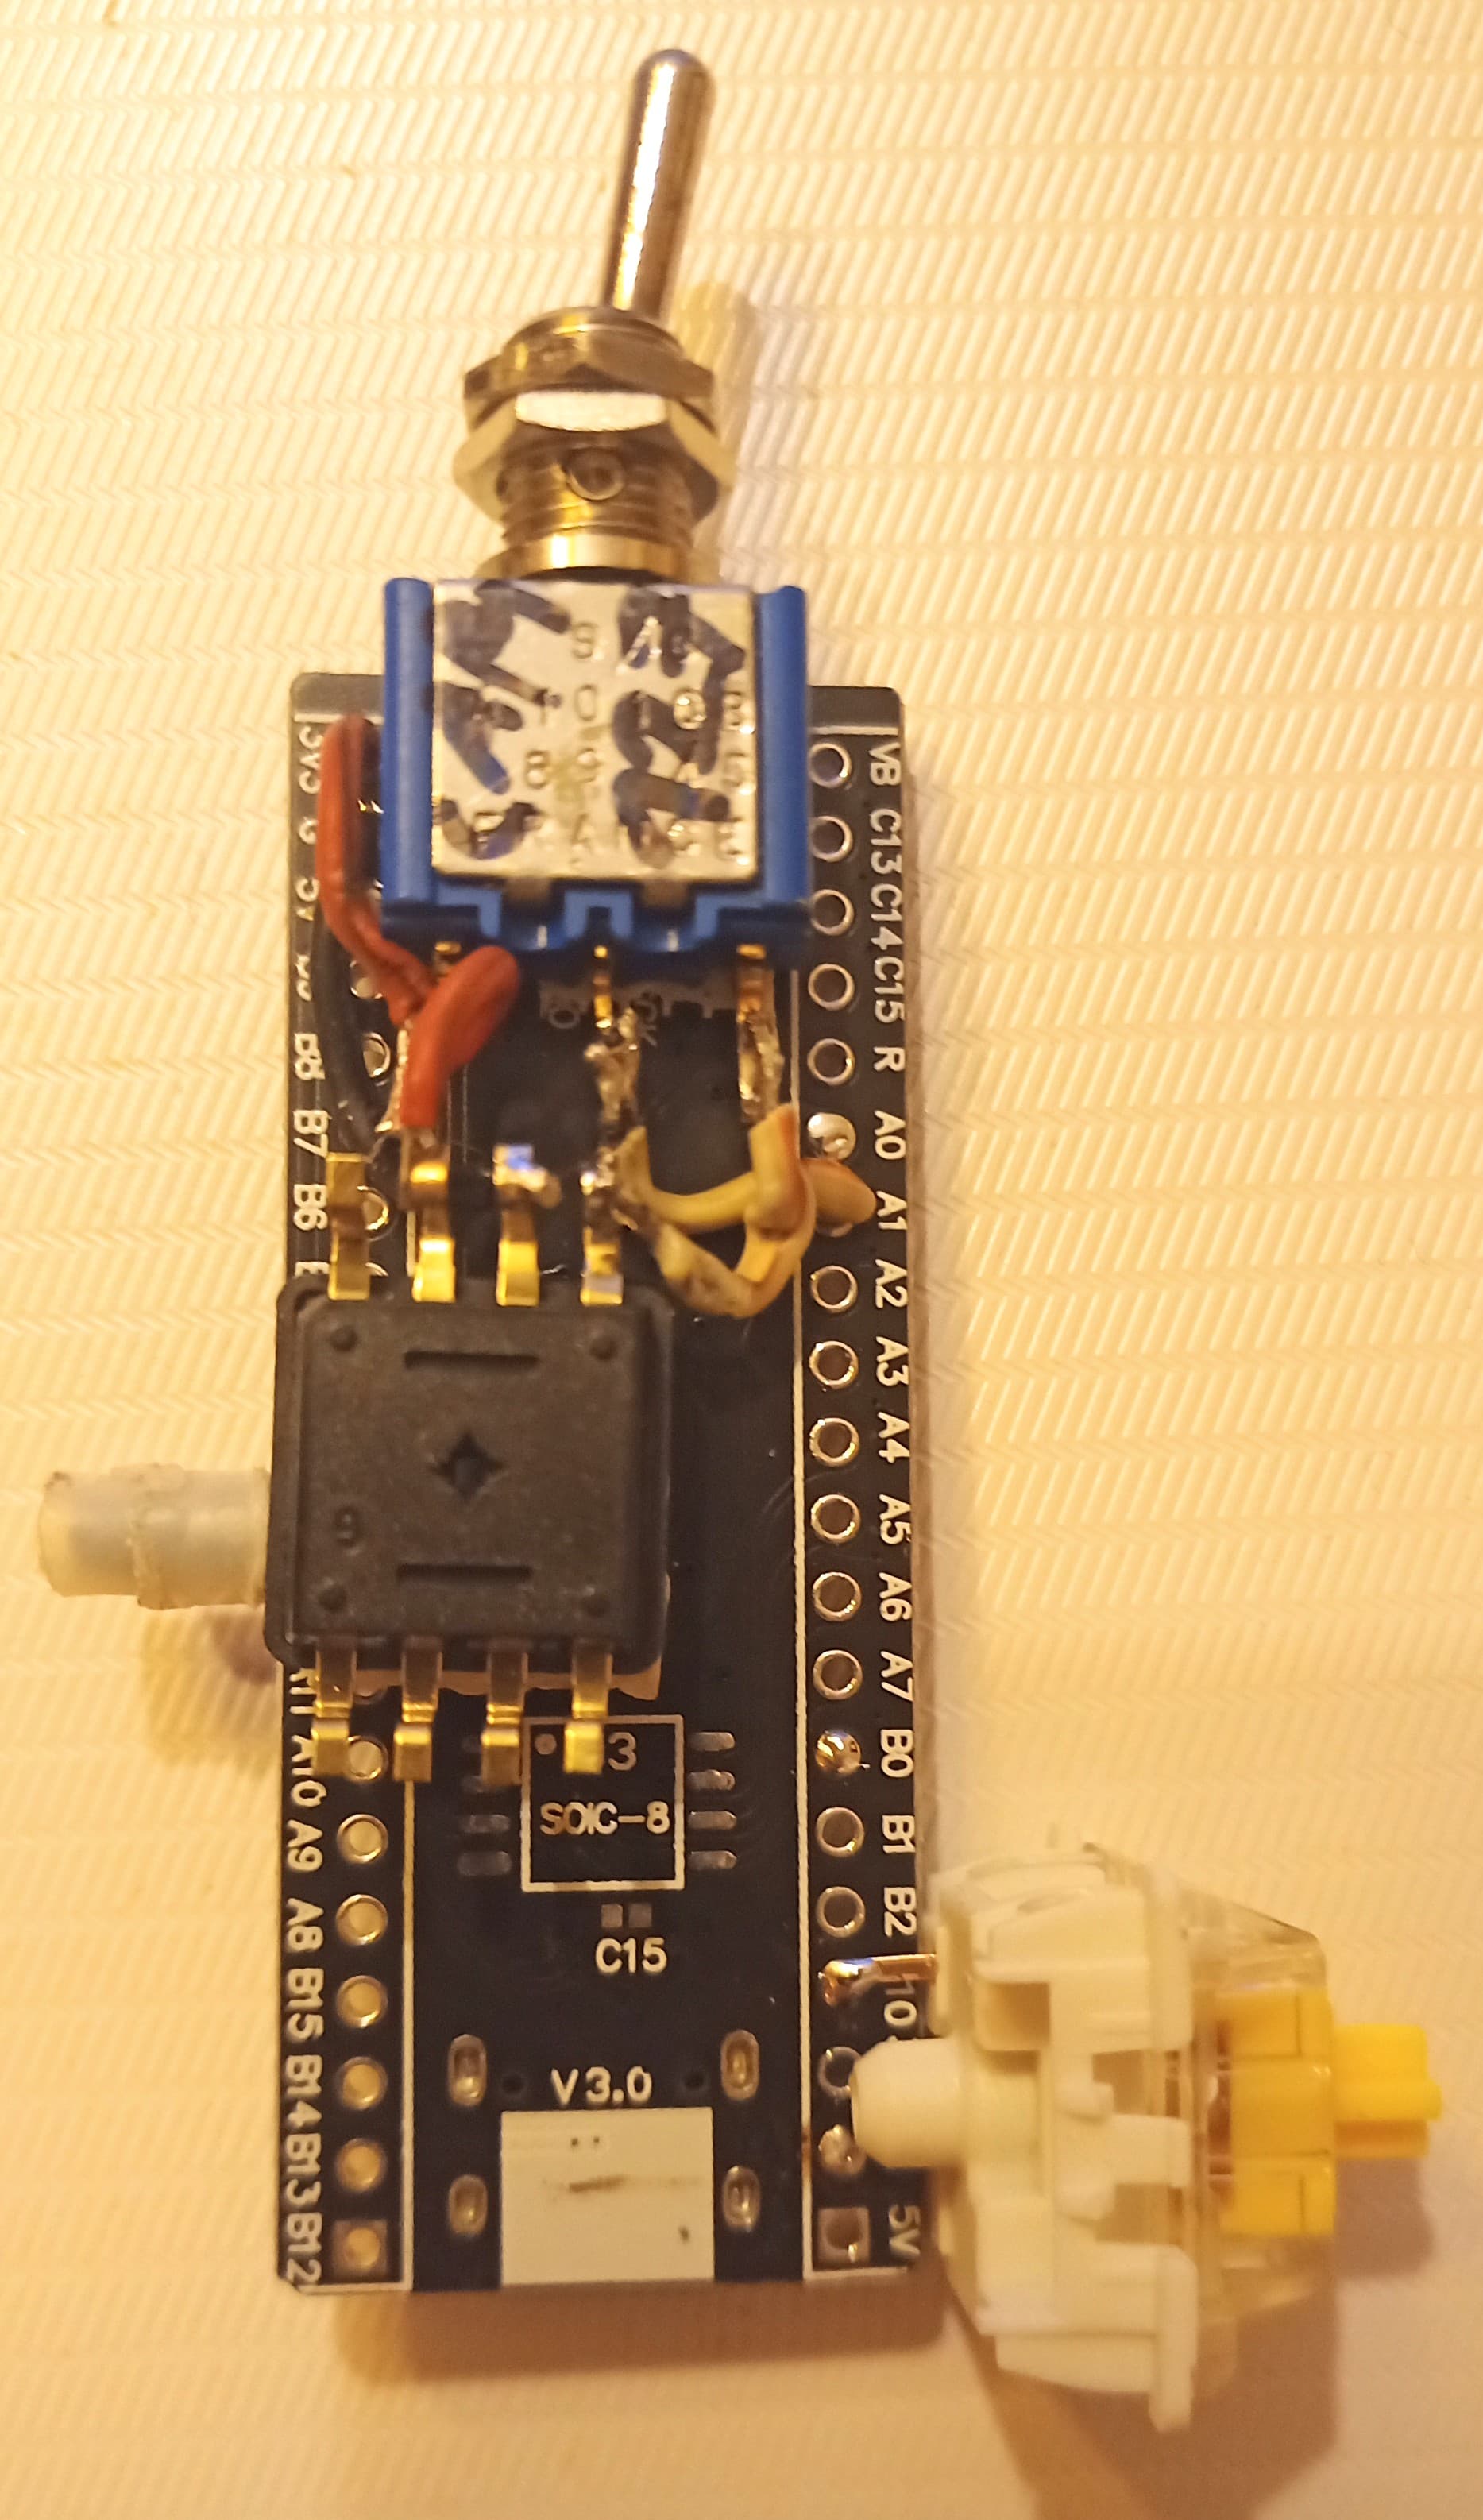
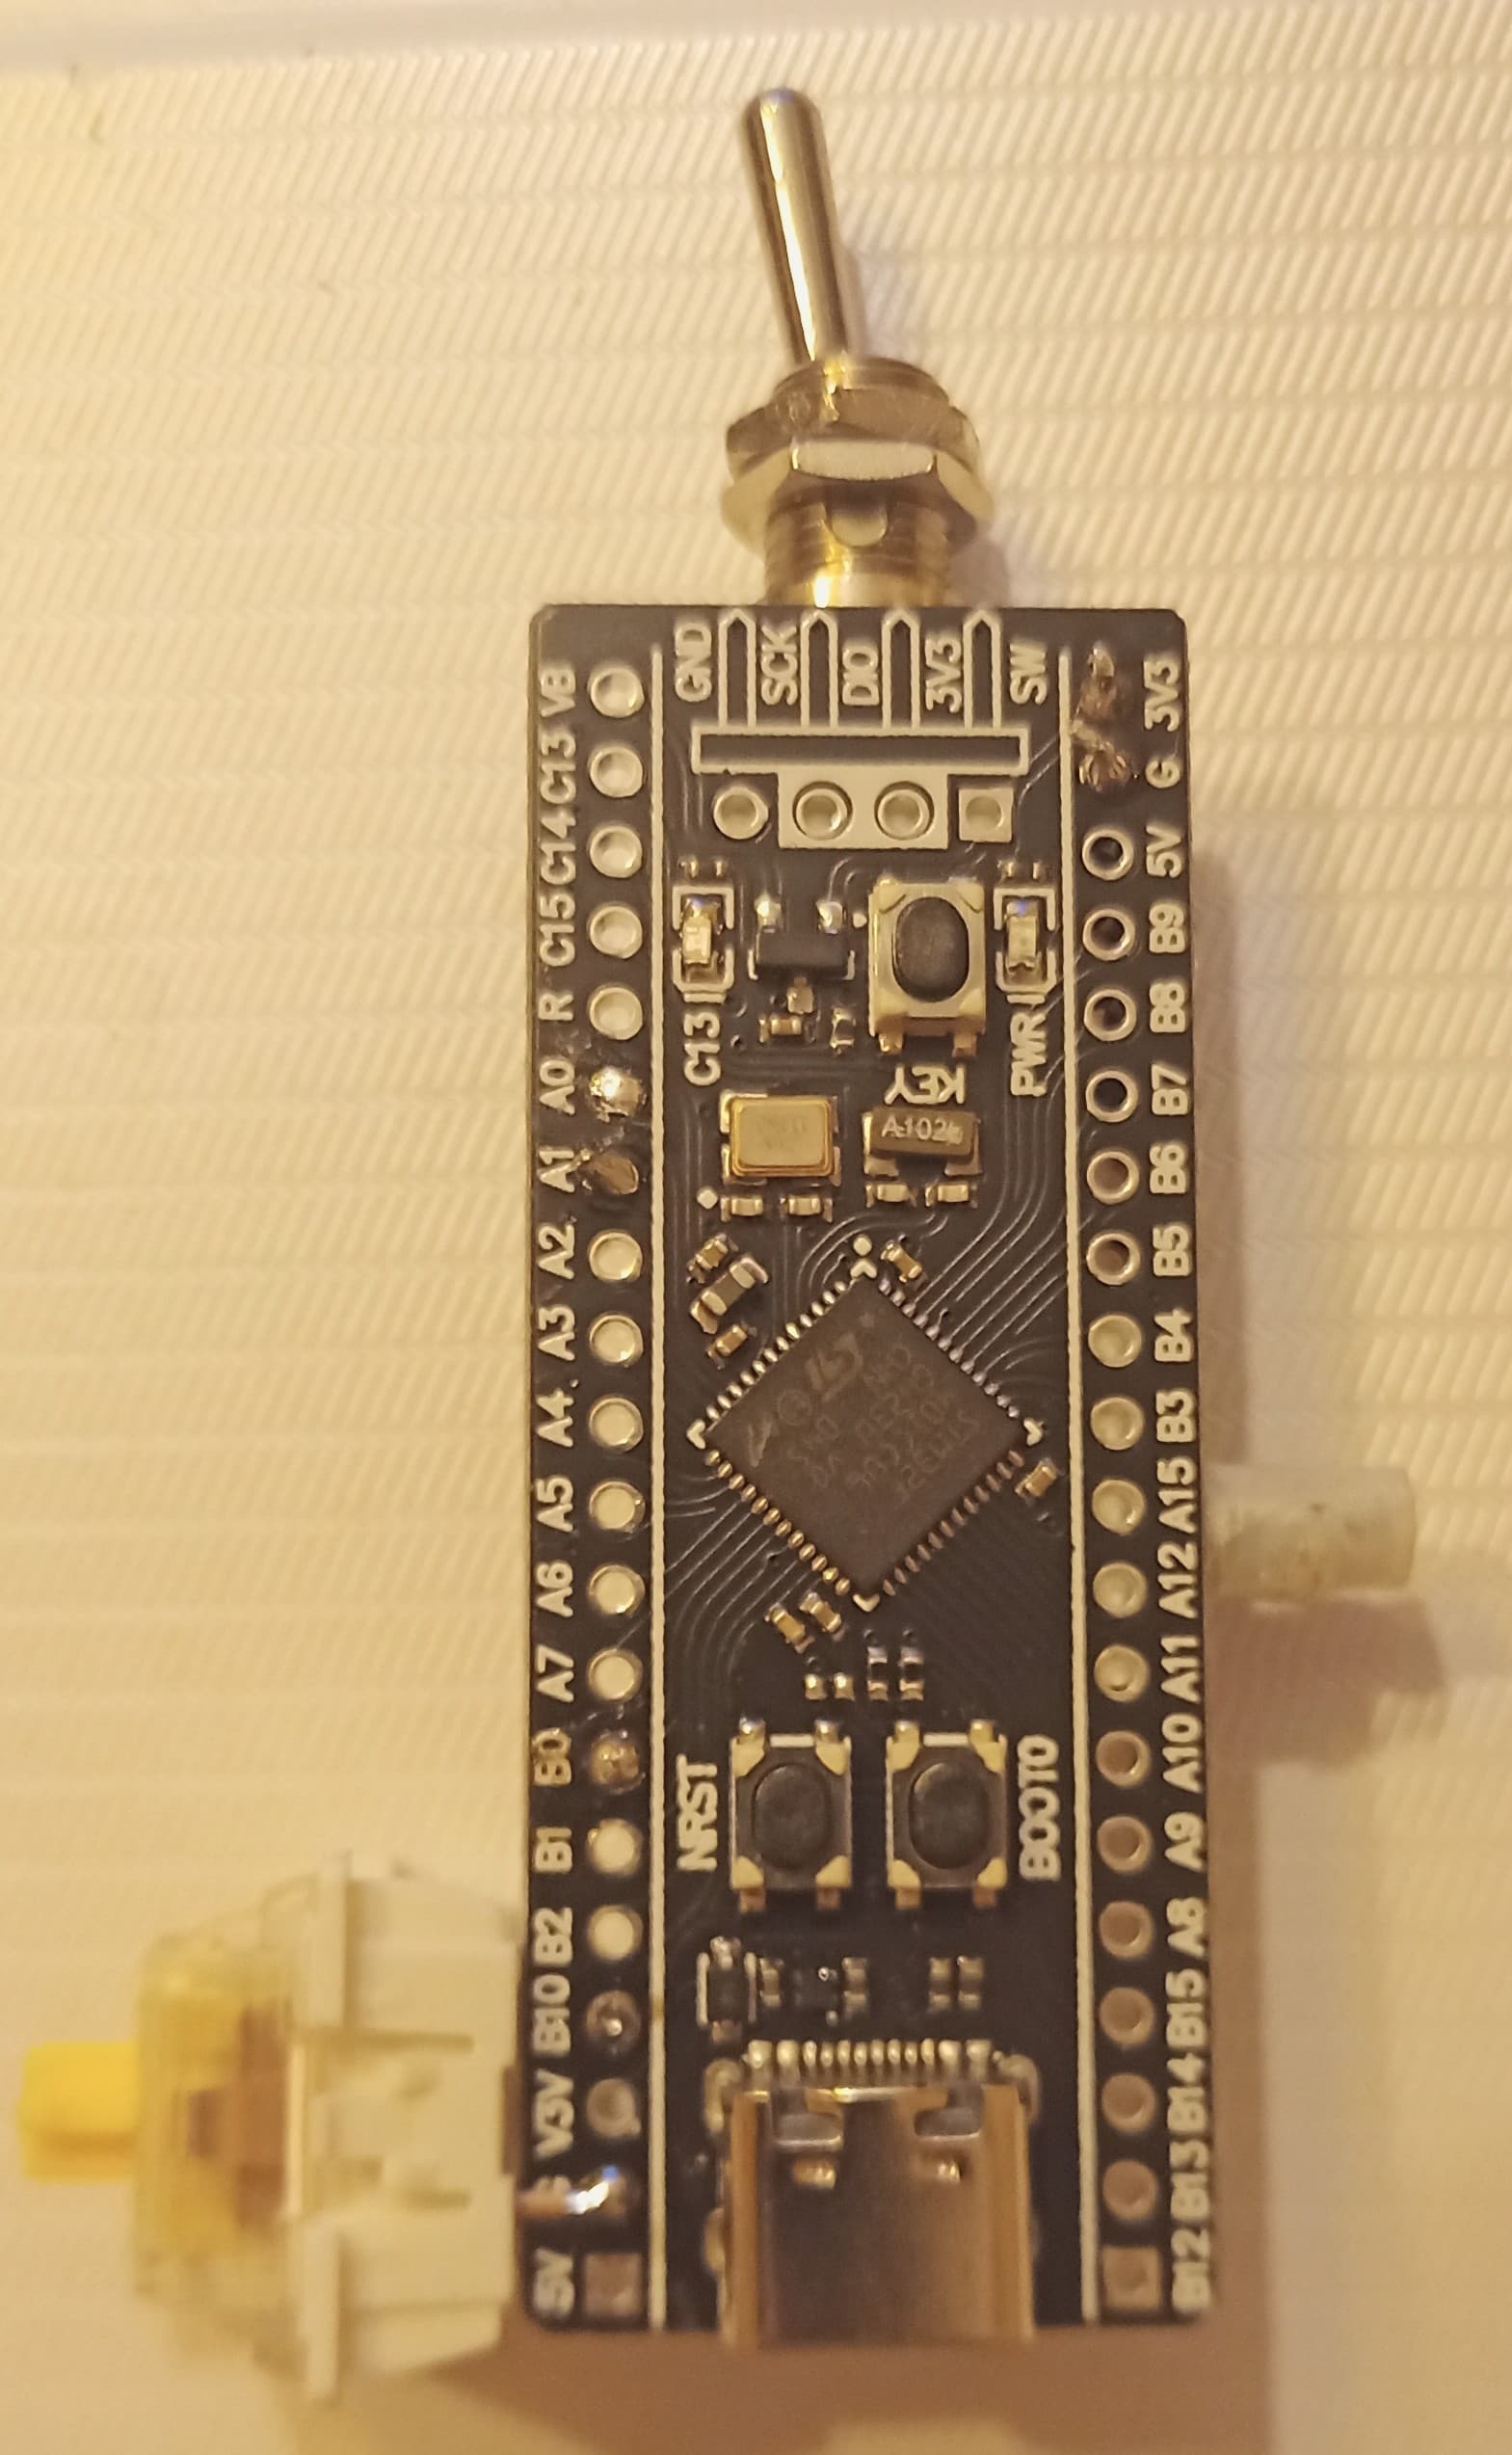
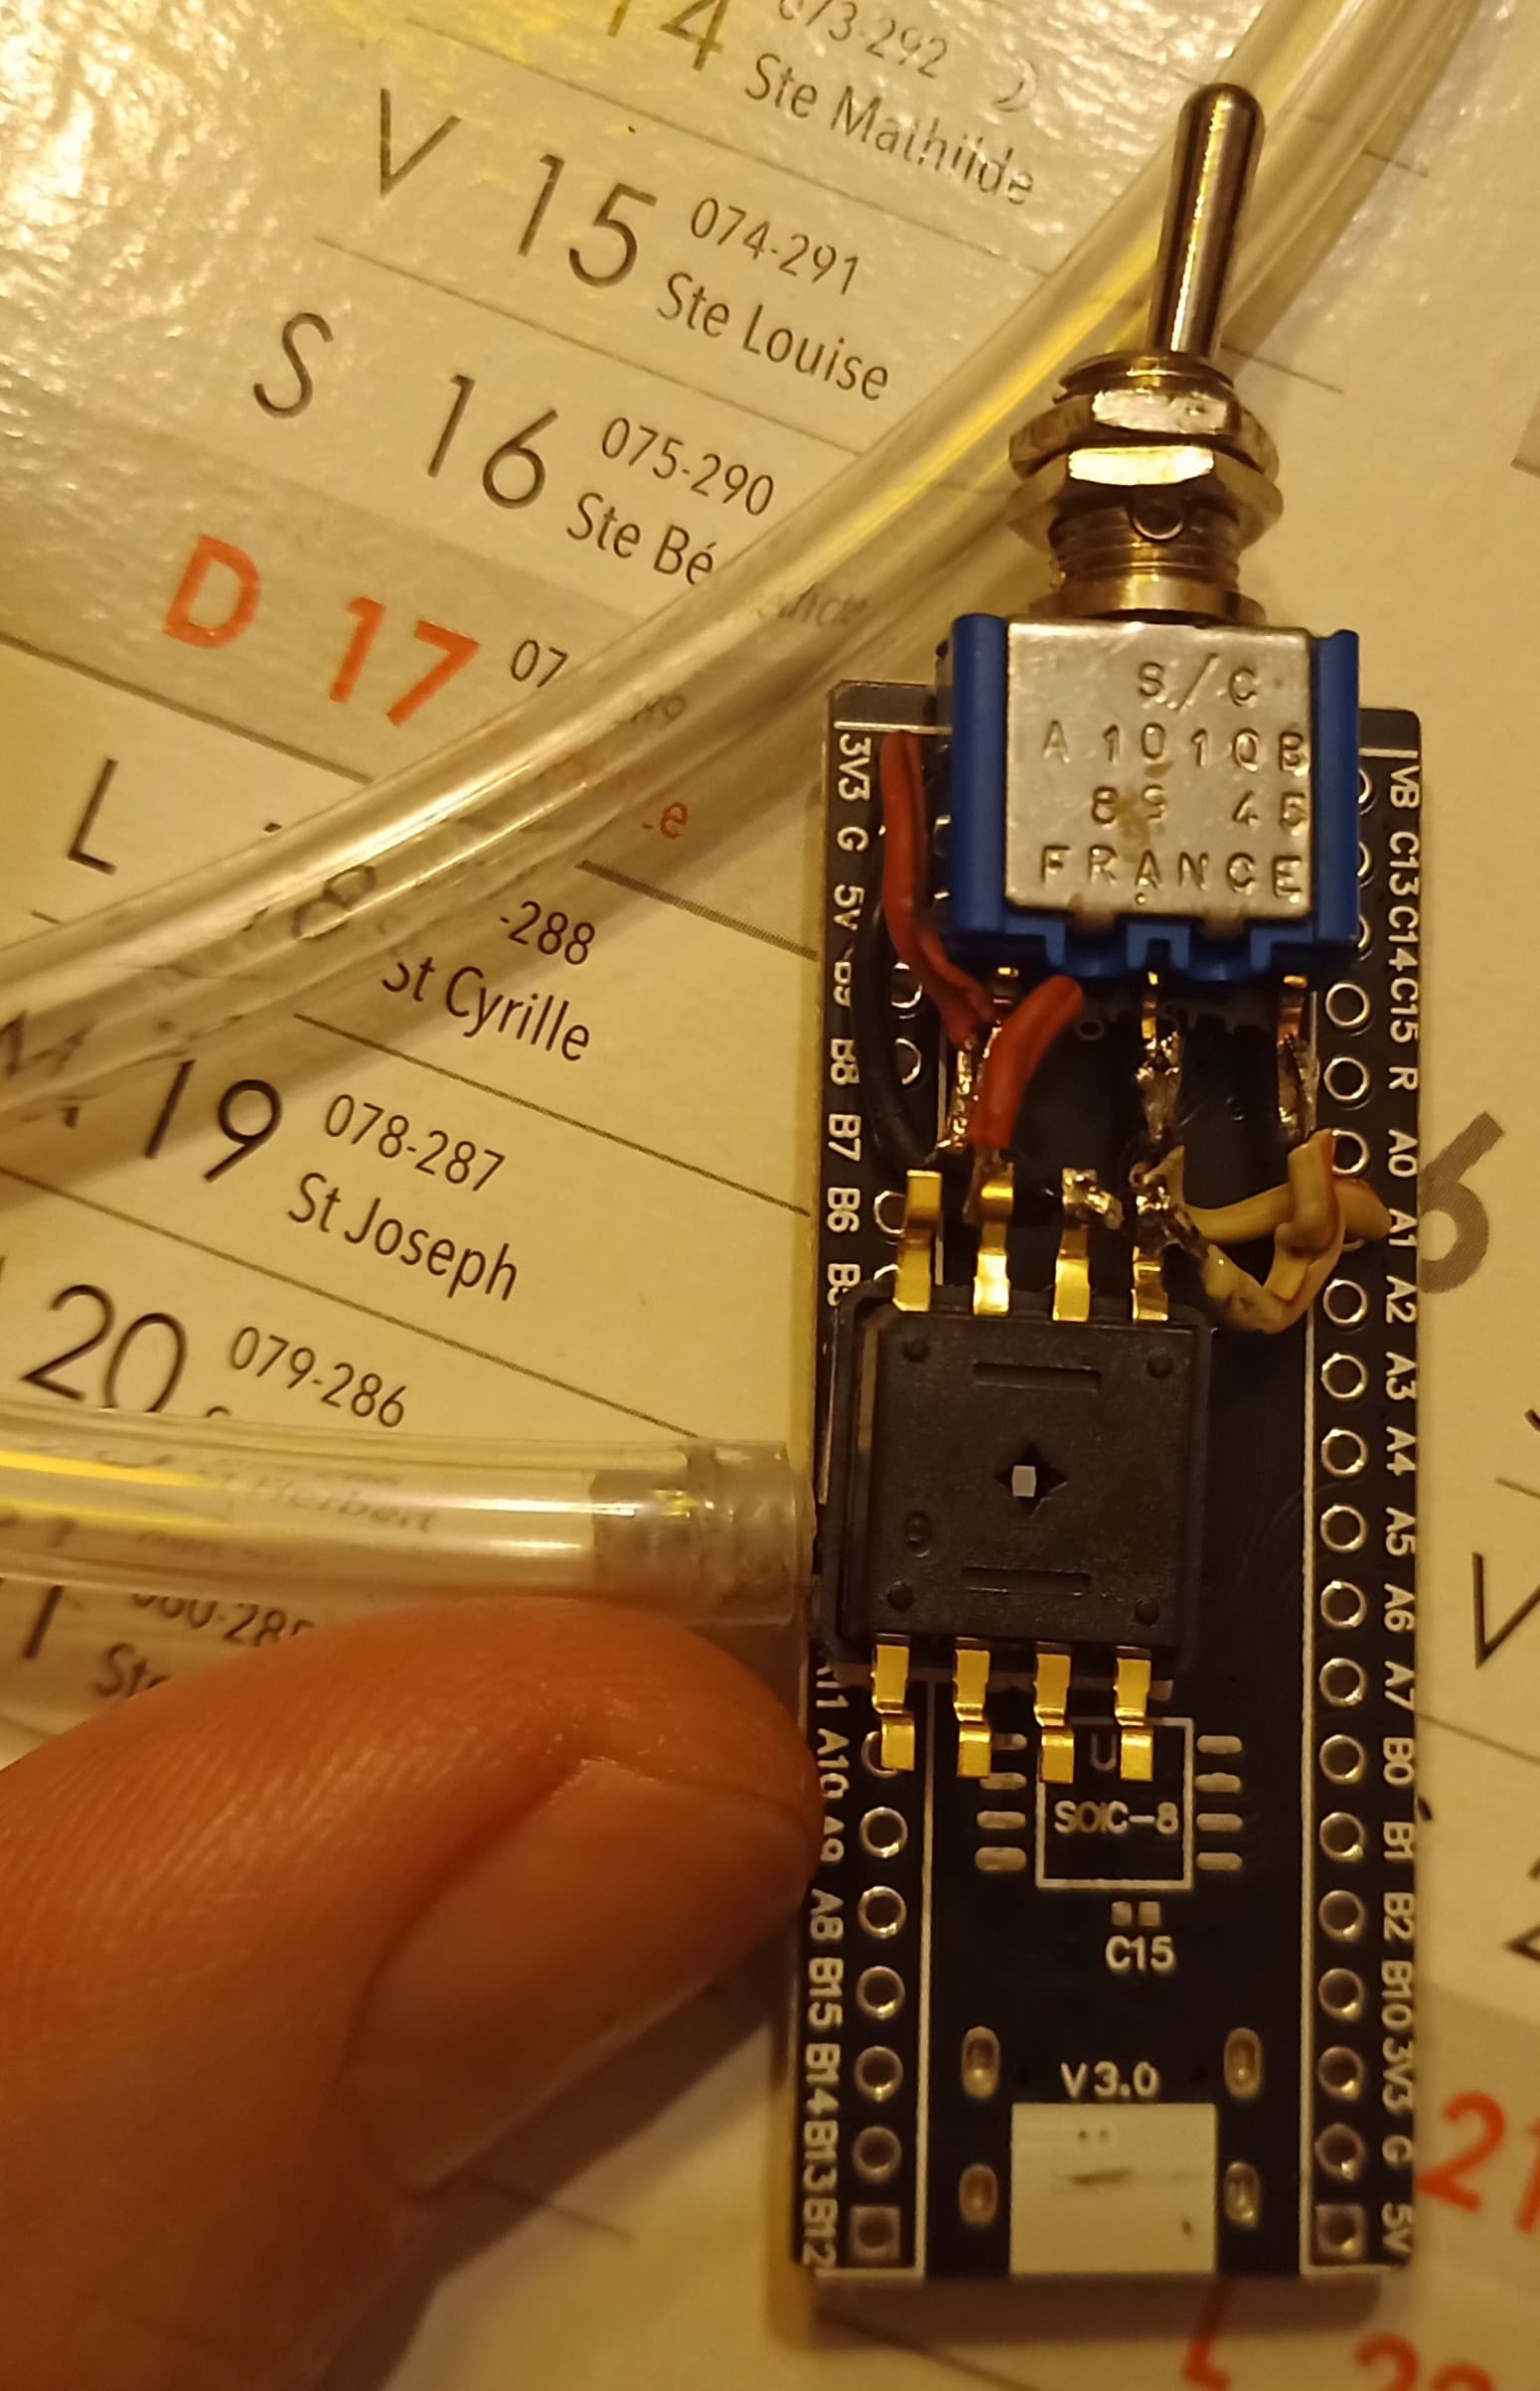
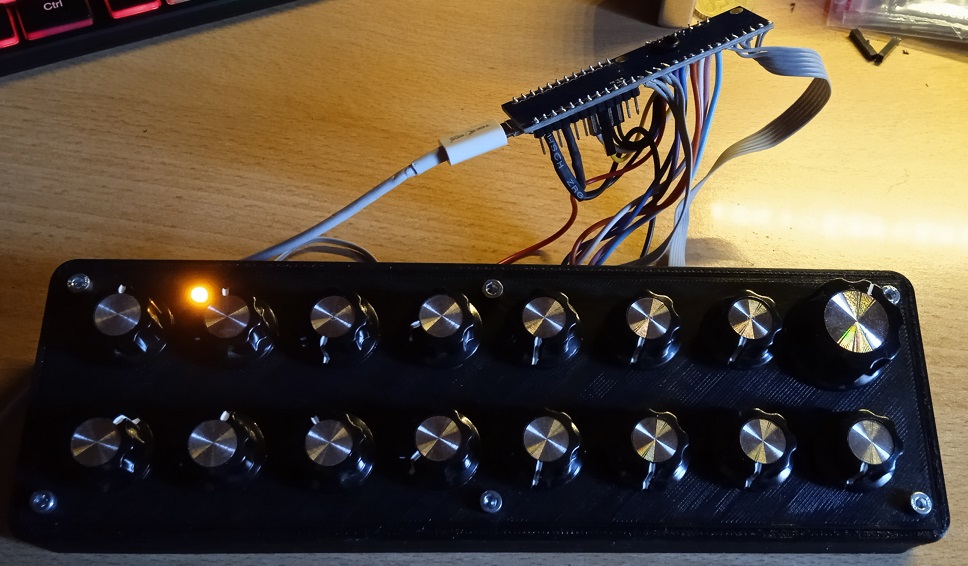
I built a small interface to control other parameters of the SWAM soprano sax. Same principle as my controller for MiniMoog. It will mount an Arduino Micro Pro.
I apologize… I logged in with the old nickname of which I had lost the password… This is the right one…
If the admins want to delete it they are free to do so. Thank you
Thank you.
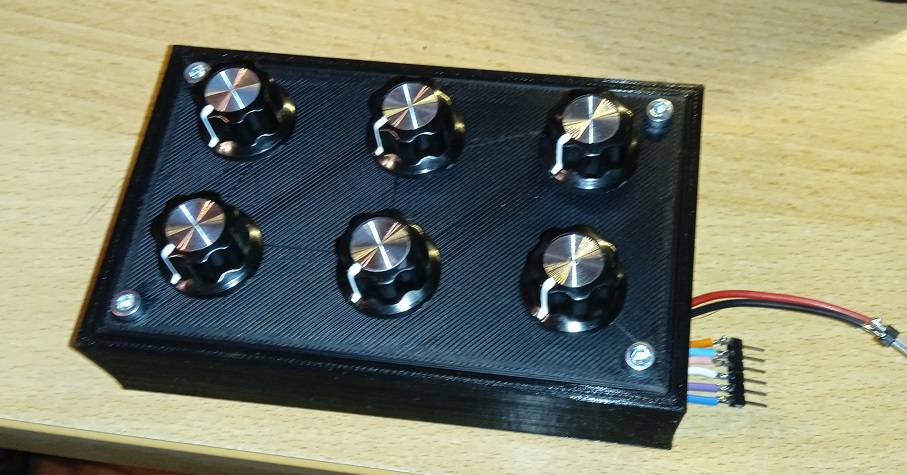
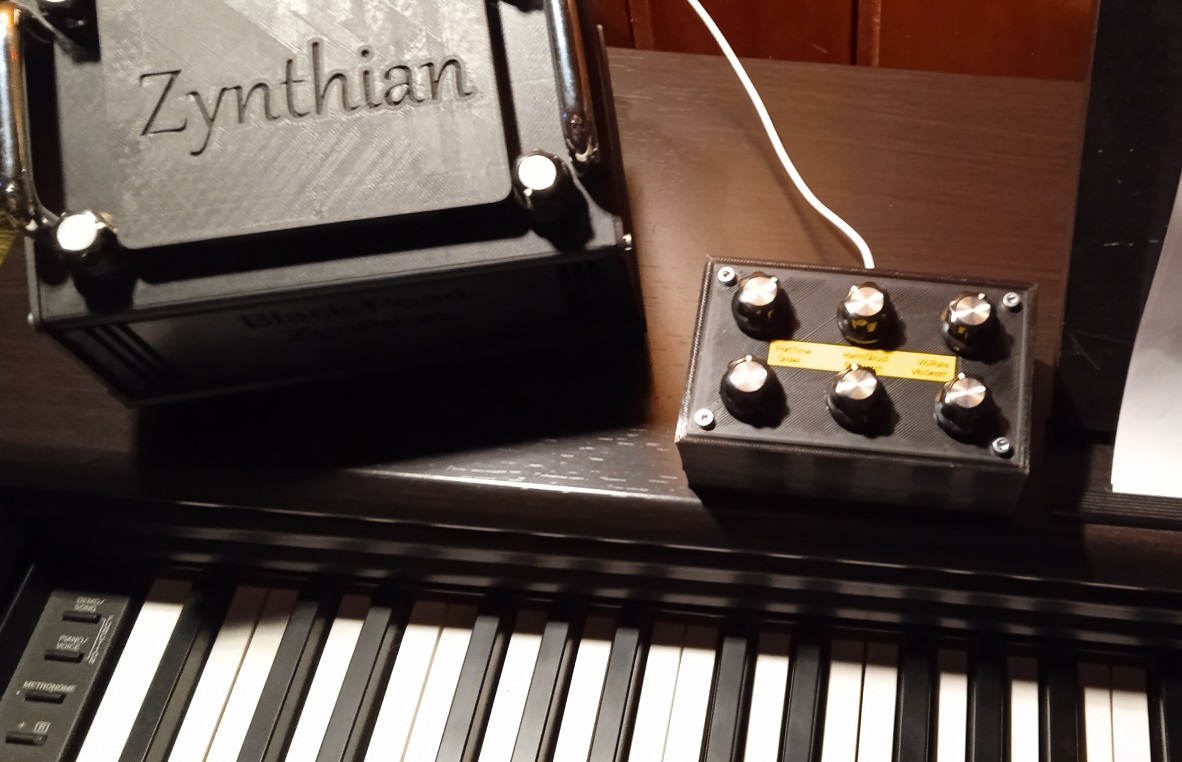
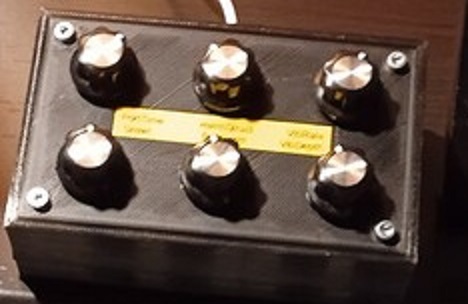
For the writing I will use a Dymo plate as in the previous model. I put the largest knob on purpose to distinguish it immediately… it’s the Volume knob.
What would be nice is a prescribed way of configuring these devices for Midi channel, functions and context, presumably over the same Midi connection so we could use one set up tool rather than having to hand code or construct a new GUI front end each time.