1/ Backup zynthian using webconf system
1.5/ Have you backed up???
2/ Log onto the zynth, with a ssh terminal. You could possibly use the webconf terminal but I prefer not to, which is probably little more than prejudice.
3/ you should be in the /root directory. Type pwd to find out.
4/ type git clone --recurse-submodules https://github.com/tiagolr/ripplerx.git This will download the RipplerX source code into a directory in /root called ripplerx. This is going to be compiled to run on your specific hardware.
5/ type sudo apt-get install libx11-dev libfreetype-dev libfontconfig1-dev libasound2-dev libxrandr-dev libxinerama-dev libxcursor-dev ,
as one line. This loads in the dependencies required and is a possible source of problems if they are to occur if there is a dependency mismatch, but it worked on my Vangelis based machine, so it has been done successfully..
6/ type cd ripplerx
7/ type cmake -G “Unix Makefiles” -DCMAKE_BUILD_TYPE=Release -S . -B ./build
8/ type cmake --build ./build --config Release
This will, if it completes, and it should eventually do so, install and compile the software.
THis means that it will be visible to the zynthian engine tool that scans known places looking for lv2 components which you have now created .
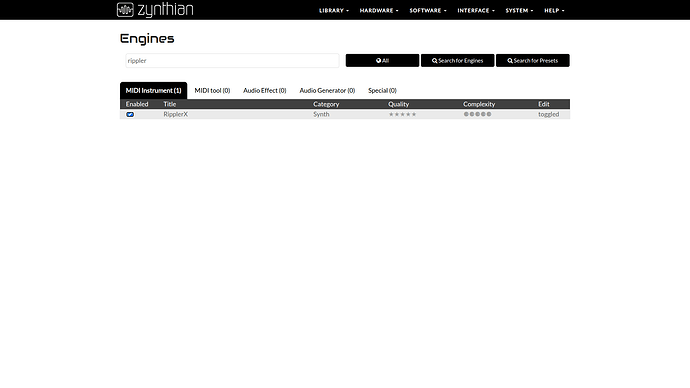
9/ Go to the webconf software engine display and type rippler into the search window press the search all button.
10/ after a period of time the ripplerX component should be displayed
11/ Enable ripplerX
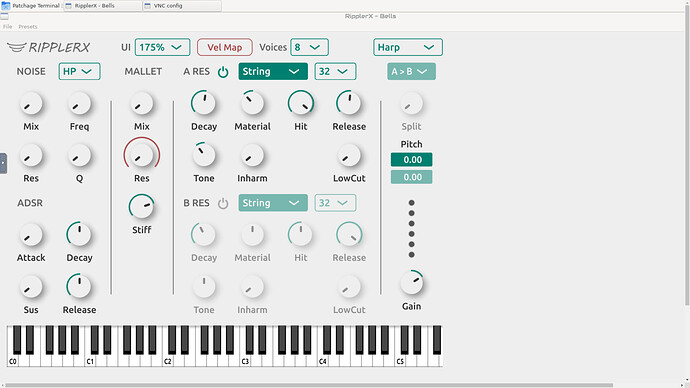
12/ You should now find it as an engine in the synth category, and you are good to go…
Don’t forget to backup before you start.

