Zynthian V5 building and first impressions

Hello Zynthianers and @jofemodo :slightly_smiling_face:

I just wanted to share that I managed to complete the assembling of the Zynthian in little more than three hours, enjoying the experience in the process.

I have treaded carefully, as a sort of slow mechanical meditation, so to speak, as sensibly suggested in the online manual.

The overall feeling of the device is very professional: a huge leap forward from V4, in my opinion. The metal chassis is sturdy, reassuringly weighty and well finished; the knobs are pleasantly resistant and of high tactile quality; the rubber keyboard with mutant colour-coded buttons is a pure delight in use, both visually, functionally and under the fingers.

The packaging, all in eco-cardboard surfaces with Zynthian insignia and functional labels, is a feat of successful item design, with the internal boxes arranged in a column to fill up the volume of the external container, whose lid sports in clear QR links the references to assembly instructions and software download: well thought!

The trickiest parts of the mounting procedure have been the cut/handling of those minuscule thermal pad rectangles and the safe manipulation of the flat cables’ locking mechanisms: a true clockworksmith task!

Kudos to the provision of the two small section Allen wrenches, but I believe that a professional screwdriver with exchangeable heads, like that used by Floyd Steinberg in the V5 video, would prove to be much more convenient.

If I may advance a little suggestion, I would advise to possibly ship the “bits” envelope with the screws already divided in their four families, in order to save some precious time during the assembling operations.

And, oh, I think that it would not harm to clearly state that the flat cables with one blue side underneath are reversible, thus making irrelevant which visible side carries the printed overlay.

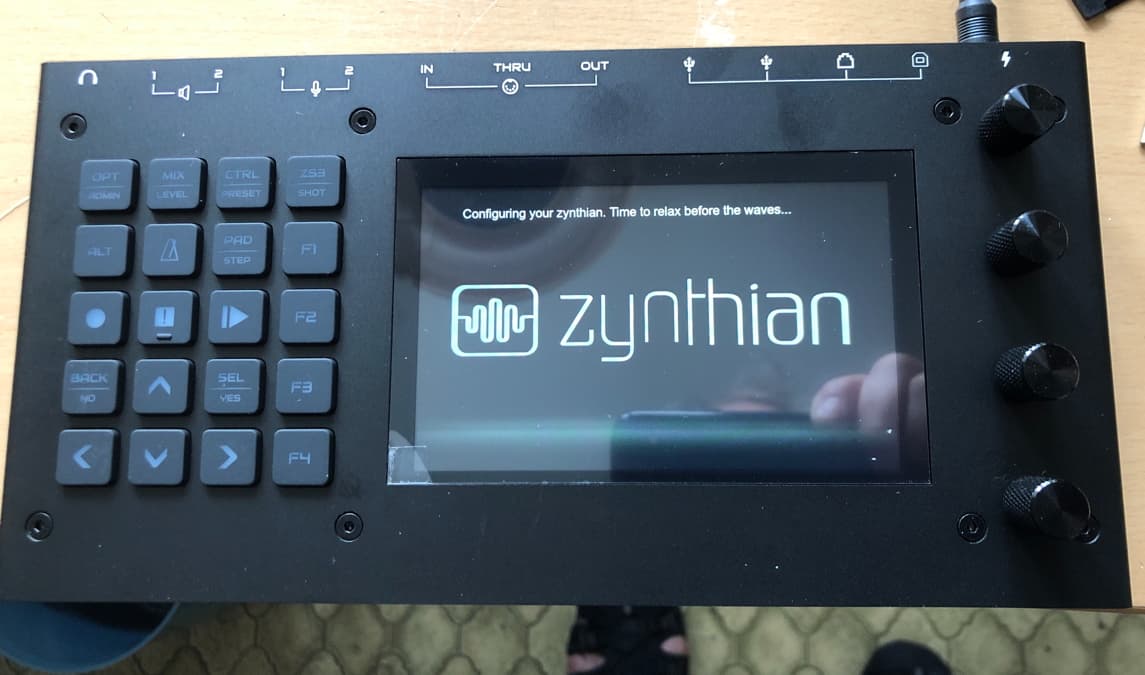
Now, it is time to put this new electronic music portable workshop under some significant computational strain, to see how nicely it behaves! :wink:

4 Likes

I don’t think you can plug the cables in any old way - you must either see the blue side or not both end, if you swap you’ve reversed the cable at one end - is that correct?

Hi @imekon ,

If I read your suggestion correctly, what really matters is to make sure that the visible side of the flat cable matches the position of the contacts inside the connector.

Therefore, the specially placed blue strip must face down, in order to implement this electrical coupling.

I just advanced that it might be useful to set free the manual’s reader, from the idea that there should be a specific side of the white cable facing the onlooker.

Regards :slightly_smiling_face:

1 Like

Mine arrived safely today and I also found the assembly a meditative experience. Especially as the random playlist loaded as background music played songs like Final Countdown and Barcelona. :slight_smile:
And indeed, the new model has a very professional feel. Thanks, guys.

4 Likes

this one ?

1 Like

Building the V5 went very smoothly. But in the end I had 4 pieces of 2,5 mm screws left over.
I did building via the Tutorial, hm?

And I split the remark:

Now diving in the very nice


tool !

2 Likes

Hi @Klangschmied :slightly_smiling_face:

I too noticed that there were four spare screws, at the end of the assembly. I think that it is just fine this way, and that they have been provided as a backup, for possible loss of material during the mounting procedure.

Regards

2 Likes

Indeed it was a change in the BOM after ordering the screw sets. Anyway, next screw-sets orders will include an extra screw of each type.

Regards,

1 Like

I added several notes to the wiki tutorial to clarify this point:

https://wiki.zynthian.org/index.php/Assembling_Zynthian_Kit_V5#Plug_the_flat_ribbon_cable_into_the_control_board

For instance:

Insert the ribbon cable into the FPC connector. It must be inserted straight, with the blue side facing down. All flat cables in the V5 kit are reversible, so you can take any of the 2 caps, while taking care of placing the blue side facing down.

I hope it’s enough :wink:

1 Like