Disclaimer: I didn’t do the testing nor do I know how or if this could affect MicroDexed, I’m just fascinated by those cheap esp’s and the idea of a pocketsize synth.
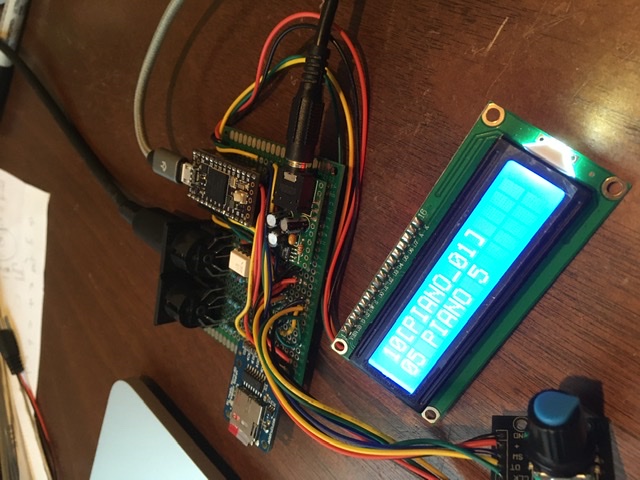
I just finished a beta version of the MicroMDAEPiano. It’s not all perfect yet, but at least I’m on my way to a usable EPiano based on the MDA-EPiano.
What’s new?
Complete menu based on LiquidMenu for a 16*2 LCD and two encoders
Save and recall the saved settings in 99 memory locations
Using the Compressor/Bass-Boost/EQs of the SGTL5000 (sorry, support for other audio cards has been left behind for now)
Using the Freeverb of the Teensy Audio Lib
Parameters of the MDA-EPiano adjustable in the menu
MIDI-SoftThru: incoming MIDI signals are forwarded to other MIDI interfaces.
Maximum number of voices: 48
Comments:
Currently most features are only available for the SGTL5000 audio card.
The menu is already prepared for a modulated chorus effect, but this is not yet implemented.
Unfortunately the sound is interrupted when changing menus or turning the encoders… to avoid this, i currently only have the idea to use a second uC for controlling the display - maybe later on
The volume ratios are not yet optimized. Distortions sometimes occur.
The SGTL5000 compressor isn’t really easy to use - I’ll have to try it a little until I understand how it works.
There is no documentation how to build and what libraries are needed available
A suitable video is missing - hopefully I will make it in the next weeks…
The source code is available at https://codeberg.org/dcoredump/MicroMDAEPiano . There is also a HEX file for the Teensy-3.6 stored, who doesn’t want to take the trouble to install all necessary libraries.
I bought several effects from Musikding where the resistors were labeld like this. I found this very useful and so I am doing this also for my kits (with my best magnifying glasses ).
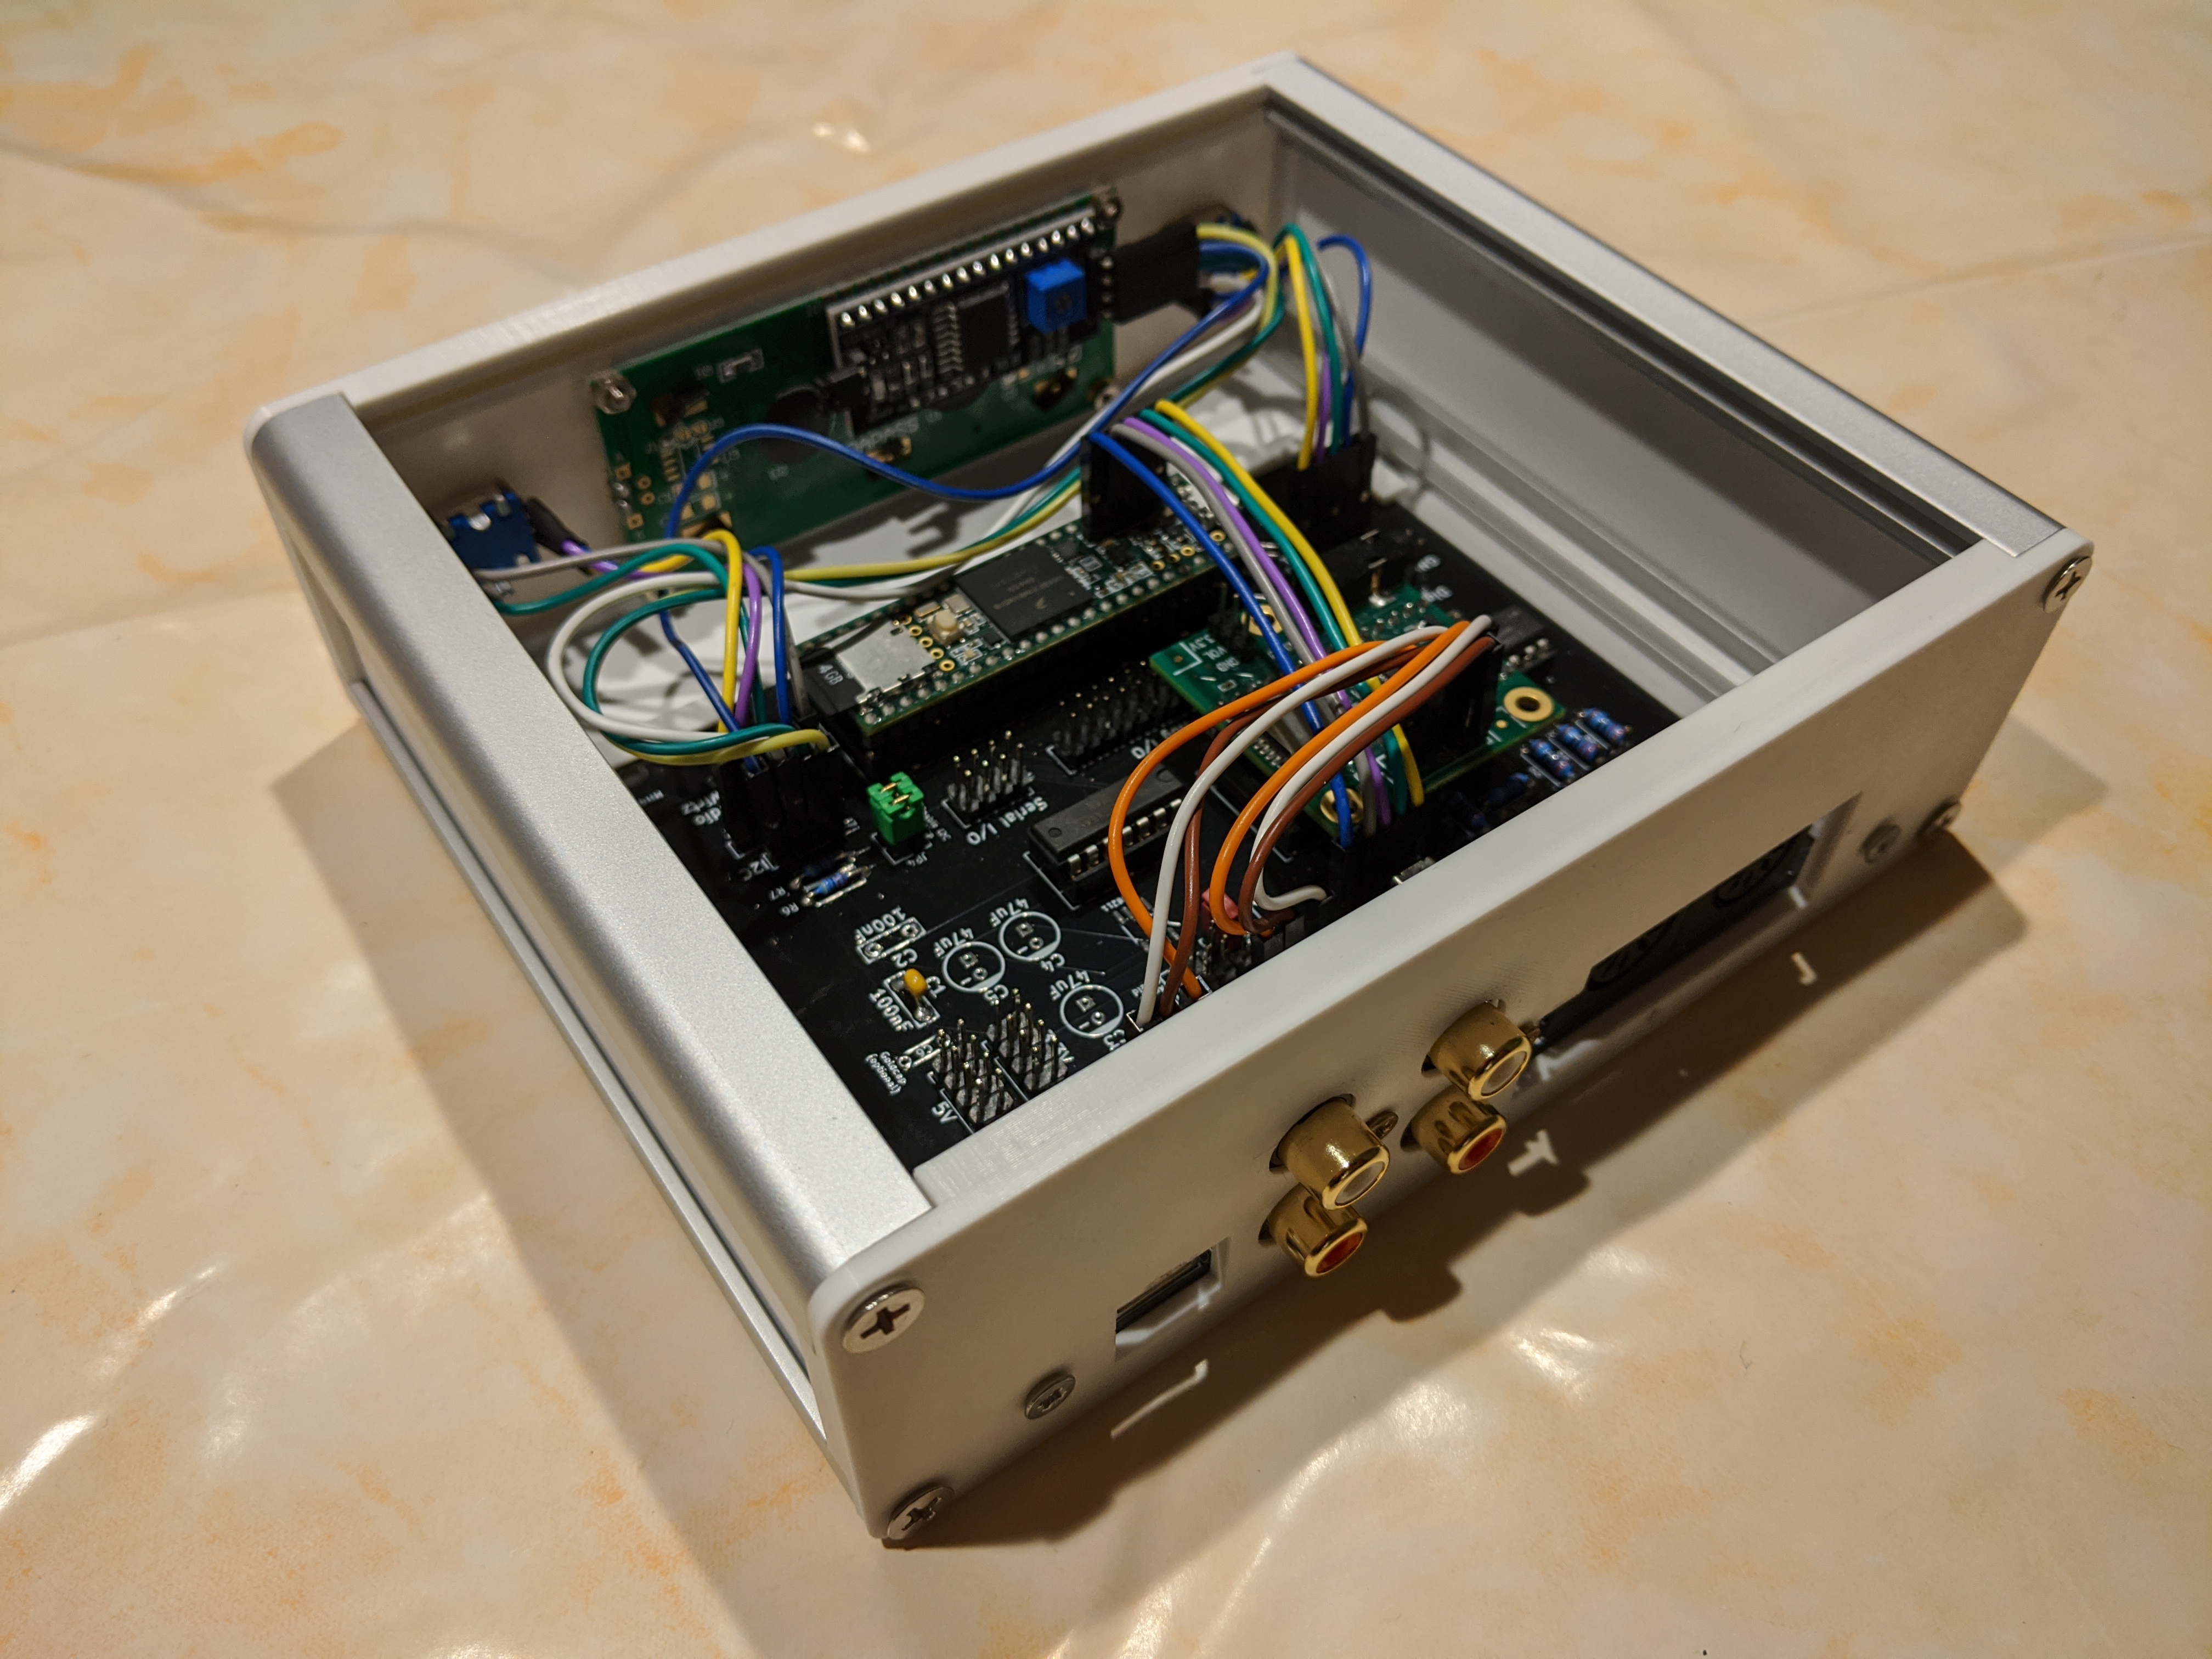
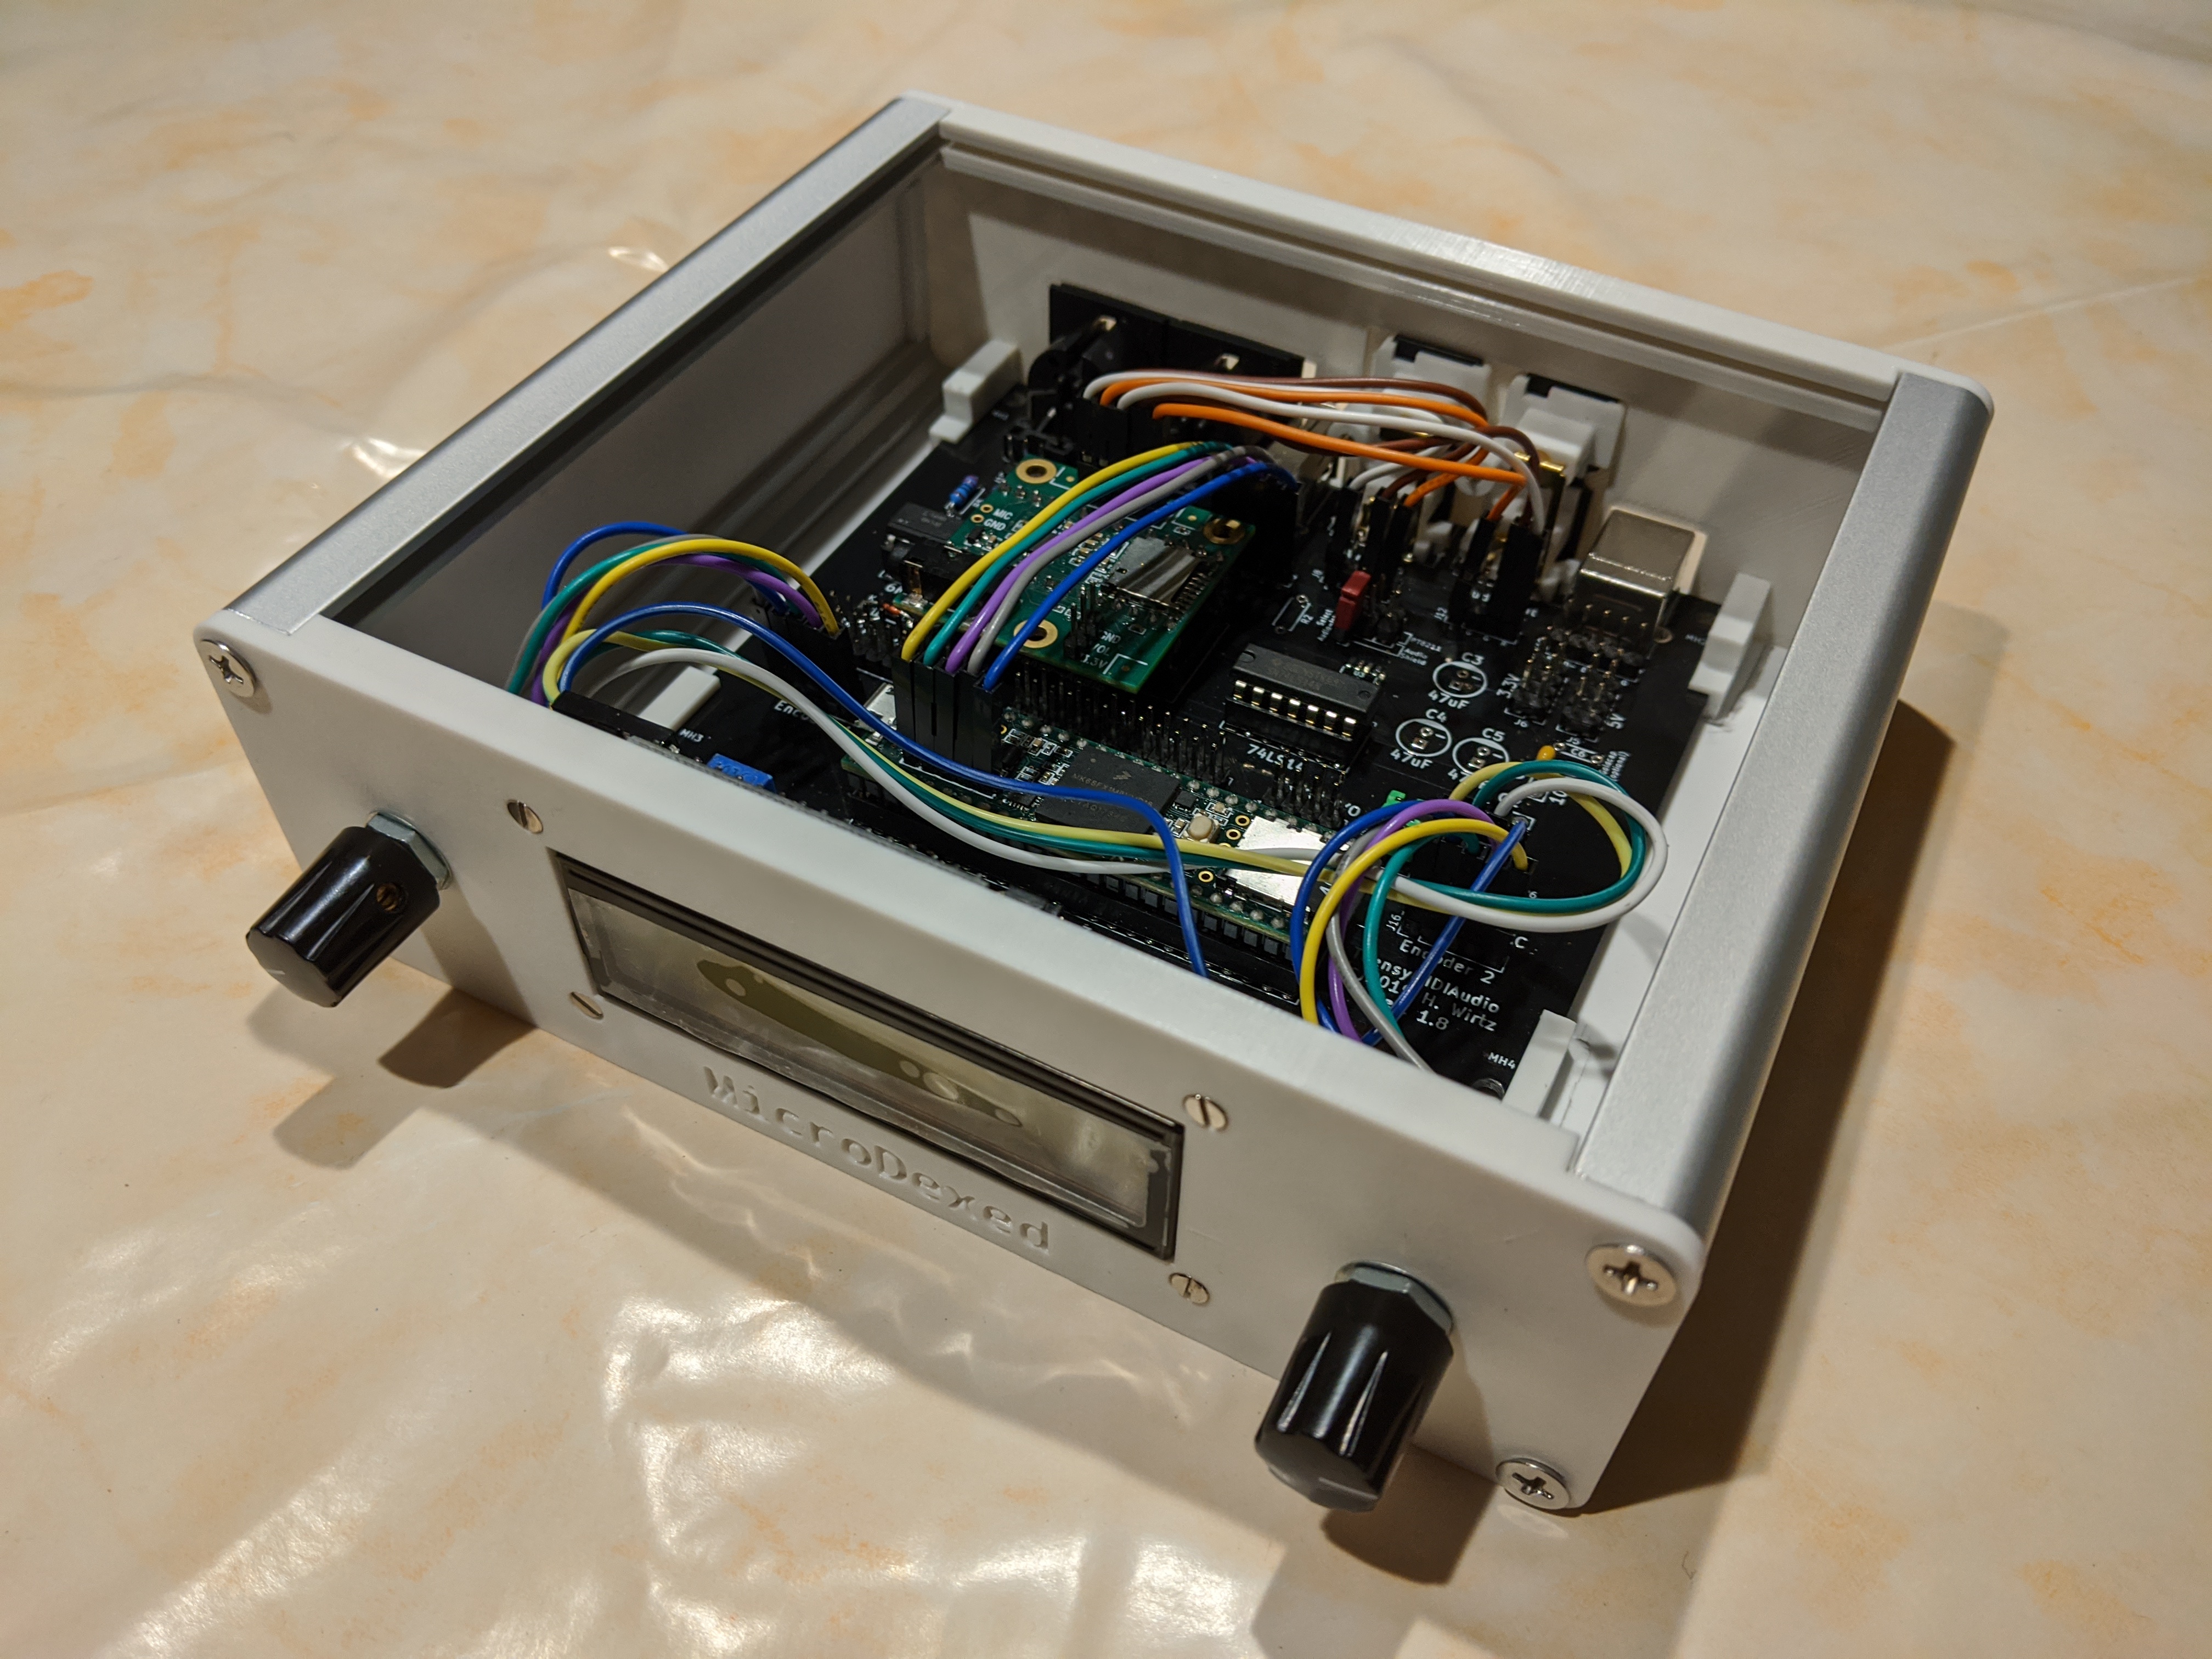
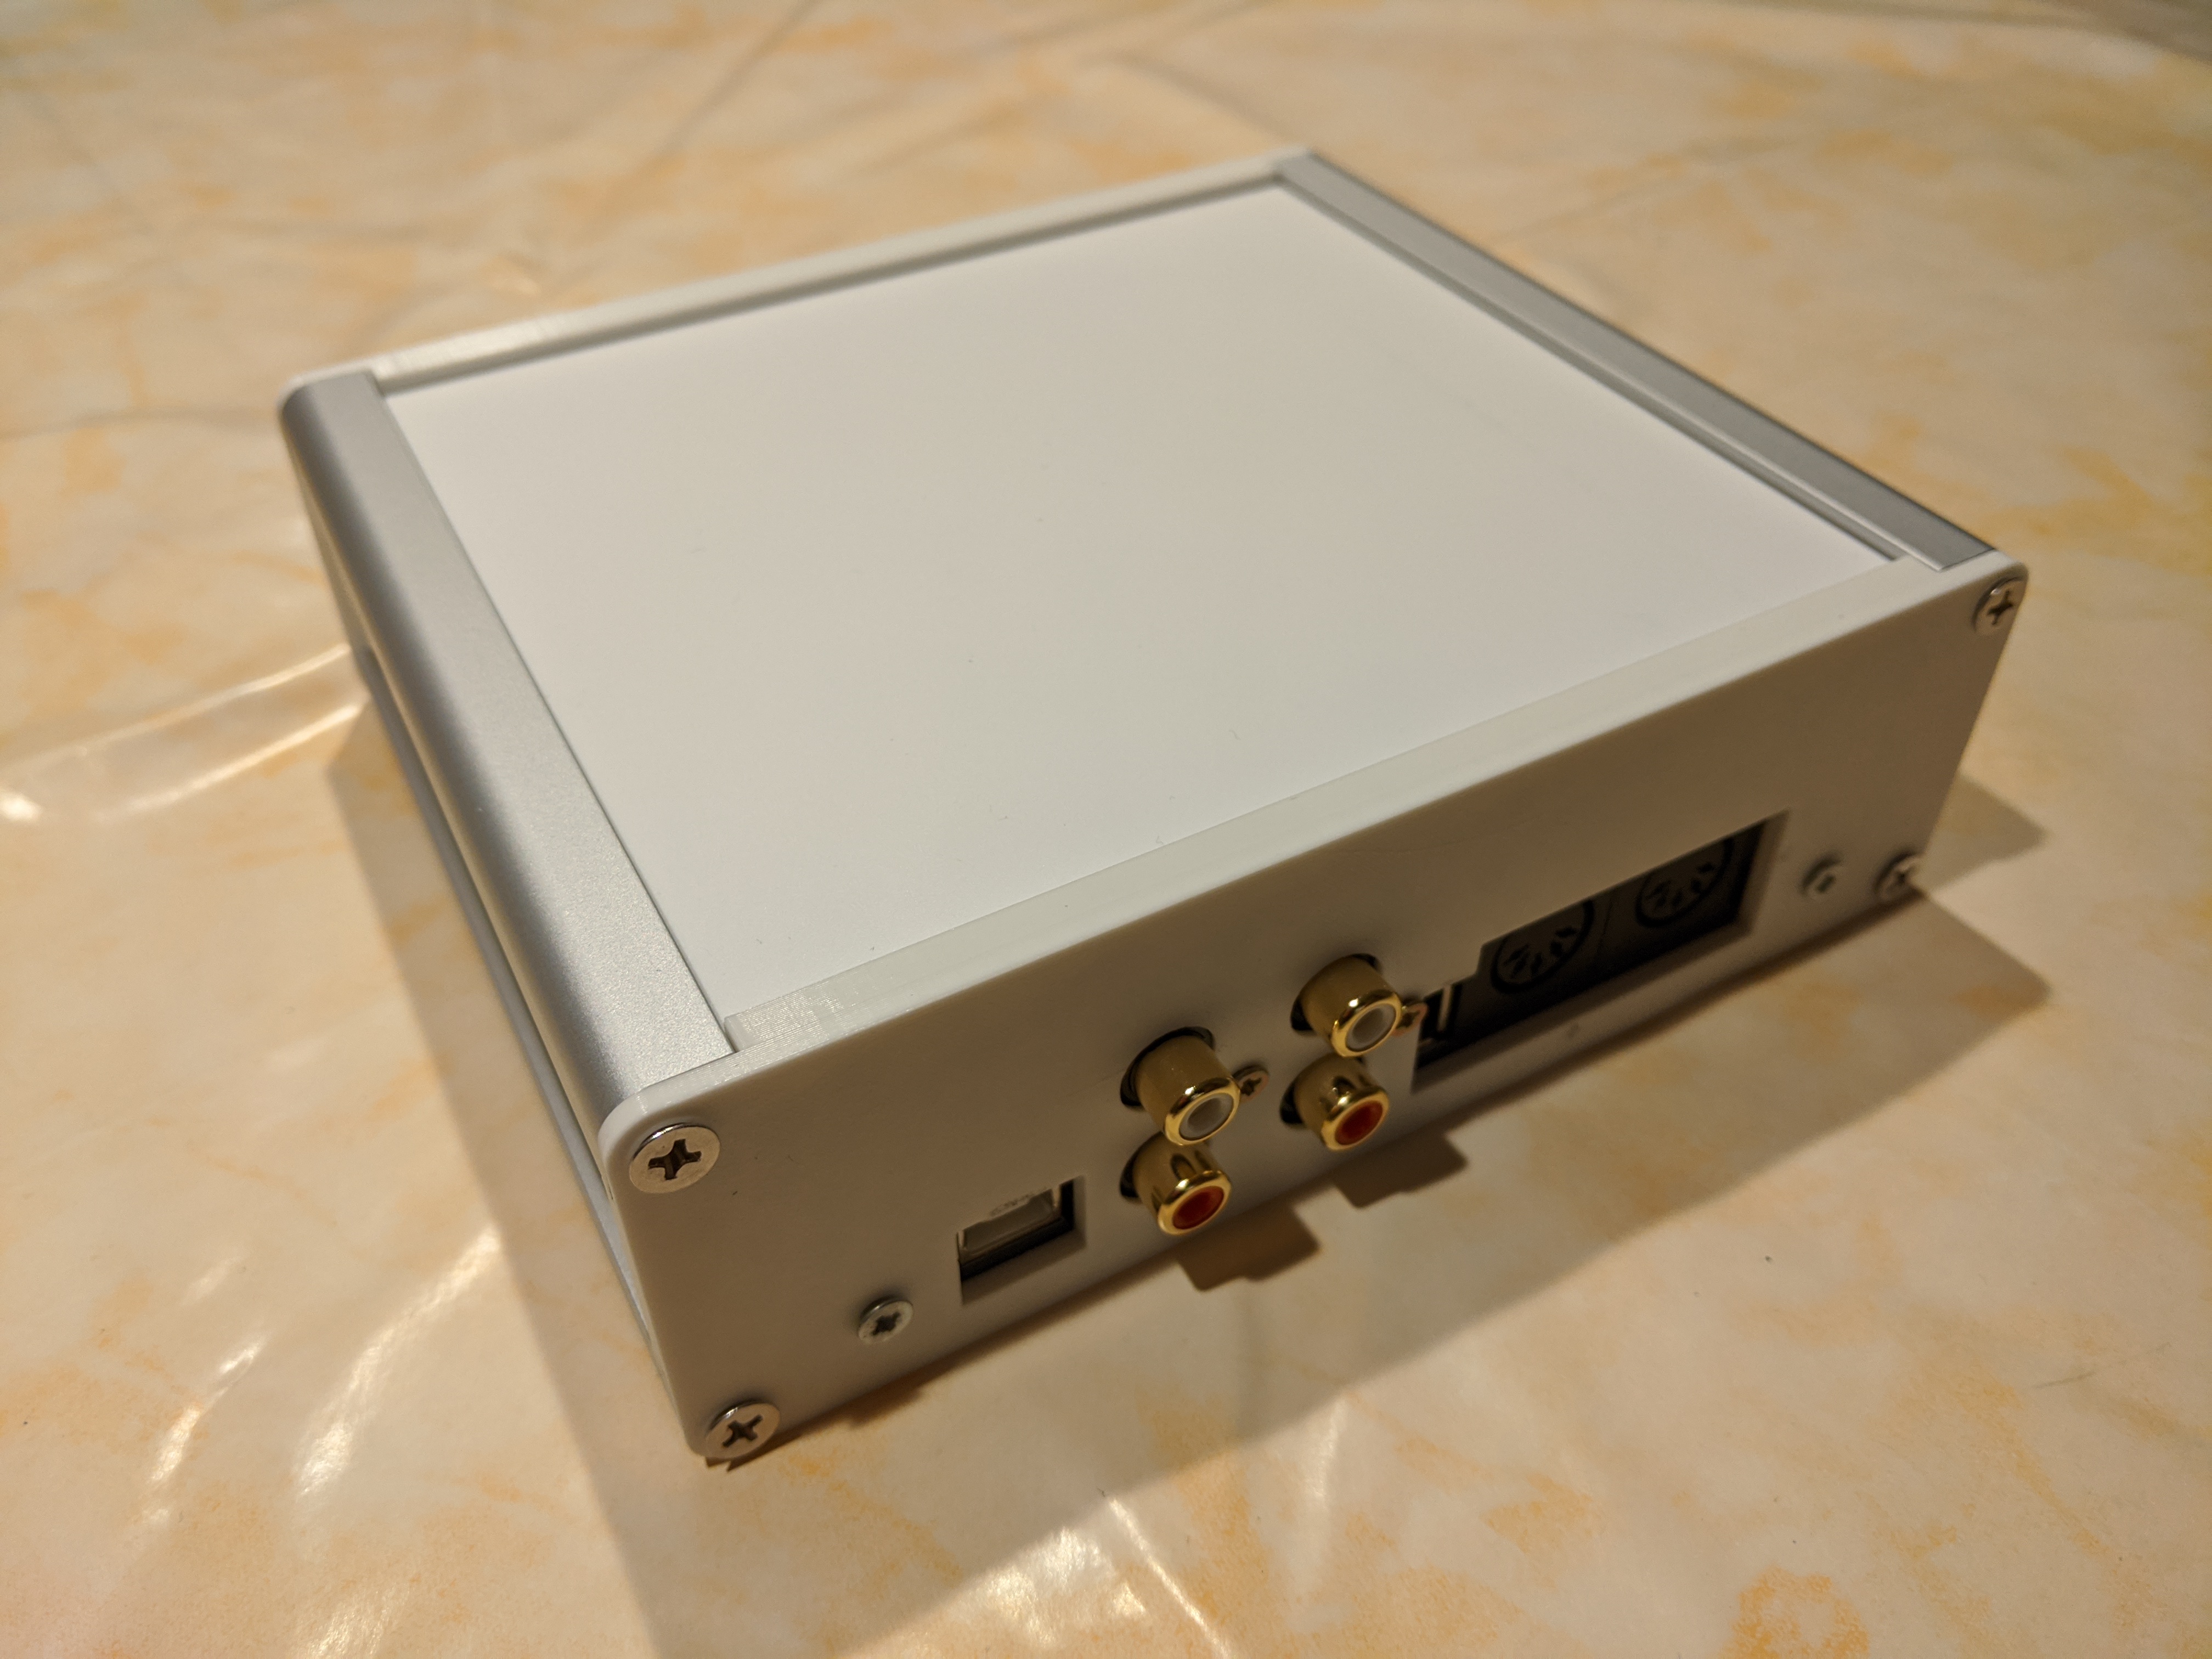
Generic prototype board purchased on Amazon, Teensy 4 and PT8211 from PJRC, cheap encoders,DIN sockets, 6n138 and LCD from Amazon.
MicroSD board is from Adafruit.
Indeed there are kits waiting for selling. And the software is already in a new state (let’s say beta). But the documentation for building is not yet ready (also it’s not so difficult if you can read a circuit diagram and look at some photos).
Here are some pics of the new case: front and back are 3D printed, the side parts and lid are made of polystyrene. You still need aluminium profiles in which you cut M4 threads and a few screws.
The front is version 4 and for the back I had 7 iterations
I am very new to 3D design, so I used TinkerCAD. It’s very easy, but not very industrial-like. But you can design very fast and I am pretty happy with the result. BTW: I am using a simple chinese Ender-3 printer.
I print out, take the front panel from the printing bed and mount it. The countersinks for the screws are not perfect and in the screw holes a filament thread can hang, but actually you don’t need to do anything.


 ).
).