I’m Fred from Paris,
I found this project by chance while I was looking into synthesizers to add some spice to my music … As I had a raspberry pi 4 laying around, decided to build one !
And here it is, nearly finished ( but will it be finished one day ?)
piJuice HAT to battery power the thing. (currently with default battery of 1820mAh which is a bit small for Rbpi4 : lasts around 50 minutes … will probably get 5000mAh.
After installing Armbian_22.08.8_Rockpi-4b_jammy_current_5.15.76.img then setting a login password in OS. Update upgrade setting a Wifi access…
What should be the following procedure to build a zynthian ?
Copying files in home OS setup_system_rbpi_raspbian_lite_buster.sh and execute ?
I try this with some fails and “Package…has no installation candidate”.
Shall i copy all zynthian-sys directories and files on OS home for instance ?
Thanks again
Hi @appaz !
I don’t think this path is easily workable. RockPi is not currently supported and the build scripts should be adapted to working with it. So, the next step for building a zynthian on RockPi is porting the setup scripts. You should start here:
I think it’s a hard task and it would take a good amount of time, specially if you want the encoders & switches interface working, but the reward is huge too, so i encourage you to do it and share with us. I’m sure if you succeed, many will follow your path and you will deserve big fame and glory here.
if it’s apt install that complain you’ll have to investigate wich package it comes from (eg zynthian use kxstudio repo for some packages). If they are none available then you will have to compile it yourself from source.
Like @jofemodo said it’s hard work to get it up. It tooks me hours to get a Zynthian running on a NanoPI K1Plus (Allwinner H5 quad core A53 + 2G RAM).
For WiringPi, I had to tweak an OranegPi port of the library for an OrangePi H5 board, just to build the zyncoder library, not for wiring encoders !!!
No setup script will take care of this.
I suggest that you open the script in a text editor and then
first do all the apt install stuff,
then everything that has to be build from source
and lastly do everything that affects configuration files,
A good idea is to make a disk image of the SD Card at each step
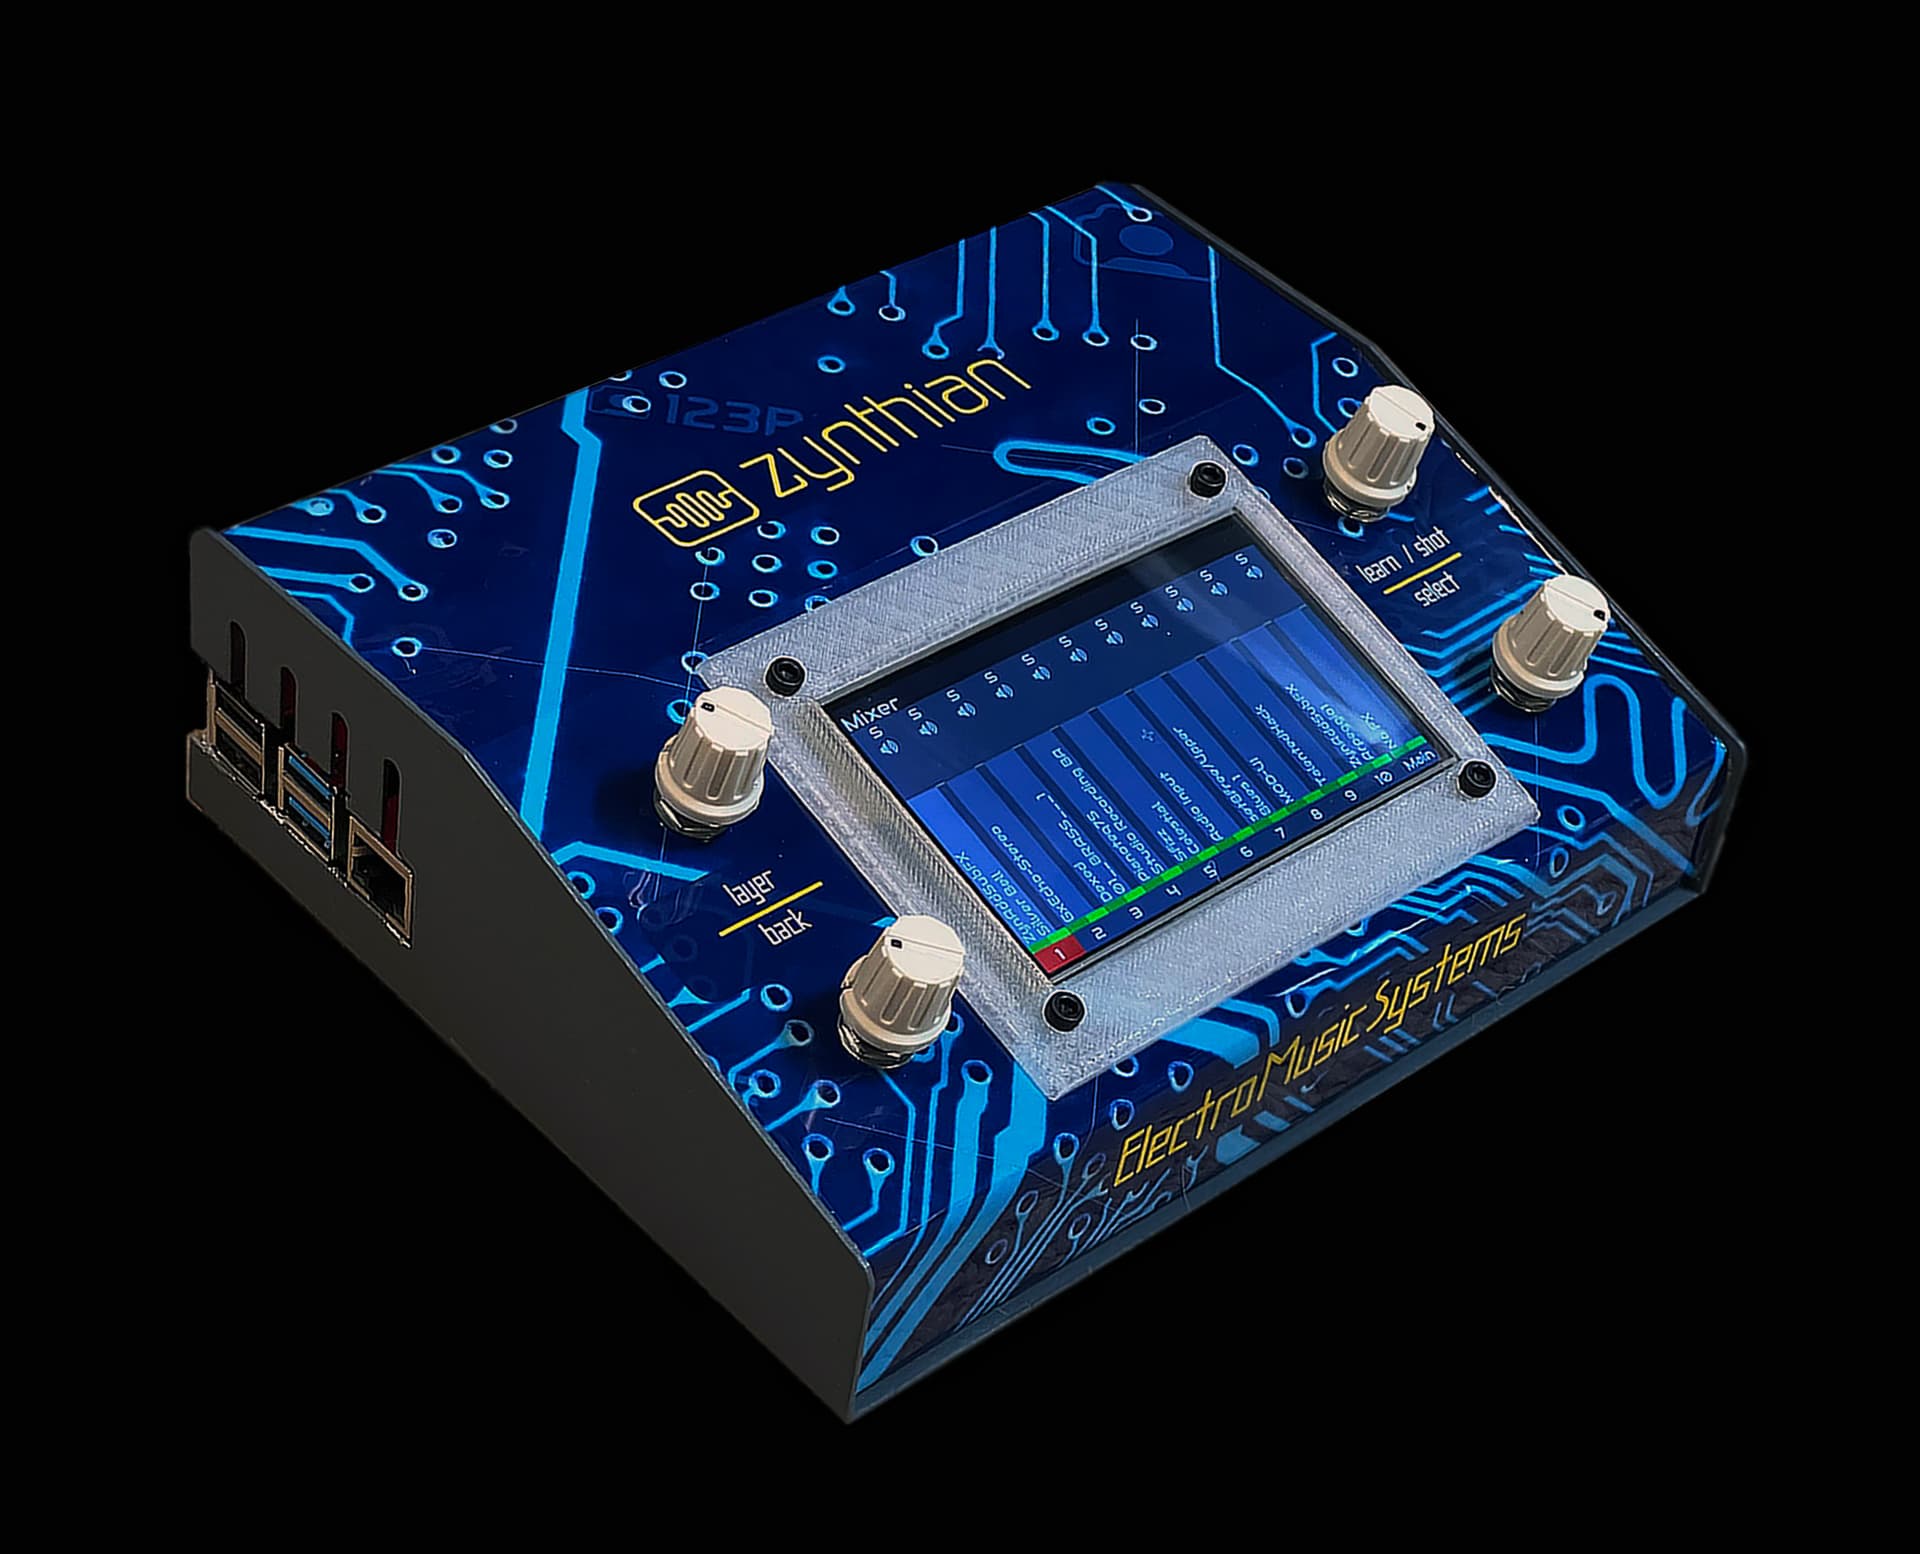
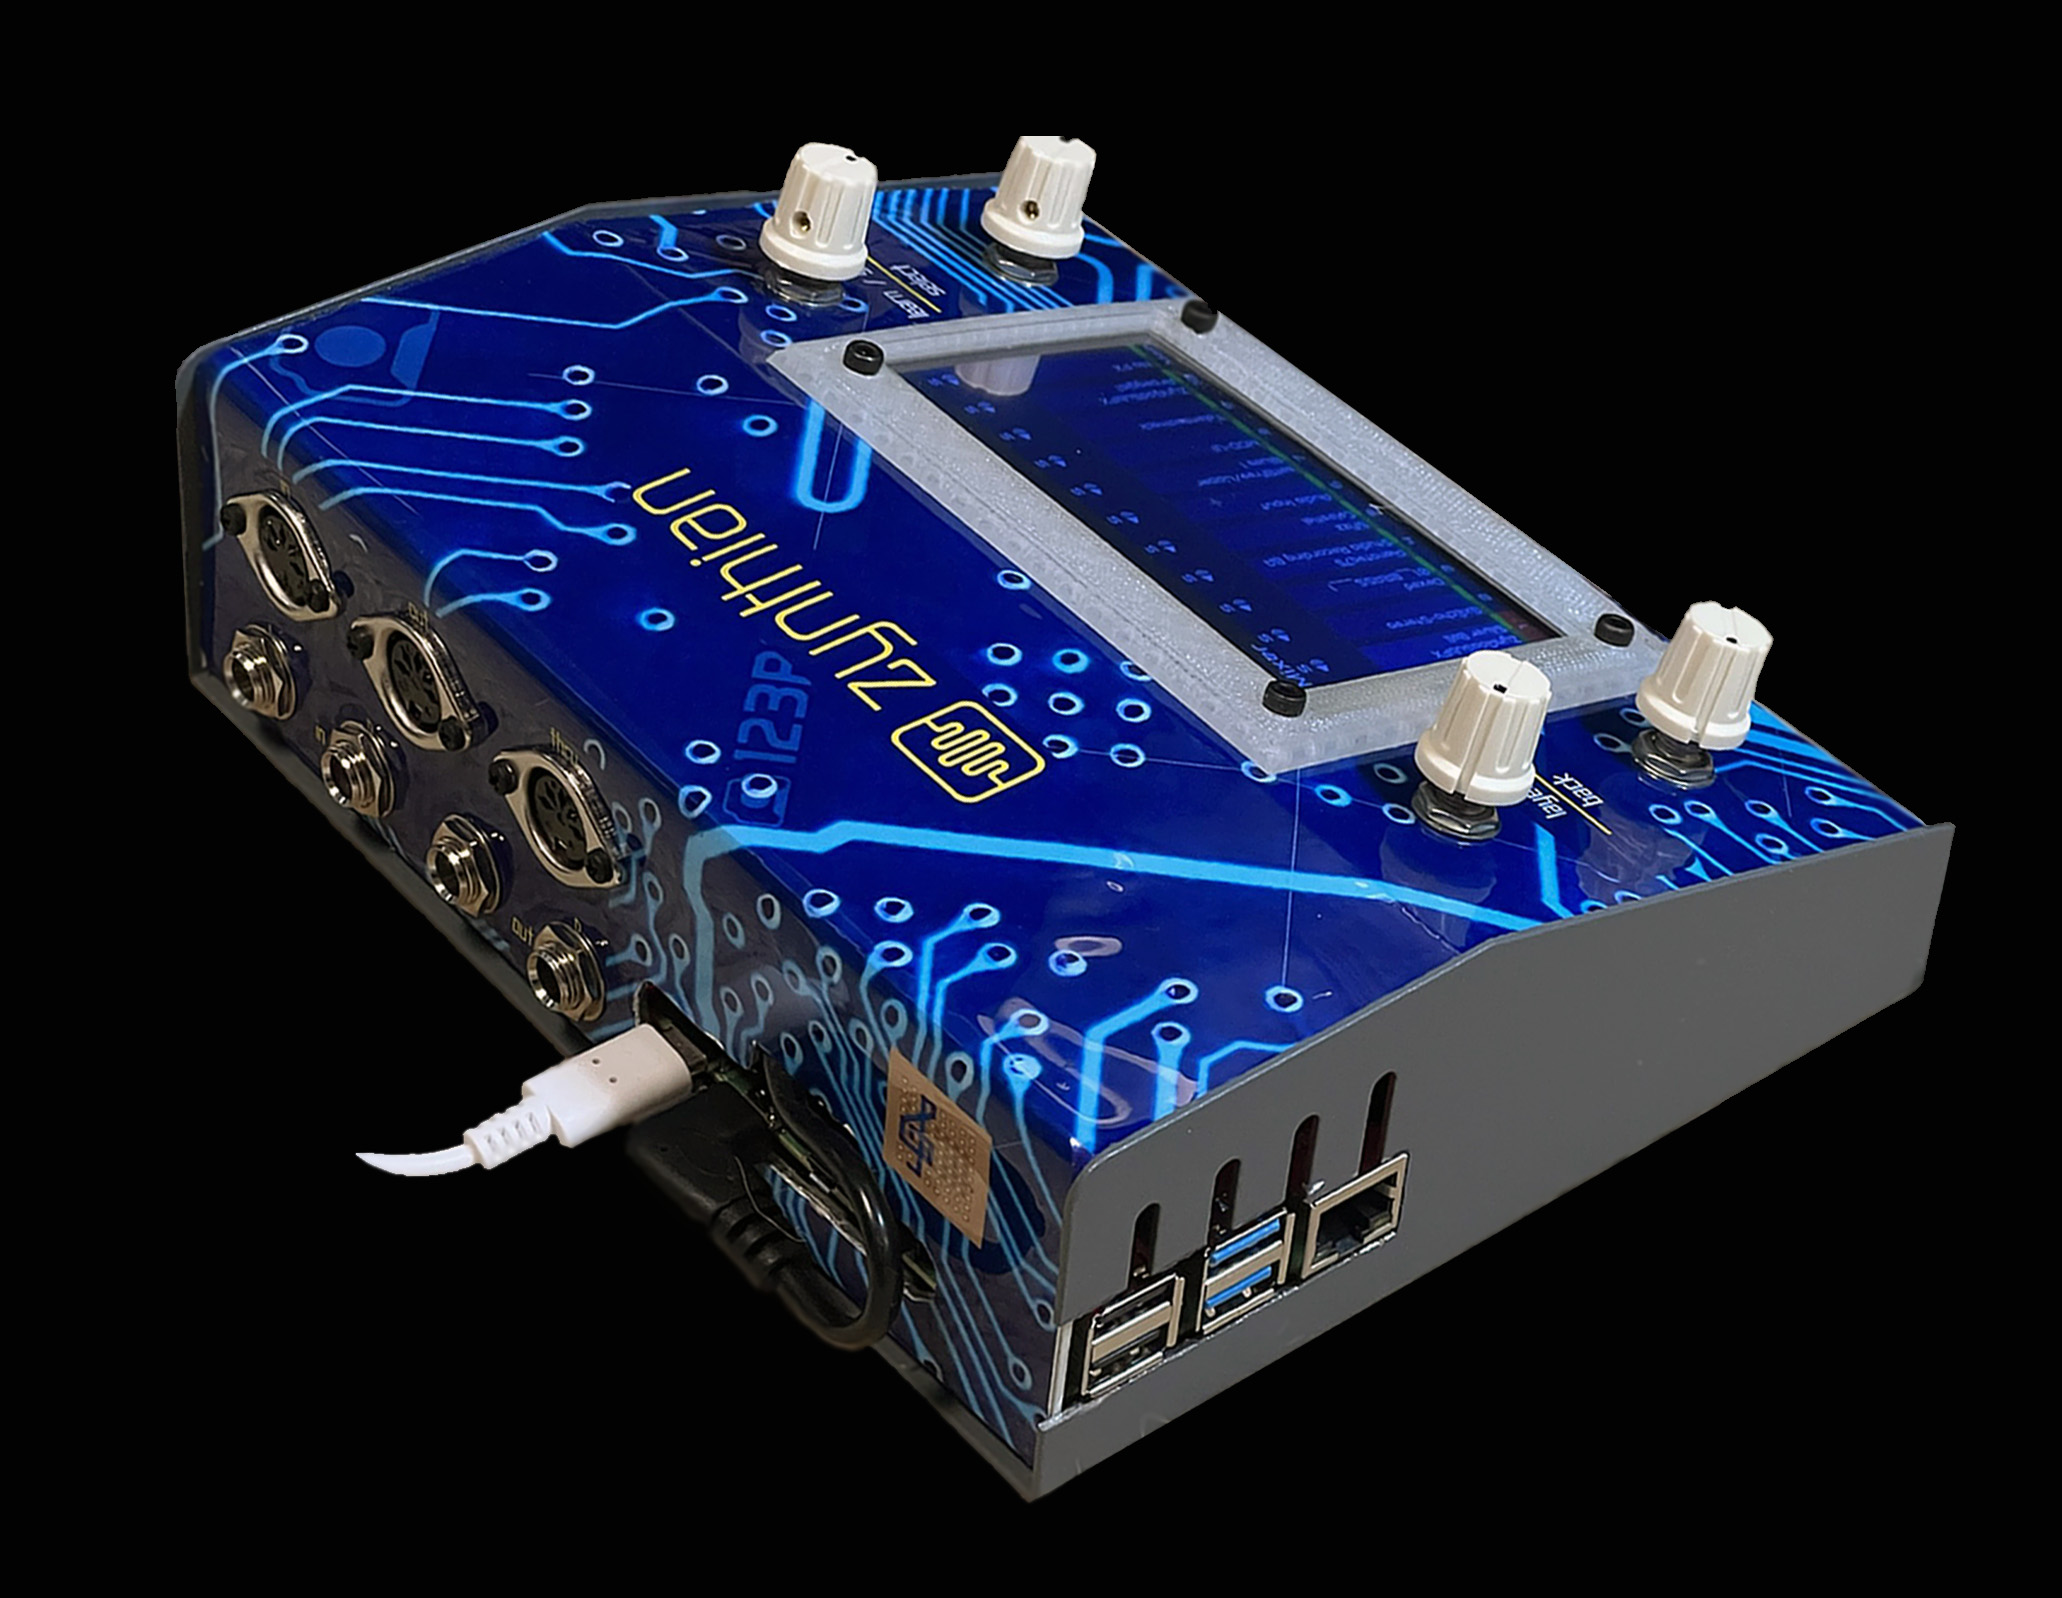
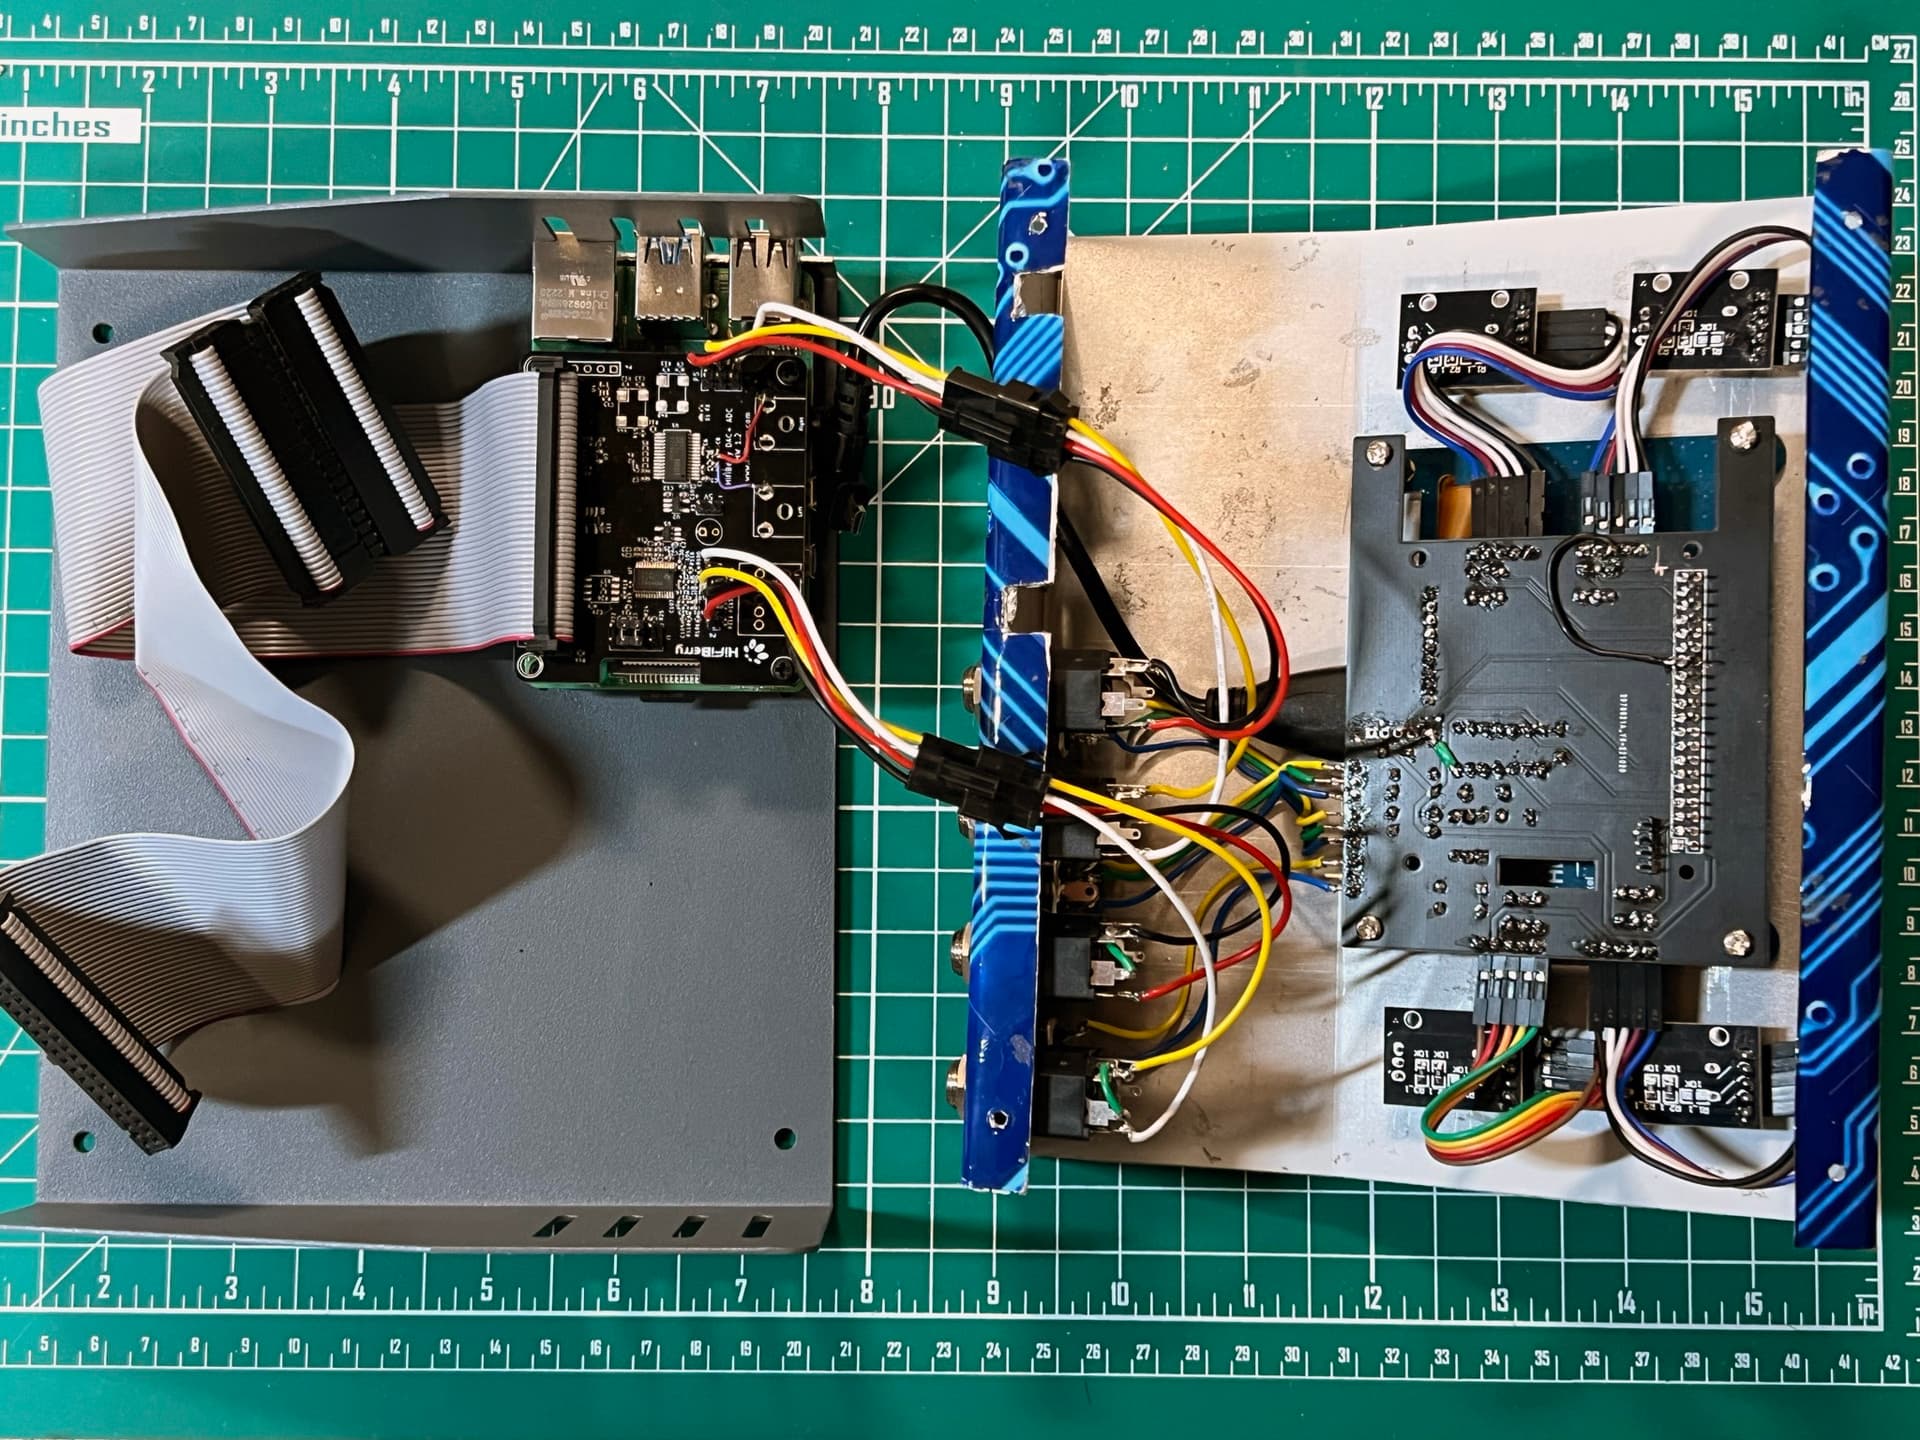
My second Zynthian build is finally complete, thanks to the guidance of various people in the forum. My first build was a kit V4 but I gave it away thinking I could just order another one, except they were out of stock for a long time and I wanted to try building one from scratch. I found a post for a custom build at Zynthian Revisited – Part 4 – Simple DIY Electronic Music Projects and decided to give it a try. It worked well, but it doesn’t include an input channel so I needed to replace the 5102a module and find an audio card solution . In the process, I tried a number of different sound cards, but had glitchy issues and finally settled on the HiFi Berry DAC+ADC. The next problem I had was fitting it into the case that I had already built. Using a prybar and some duct tape (only kidding!) and some on the fly engineering, I was able to get it all in. Works like a charm! Thanks to @jofemodo@wyleu@riban@le51 and others who helped me get it all done. Also a special shout out to Kevin at @diyelectromusic for all of his hard work to get me started on this project.
Thanks for your comments. I’ve been building custom, analog guitar pedals for years but this was my first attempt at a synthesizer and a raspberry pi. I’ve used this finish technique on some of the guitar pedals I’ve built. https://www.emspedaldesigns.com/
The enclosure is wrapped with glued down, inkjet printed paper that has been coated with pour on epoxy. It produces a glossy, durable finish that stands up to much abuse. There are a number of tricks I’ve learned to get the desired result that I’m happy to share if anyone is interested.
I was happy to find the angled HDMI connector at Amazon.com . I certainly would have preferred an interior connection, but this was the most discrete solution I could come up with.
Using a battery is a great idea that I did not plan for, but there is enough space in the enclosure to give it a shot. For now, I have a few other projects I’d like to get to though.
Thanks again for your help in working through my audio card issues. I’m fairly competent with mechanical design and discrete components, but when you add in the software and programming, it raises the challenge by a factor of 100!
To formulate the graphics, I start with the mechanical layout in Adobe InDesign. Once the locations of all the controls, jacks and everything else is finalized, I print a draft copy and use it as a template to mark the positions and drill/cut holes each location in the bare enclosure.
Then the background, artwork, graphics and labels are added to the art layout and the final design is printed out on a standard Epson color inkjet printer on good quality matte paper. The flat sheet is coated with pour-on epoxy (for example, https://www.amazon.com/s?k=epoxy+resin&crid=25C2Z2FGD42IC&sprefix=epoxy+%2Caps%2C95&ref=nb_sb_ss_ts-doa-p_2_6 ). After curing overnight, the sheet is dry to the touch but still flexible enough to form around the shape of the enclosure. If you wait too long, the epoxy will crack on the bends.
Once the enclosure is wrapped, an Xacto knife is used to cut out the openings in the paper where all the controls will get mounted.
The finish is very shiny and durable. I use it on guitar stomp boxes, which tend to get kicked around on the floor and it holds up really well. The finish will yellow over time if it gets too much sunlight, but that can be prevented with a final, brushed on coat of UV blocking polyurethane.
I hope that gives you a good idea of how I get the nice finish. Let me know if you try this method and if you have success with it! Good luck!
Hi all,
I have started building a zynthian somewhere in 2019 from scratch. Now recently i saw many things happened in here. I’ve collected a rpi4 lately from a friend and was looking for all the parts i soldered up and began putting it all back together (like 4 years late ). I was so happy getting it working after setting up all custom modes in the webconf (really handy now! Came a long way ). And the thing is a blend now of some older versions of the mcp23 module and the latest os.
What a cool project! Thanks for providing everything online for the nerds that want to venture into some DIY! And seeing so many people using / building their own is very satisfying!
I’ll post some pictures once i’ve put some proper side frames onto the box.
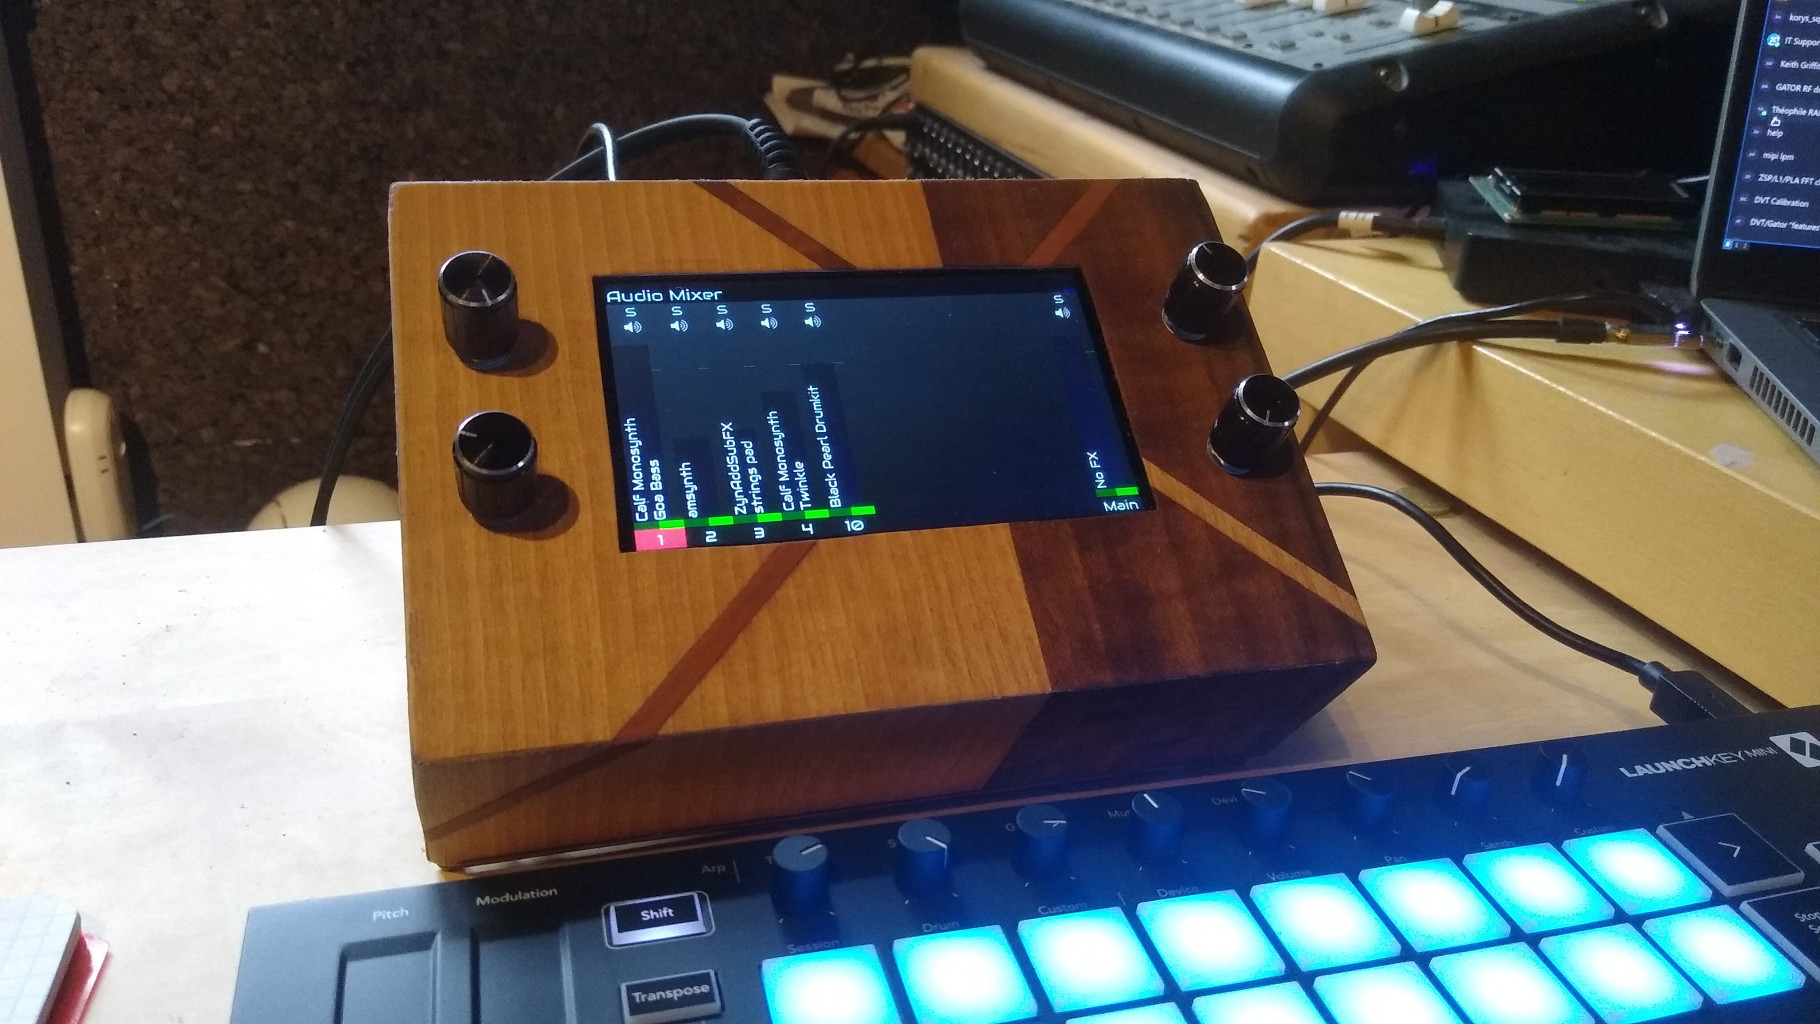
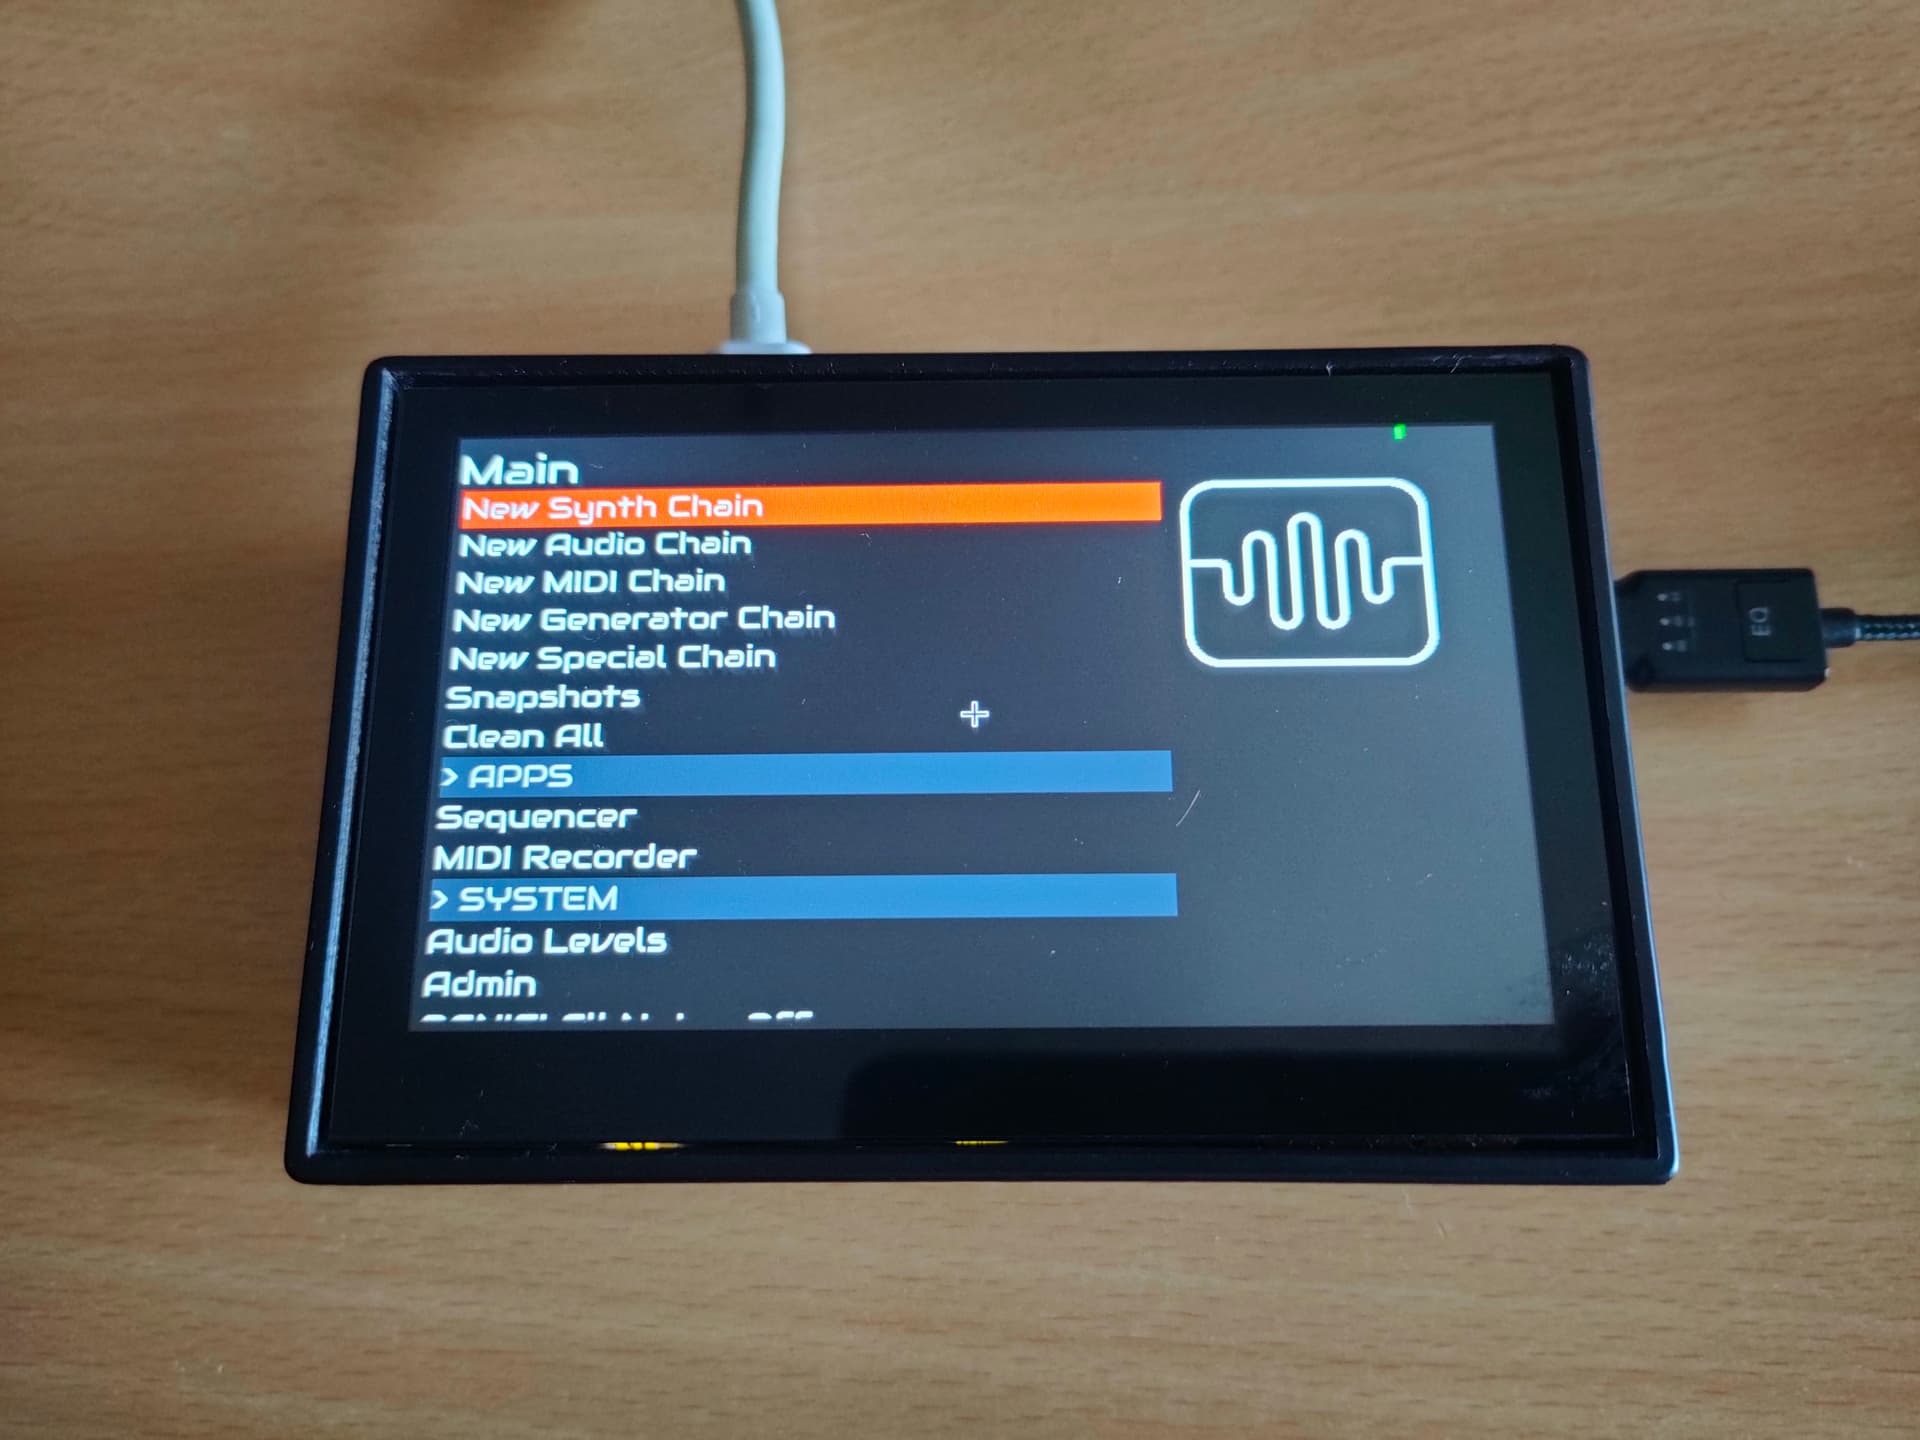
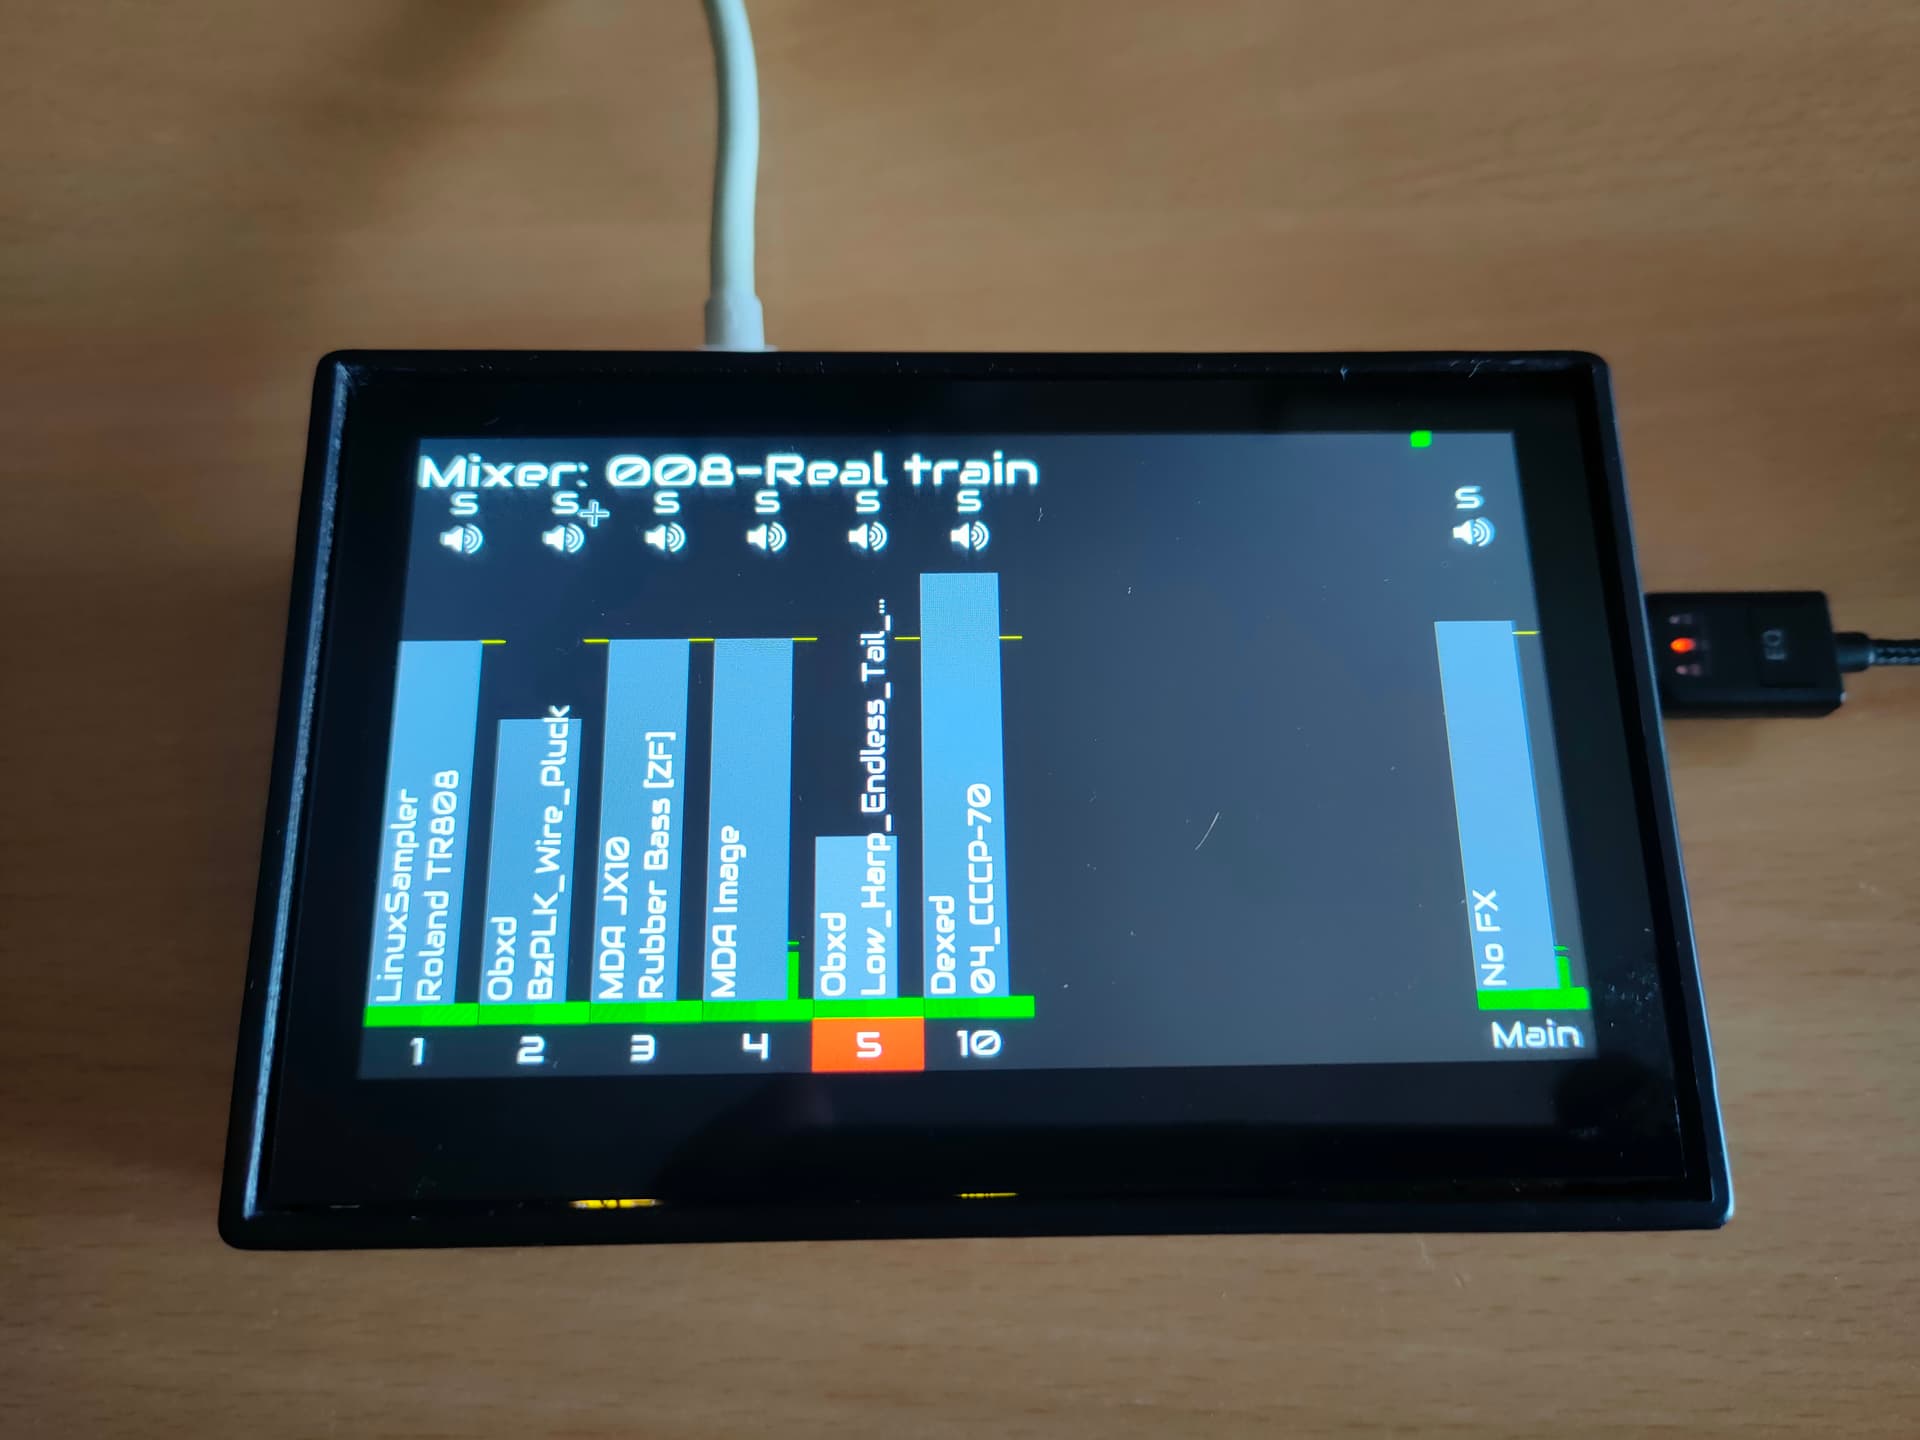
I everyone. Long time without posting. Here is my second Zynthian i’ve just assembled. I must say that i prefer this one rather than the full official case version. I just like the ultra-minimal shape, and the touch screen works great and smooth. No internal sound card, i use a Berhinger hd 404 or one super compact usb like the one in the photo.