@nanomole39 - They look really cool like this - barebone.
Much nicer than my first attempt of 3d printed case that I did for mine.
I am expecting tomorrow v2 PCBs. Hopefully they will work ![]()
@nanomole39 - They look really cool like this - barebone.
Much nicer than my first attempt of 3d printed case that I did for mine.
I am expecting tomorrow v2 PCBs. Hopefully they will work ![]()
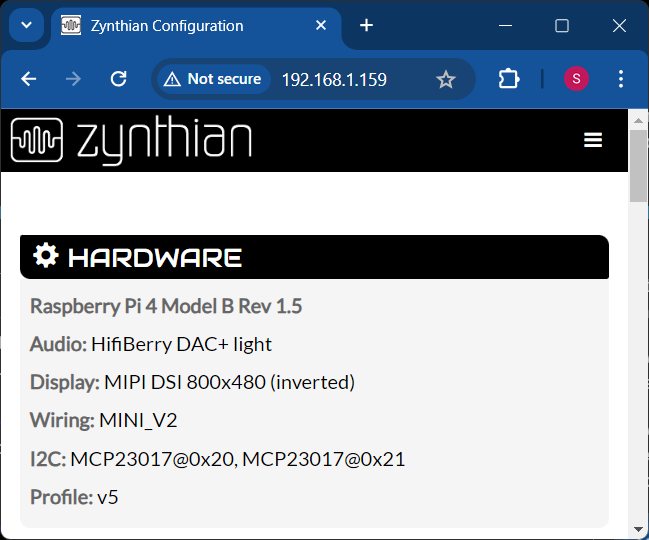
I am testing Zynthian Mini v2 and have a question in regards of wiring configuration in webconf.
I tried to design wiring of zythian mini v2 to be identical to V5 but it looks like that I have swapped encoder A and B pins so encoder directions are reversed. If I select V5 wiring in webconfig I do not have options to set encoder pins as I do when I select, for example “MCP23017 Zynaptci-2 Zynface” where I have fields to set encoder A and B pins.
What would be the proper way to set zynthian mini in webconf ? Customizing V5 wiring or doing something from scratch.
Also I am worried that if I select V5 config zynthian will also try to set WS2812B leds which Zynthian Mini do not have. I should disable this as well.
Everything works ok with V5 wiring config but it is annoying having reversed encoders.
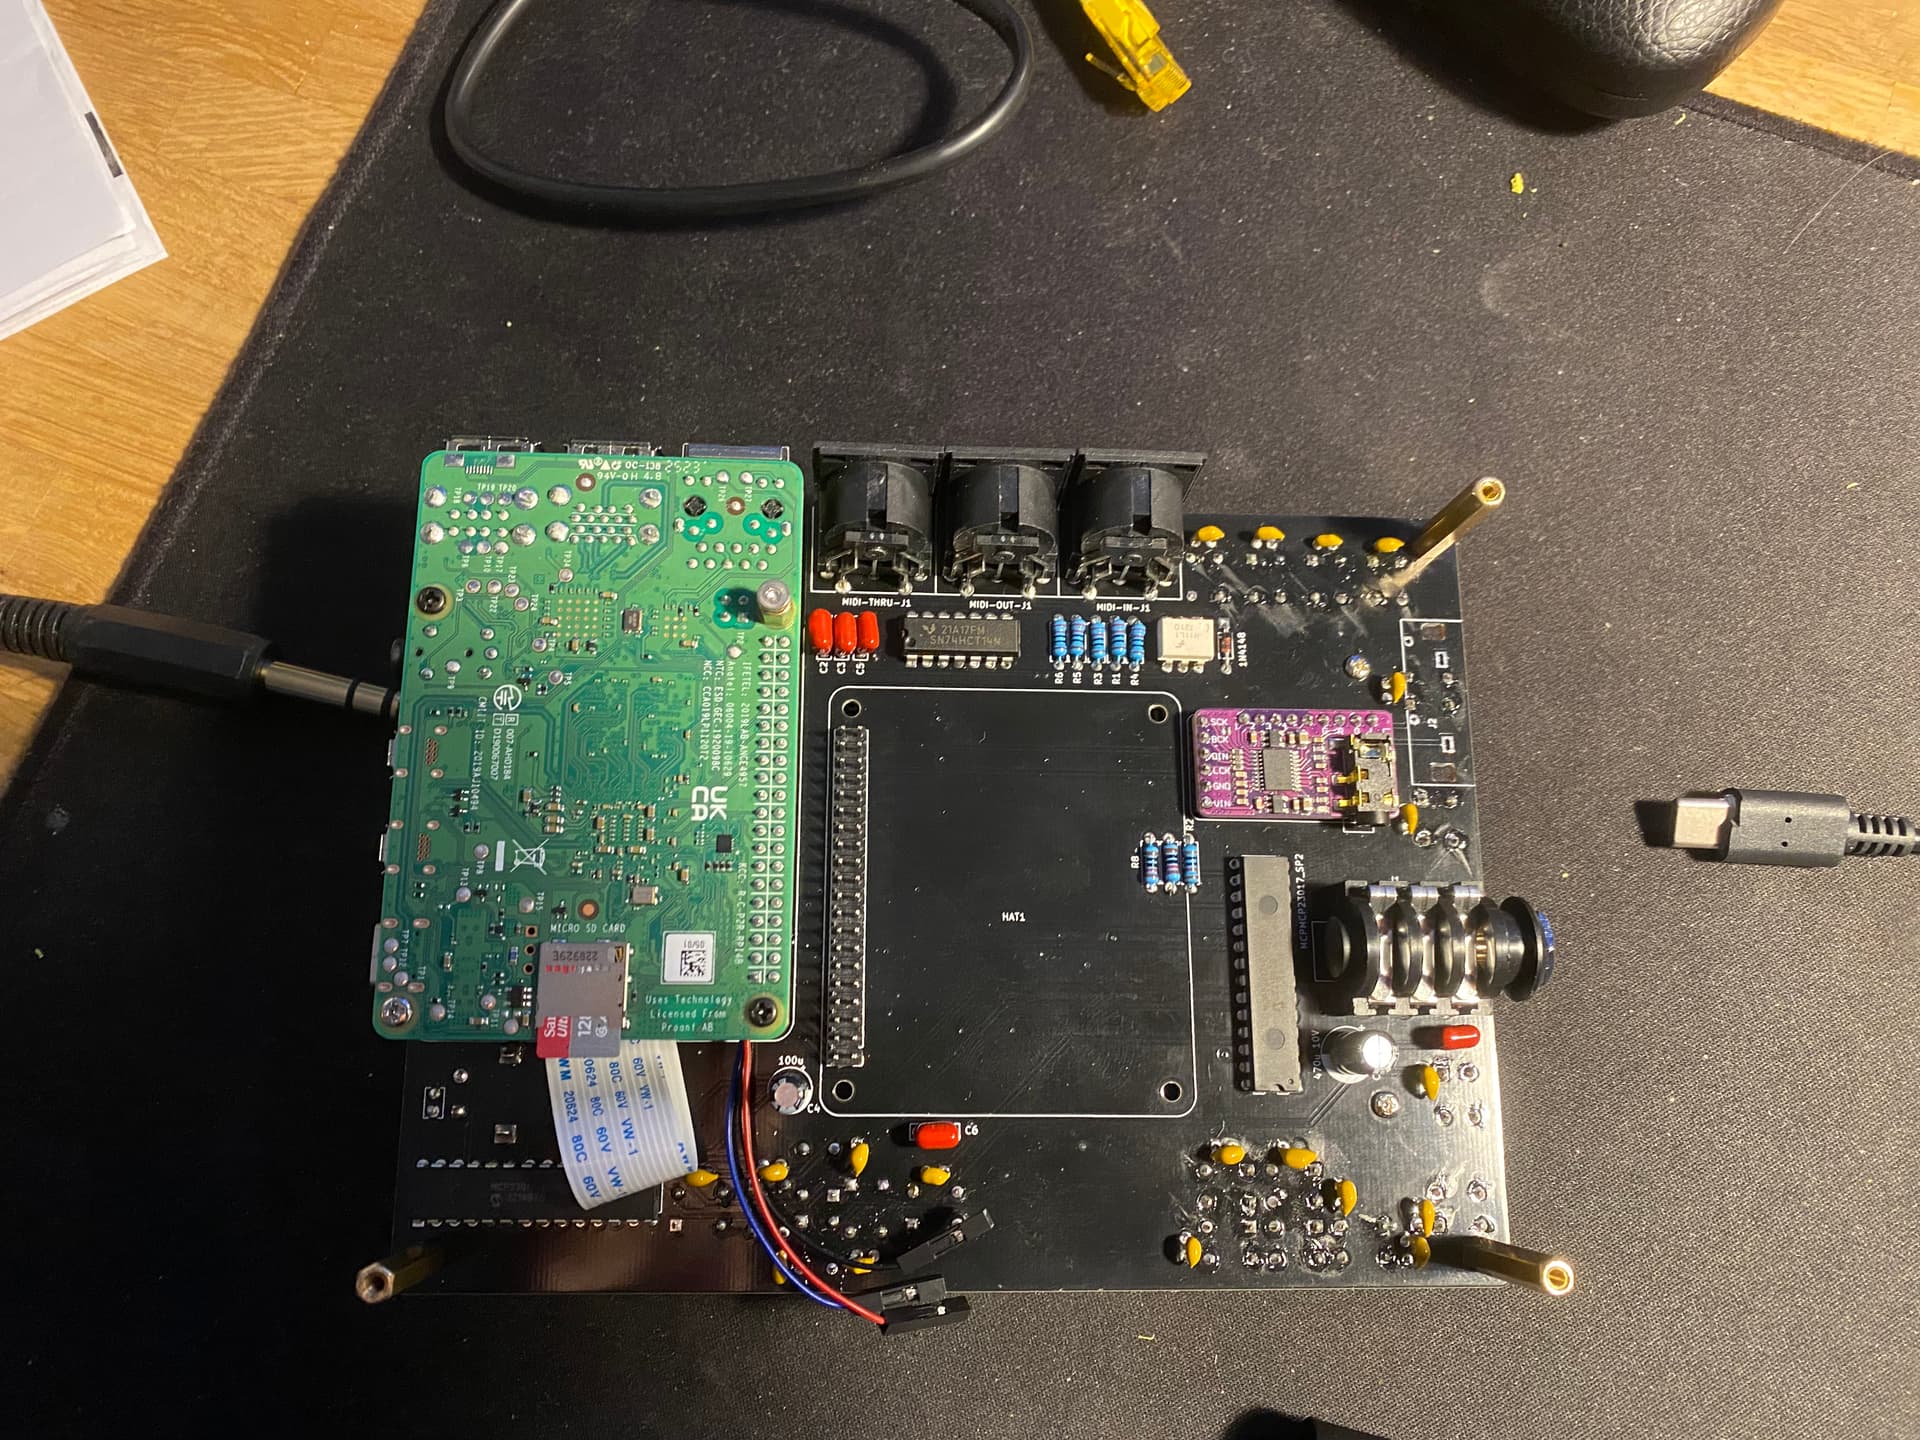
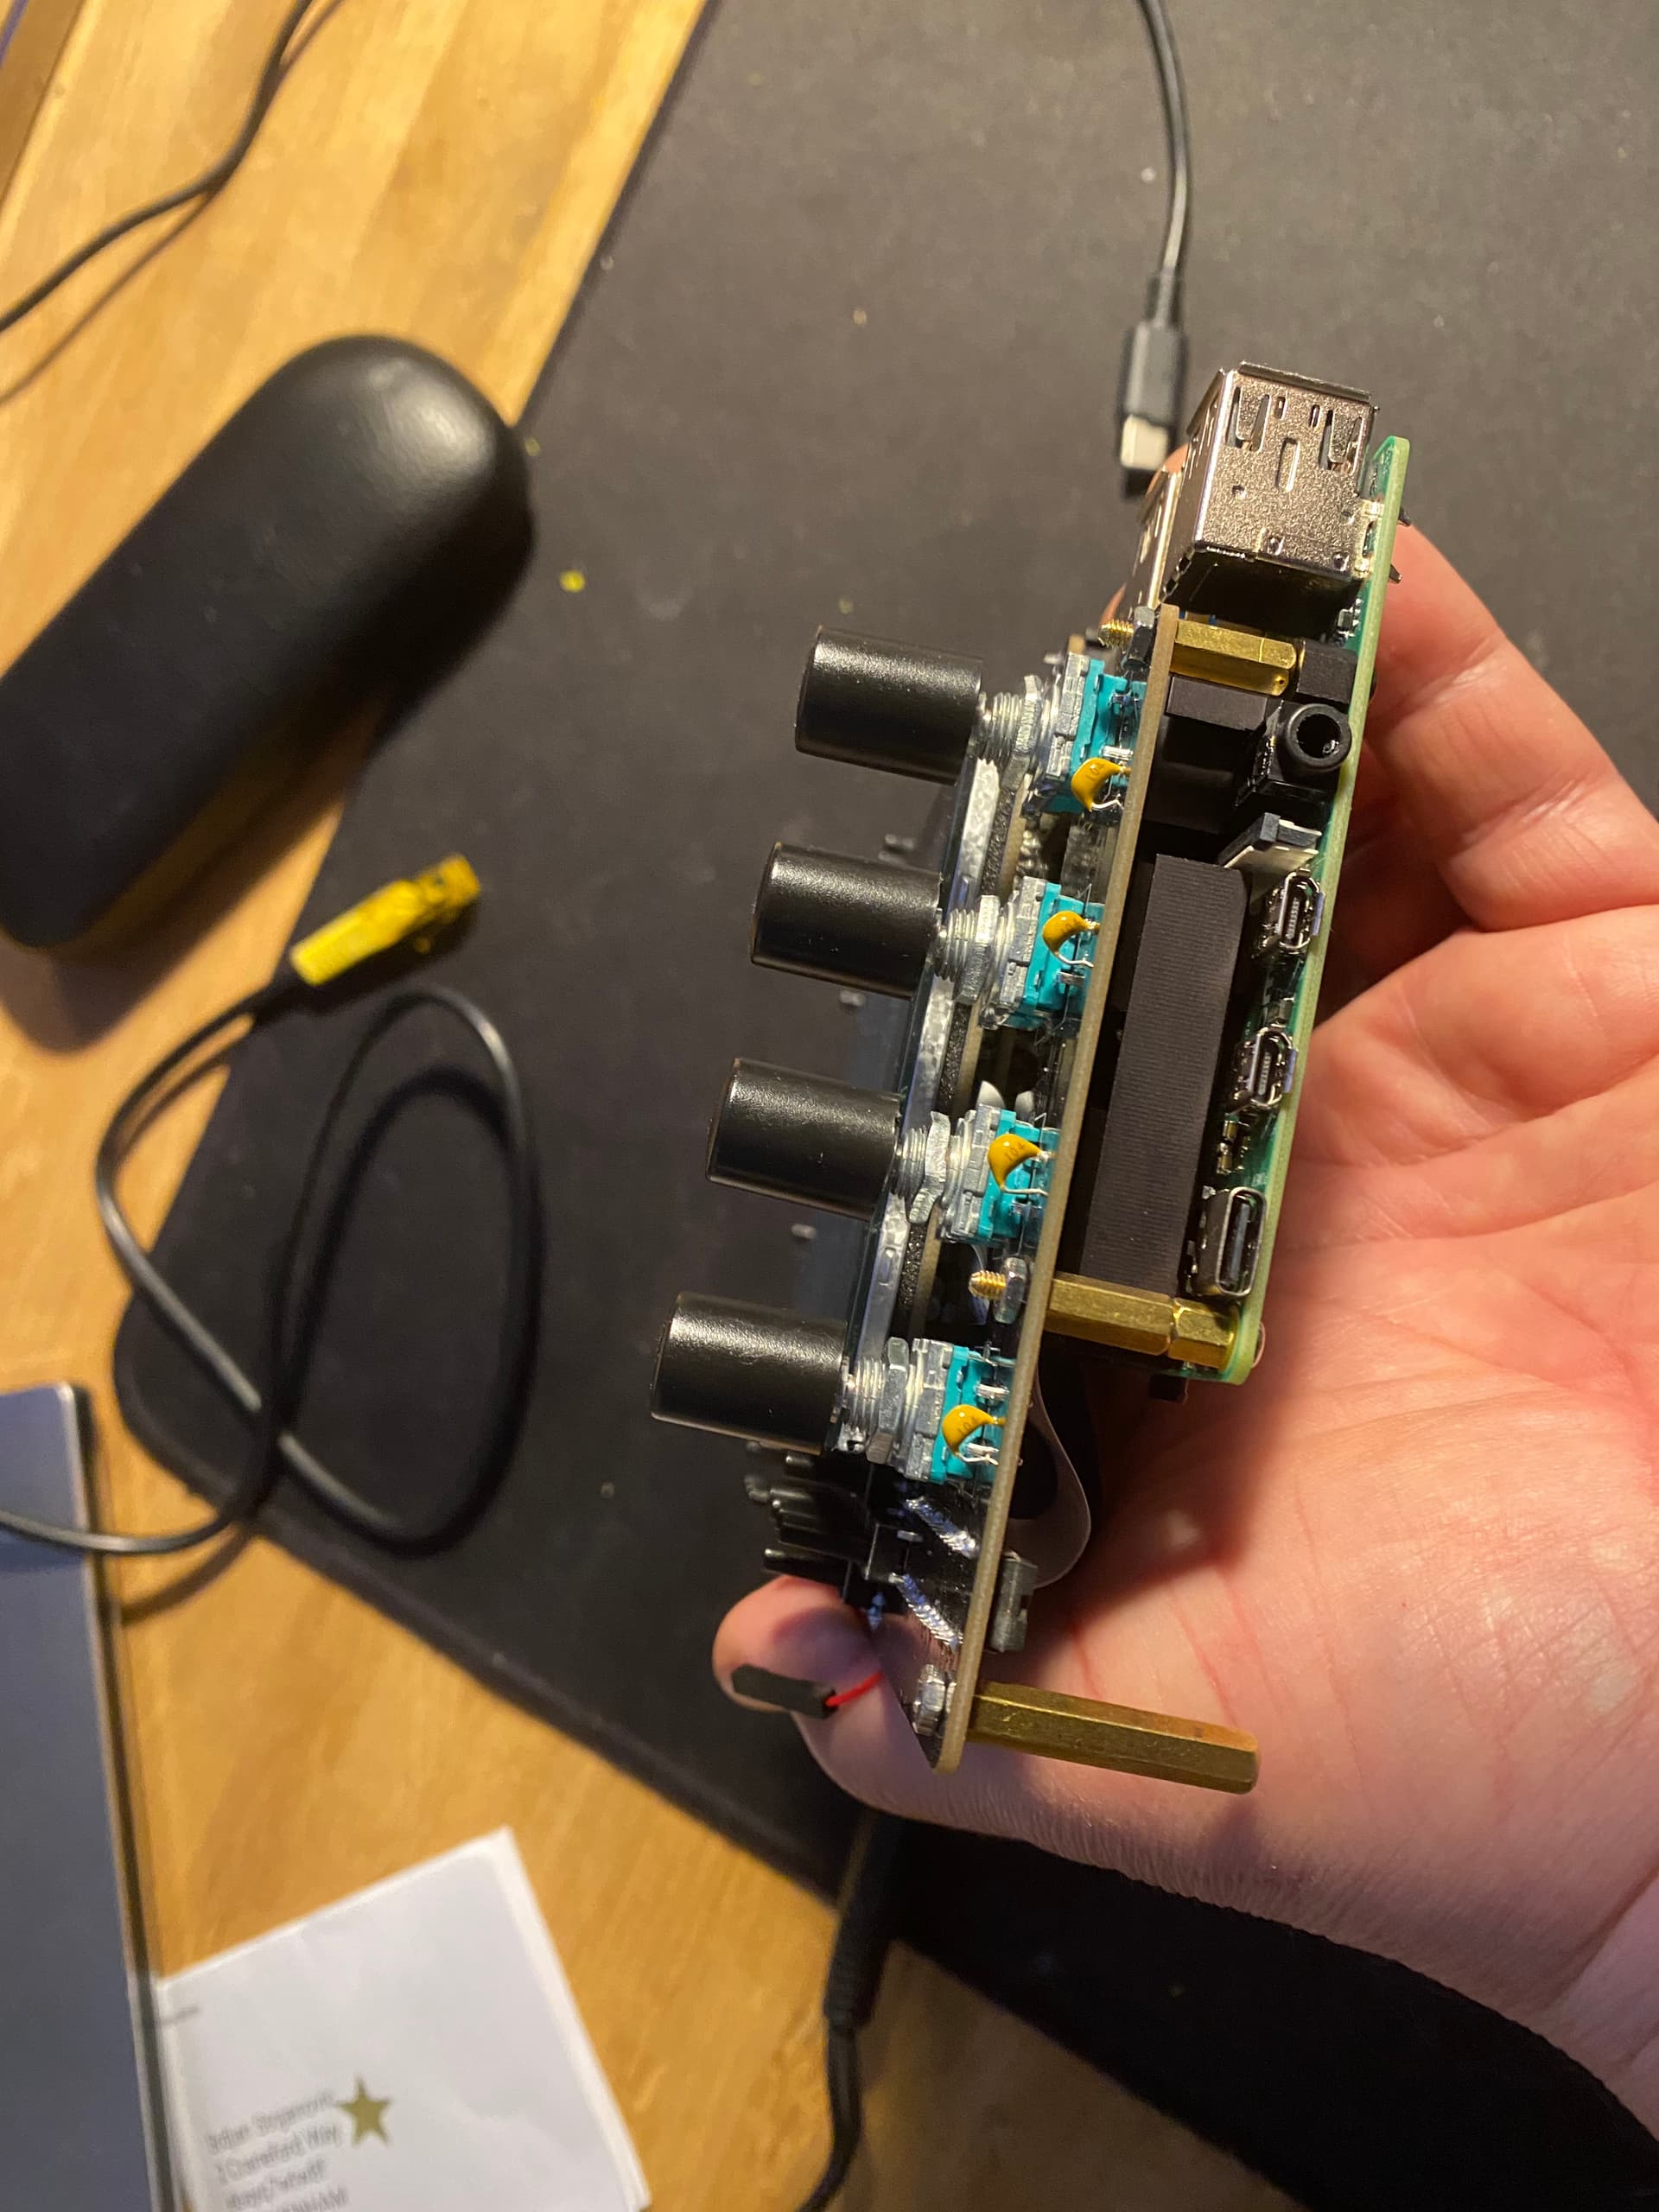
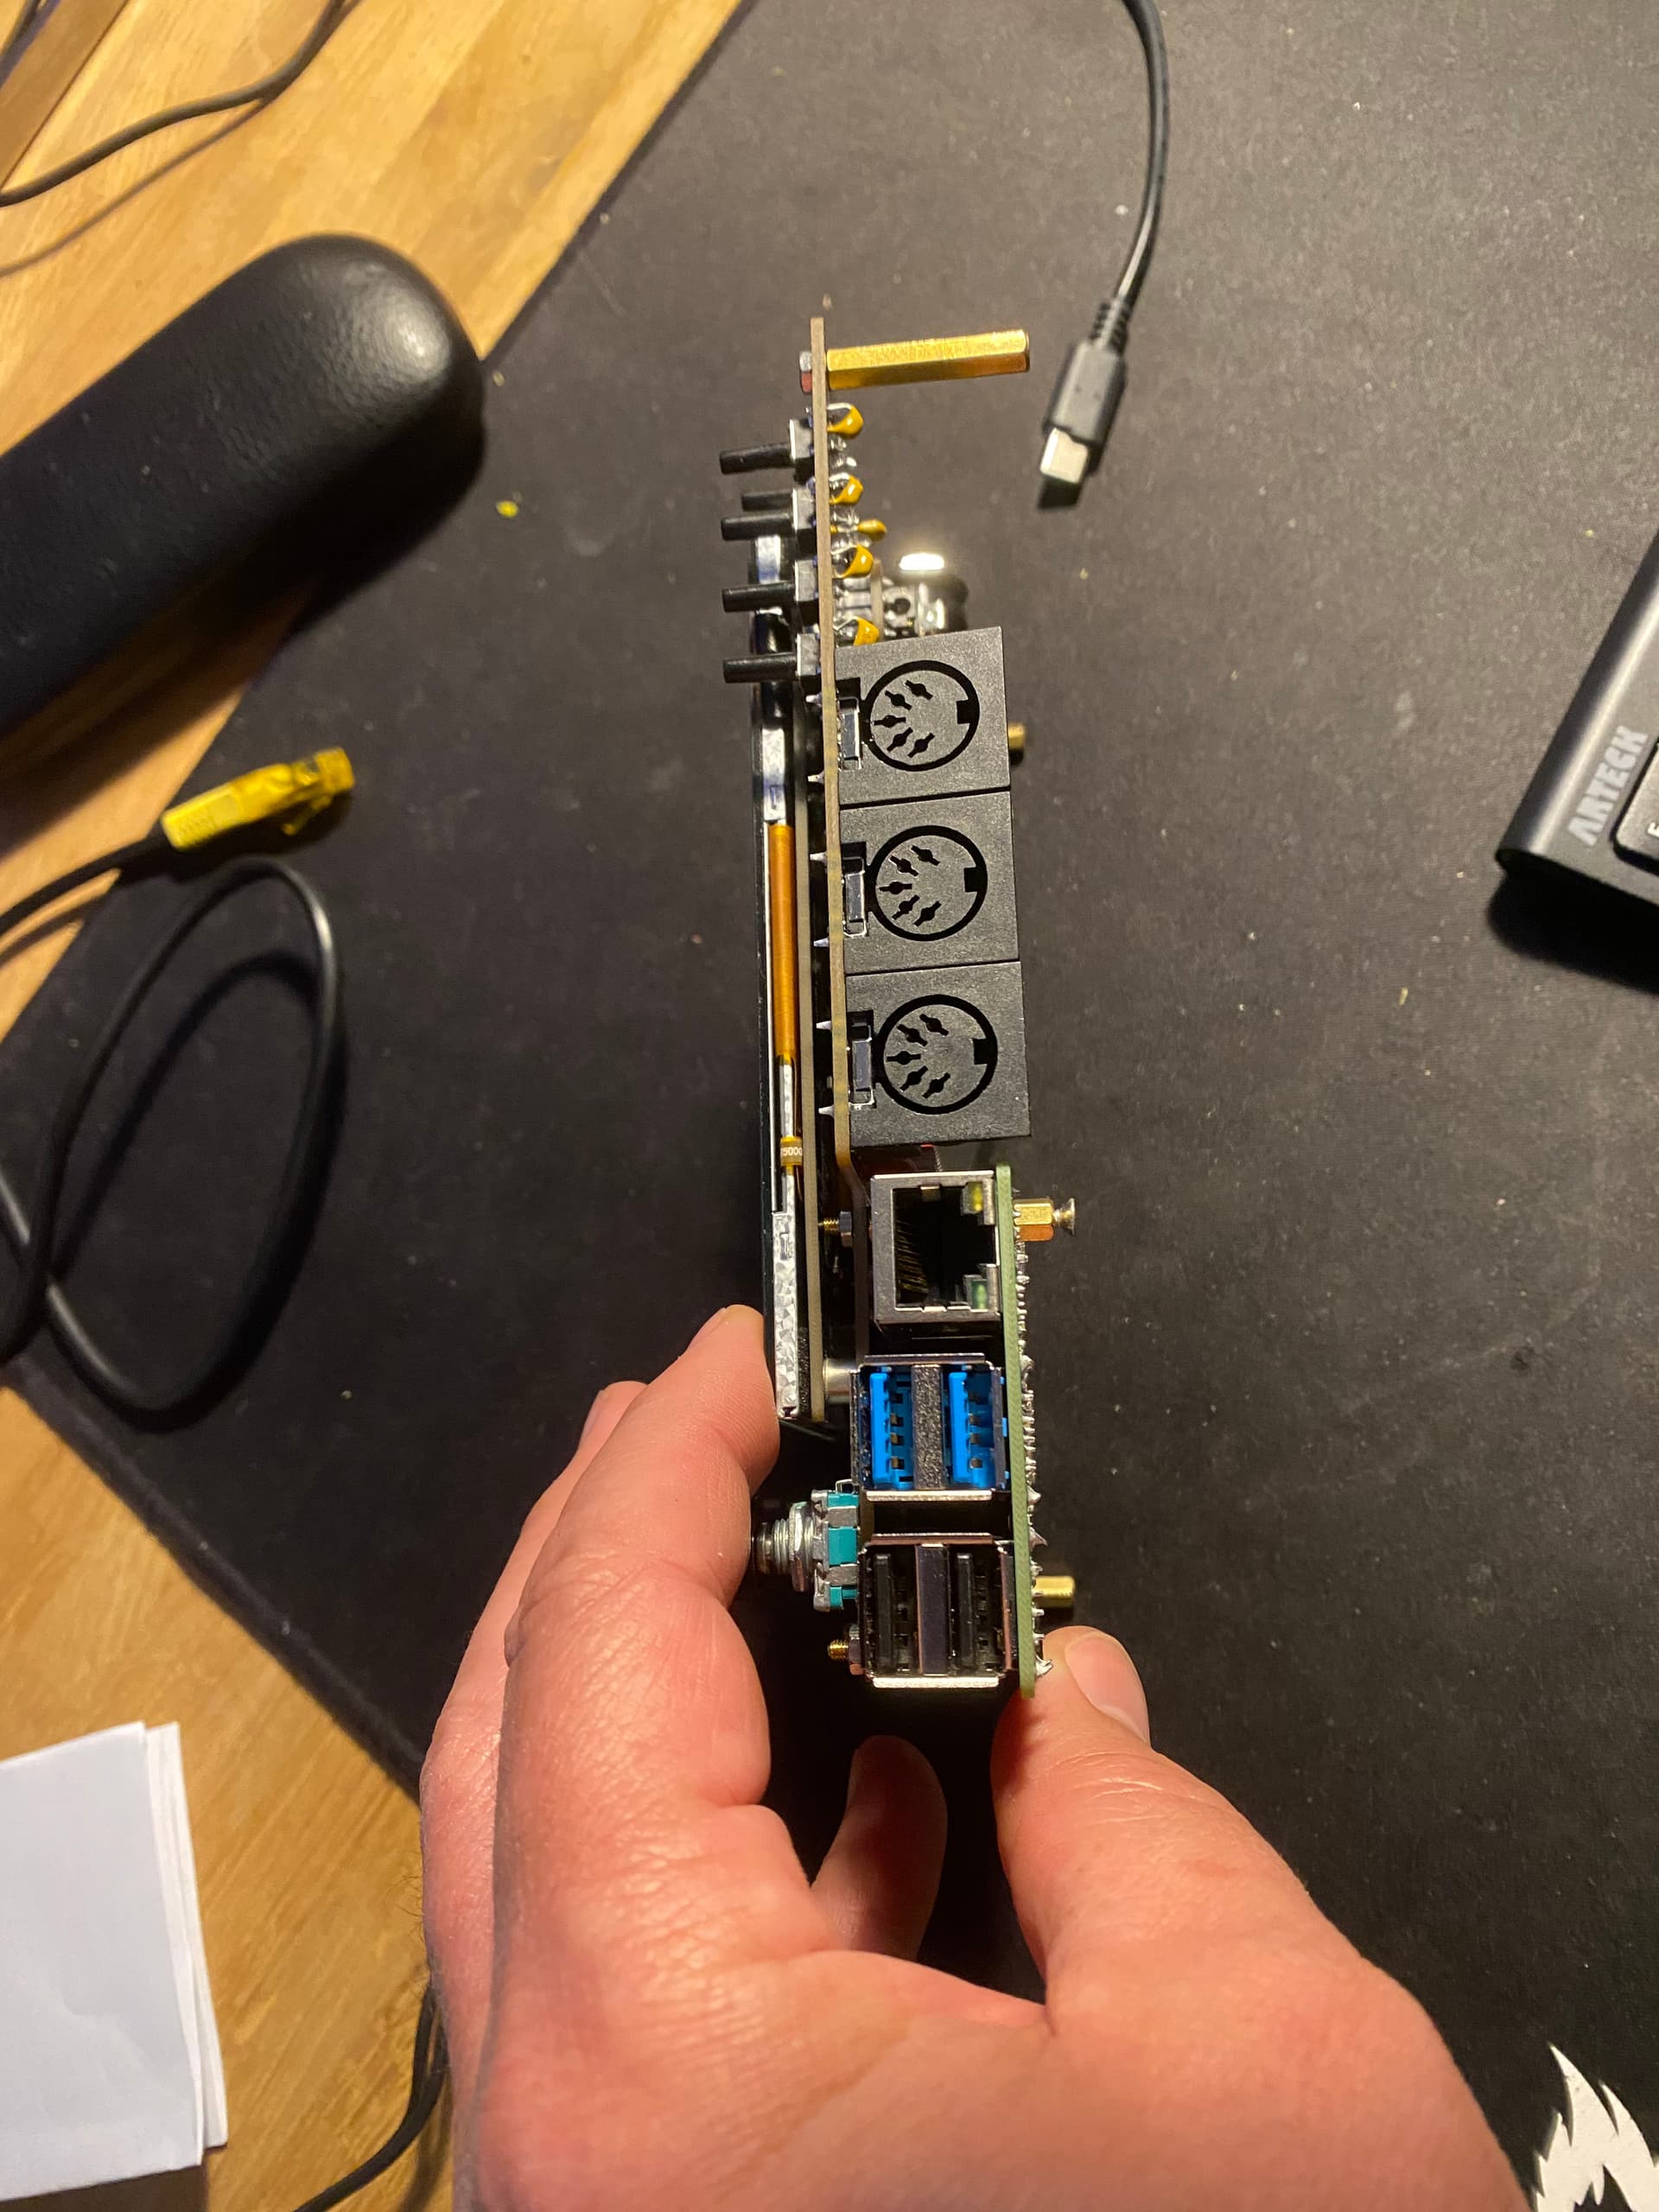
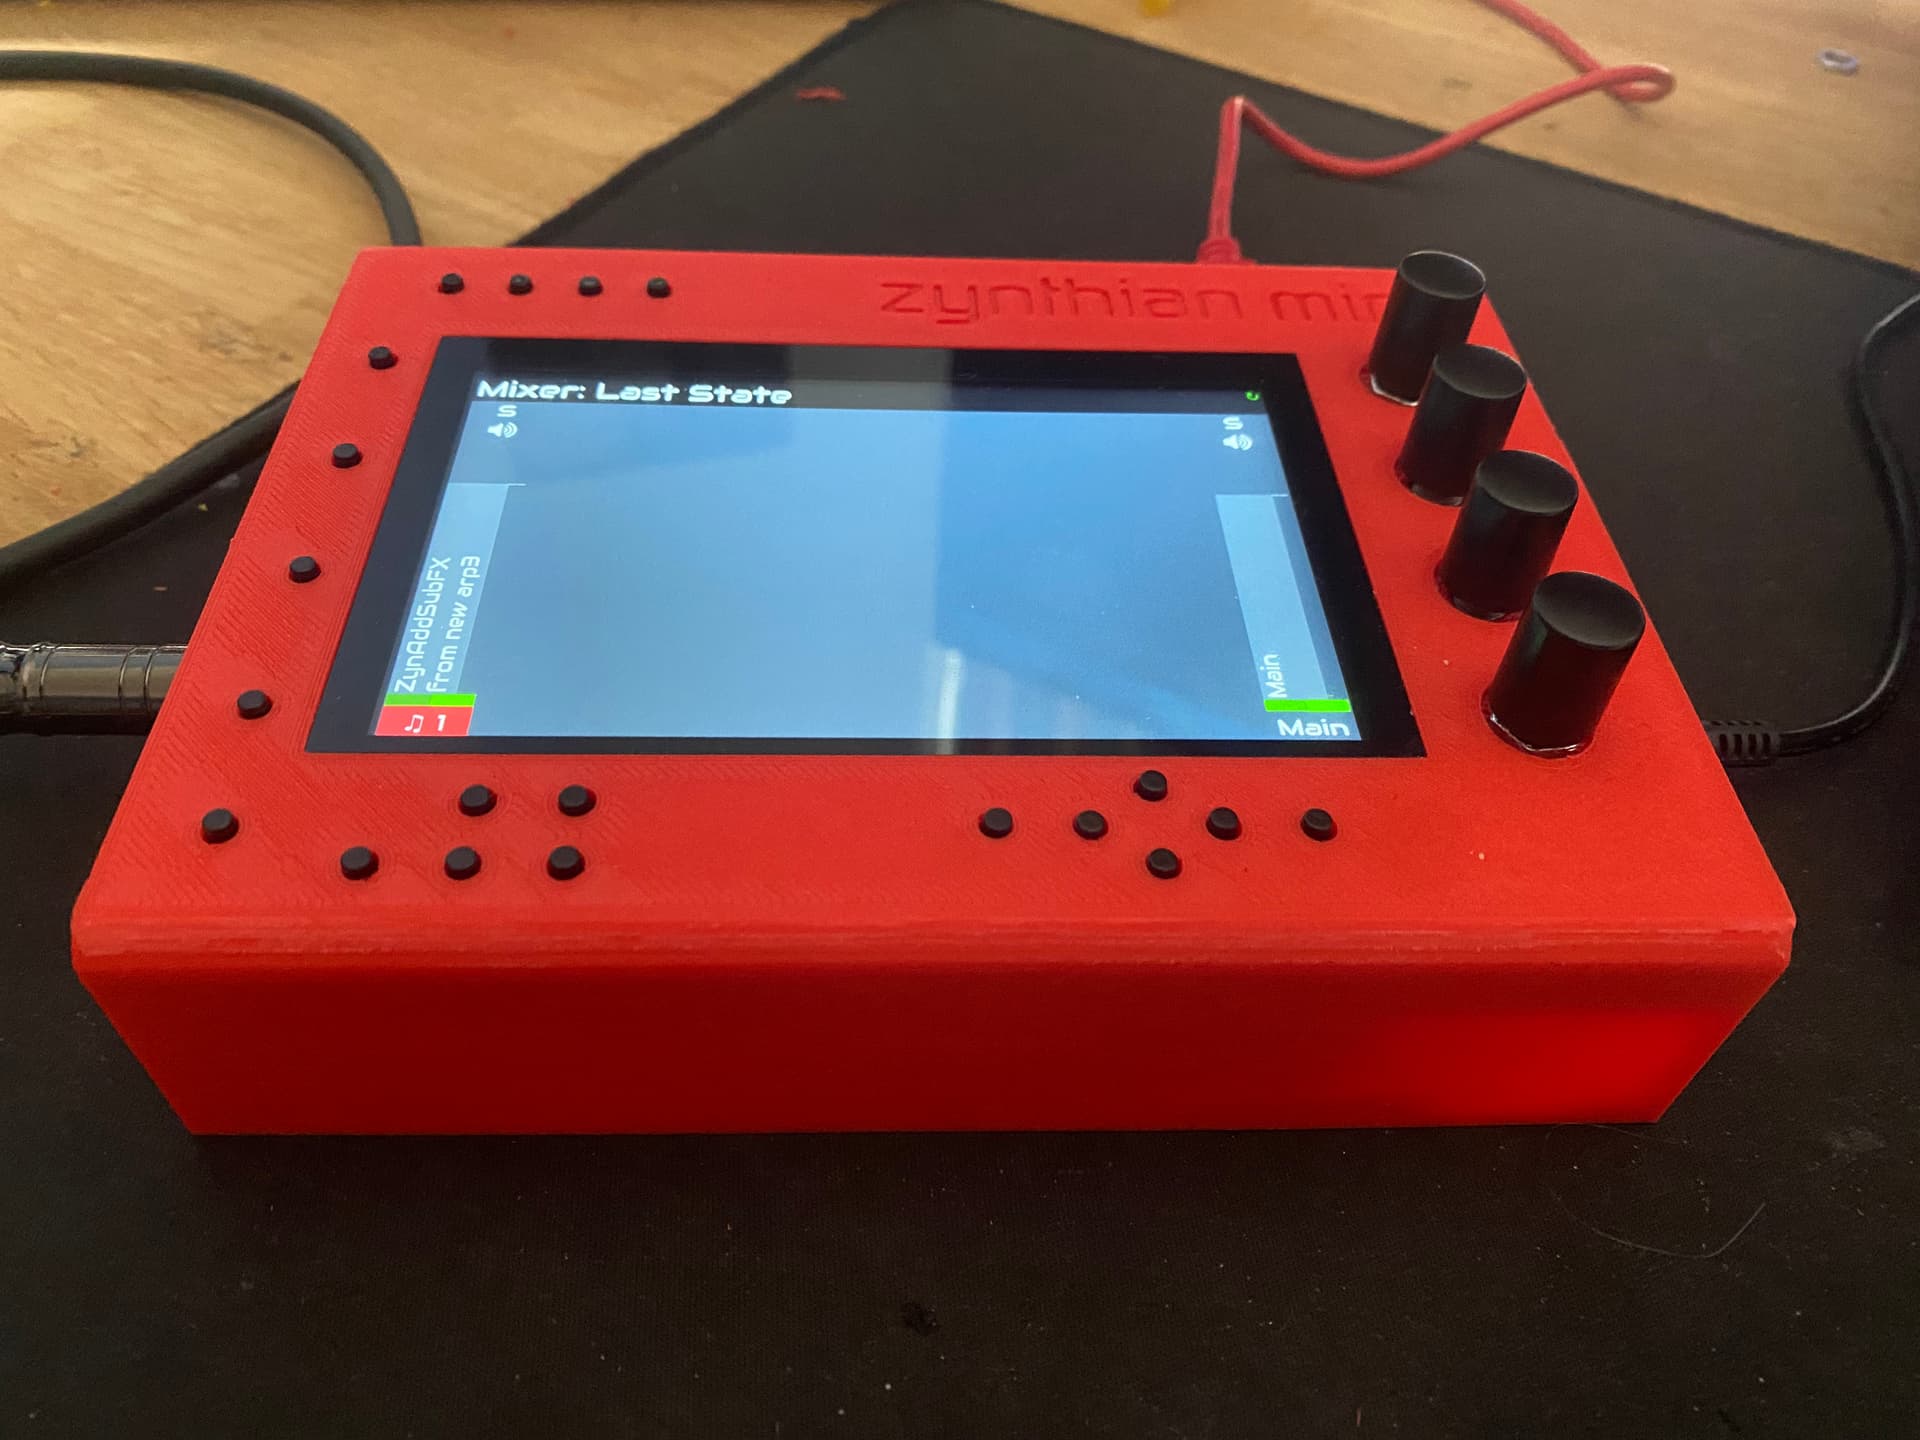
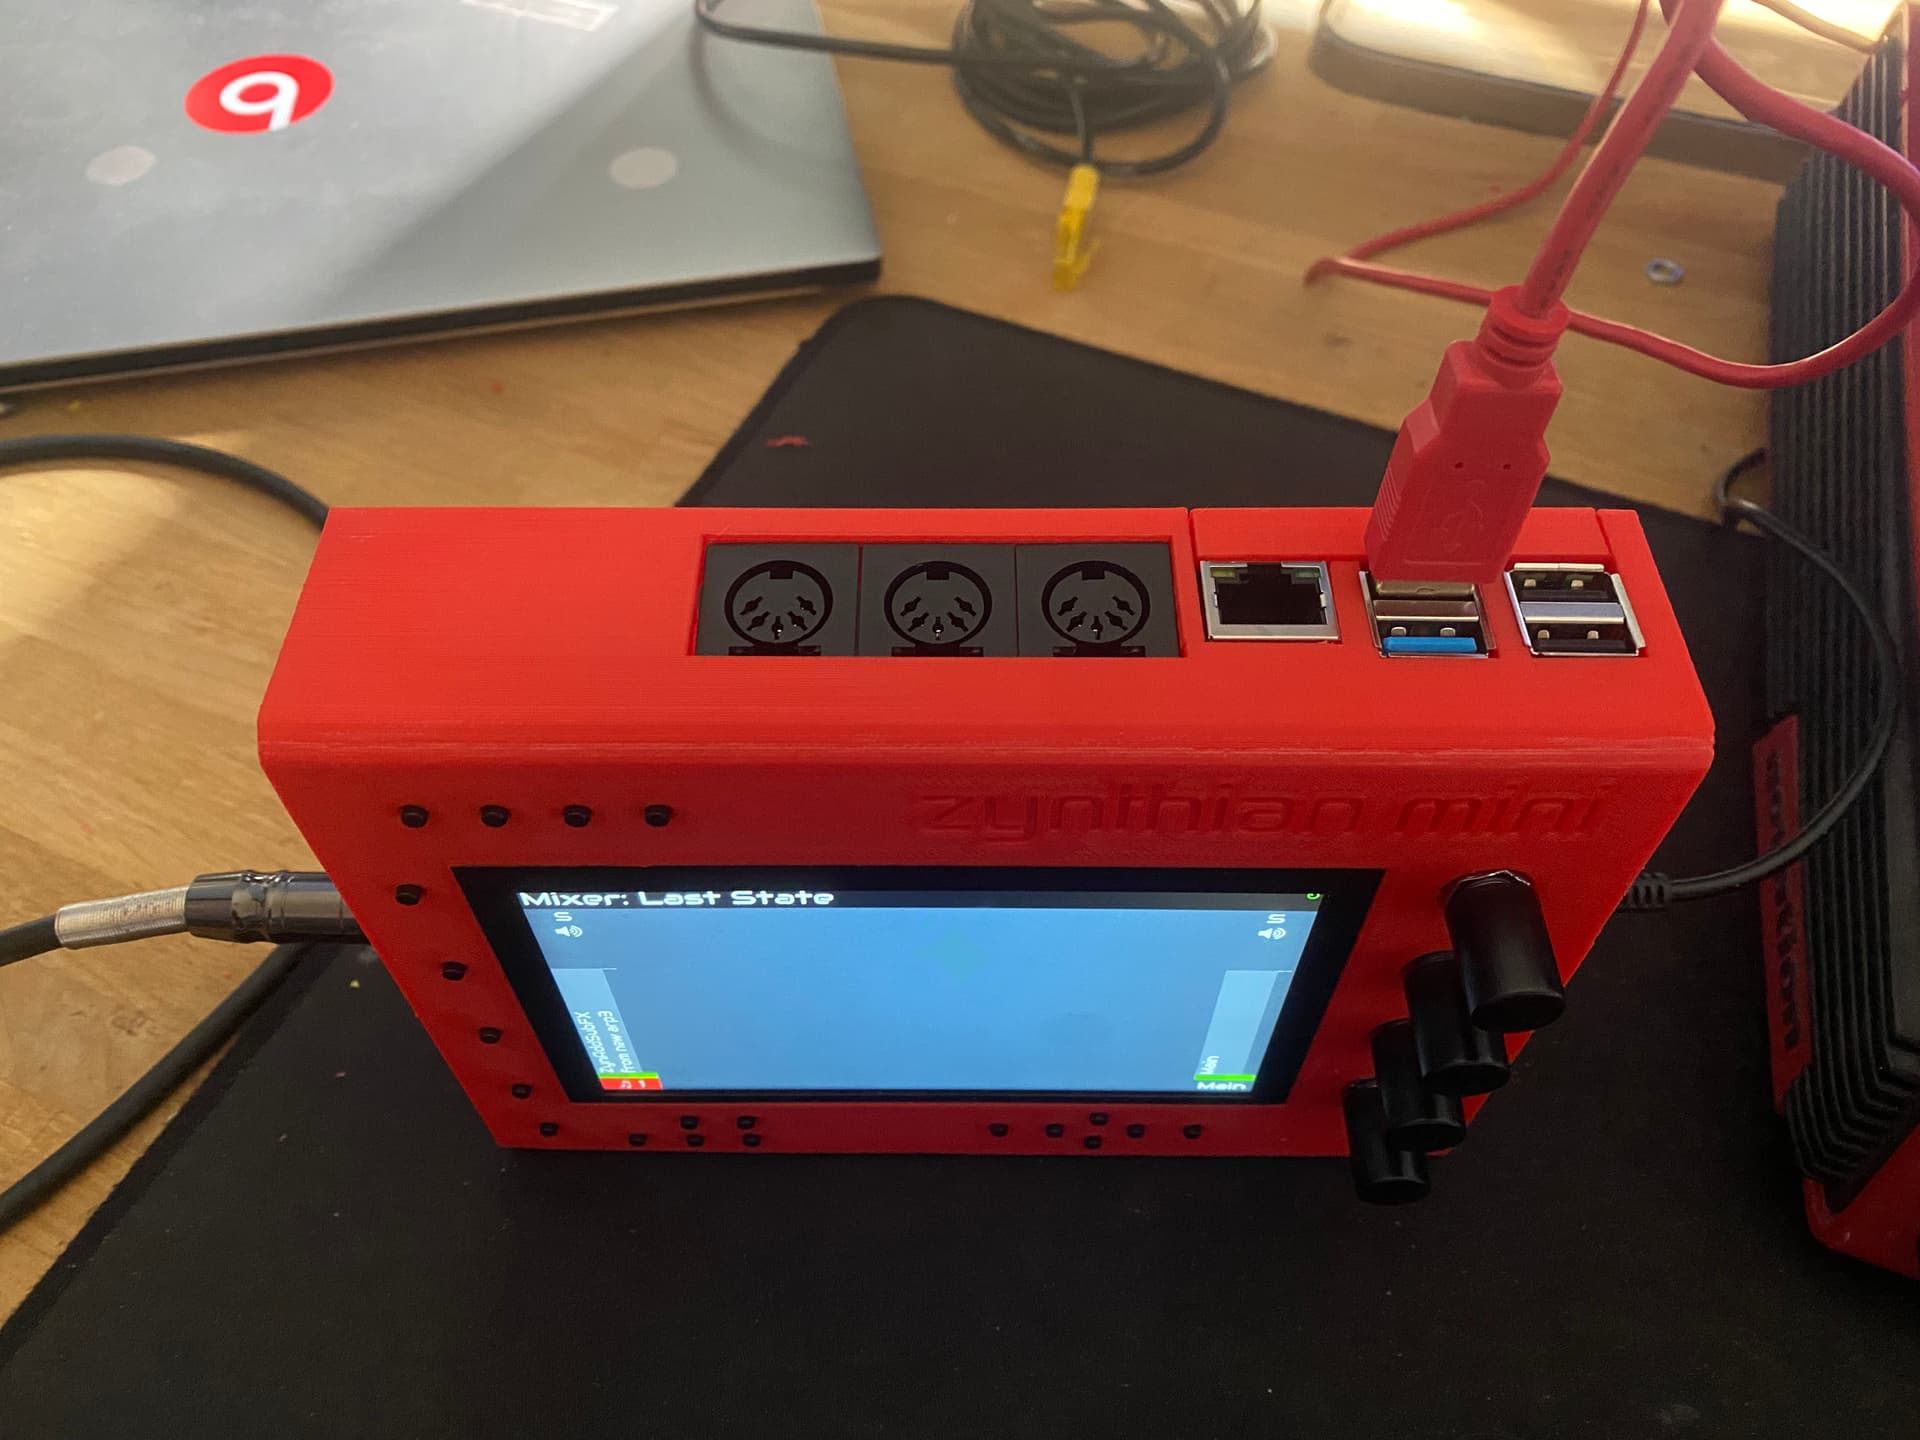
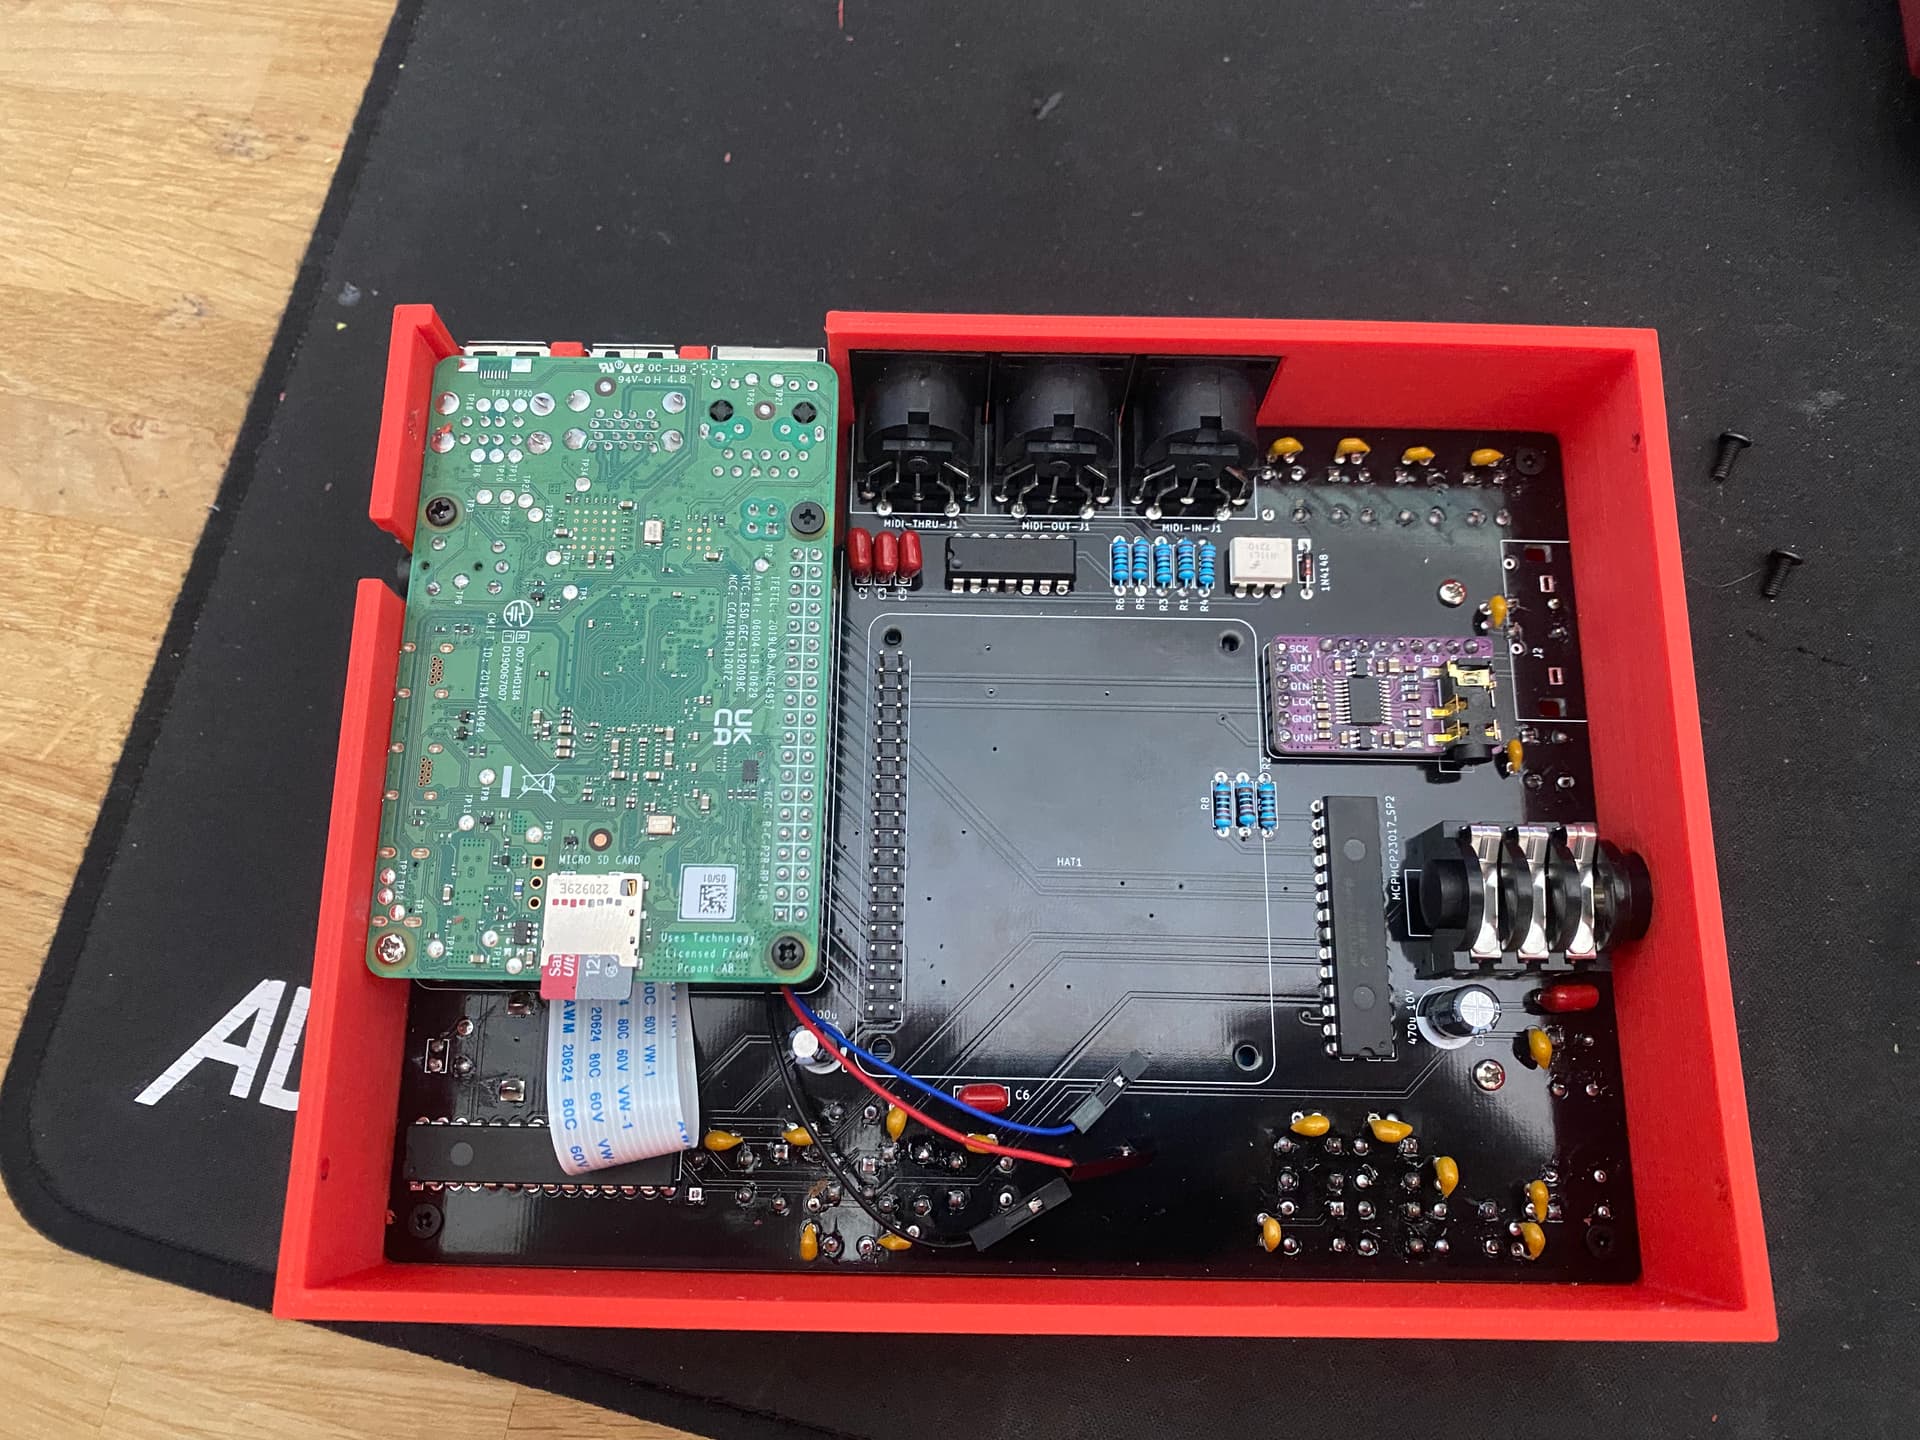
More photos of the new Zynthian Mini v2.
Not connected wires are from rpi fan that I did not need yet to connect. Let see if it can be fanless.
As you can see rpi connectors are now aligned to the edge of the board.
Once I sort out encoder A and B pins config I will focus on finishing case design.
You should add a new “zyncontrol_mini.c”, copying and modifying from “zyncontrol_v5.c”. These “control” files configure the control hardware interface. Programming a generic GUI tool for configuring ANY hardware configuration is really challenging and very hard to maintain. It’s not worth the effort because most people capable of designing and building a control hardware for zynthian is also capable of writing a “zyncontrol_xx.c” file, that is highly flexible and probably not more hard to understand that a “GUI configuration tool for hardware”.
Tell me if you need some help with this. If you read other “control_xx.c” files you will see they all follow a similar pattern. Indeed, you can see that the “generic” configuration coming from webconf tool is parsed by “zyncontrol_vx.c”. This is the “classic zynthian wiring” control file.
A zyncontrol file starts including the needed headers and defining hardware constants, like port numbers, pin numbers, register values, etc. After this, hardware is initialized, creating the needed objects and variables. Next, the zynthian control objects (zynswitches & zynpots) are created and linked to hardware. That’s all, more or less.
Regards
Thanks for detailed explanation !
I will do that.
Zynthian MINI v2 is now ready but before I finalzie all information how to build it I need a help in geting some code into oram. MINI V2 can not be simple configured from existing webconfig interface due to complexity with 2 gpio extenders.
I have done code changes to zyncoder project by adding appropriate zyncoder_mini_v2.c file and updated CMakeLists.txt to do a proper build when mini_v2 wiring is set as per advice from @jofemodo above.
What is the process in reviewing and merging this code to Oram branch?
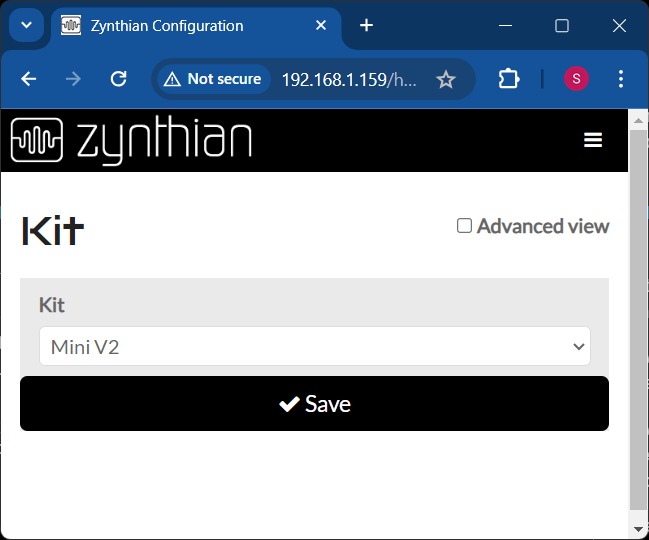
If it is appropriate I have also changed web config code so that MINI V2 can be added as as an official kit.
which will configure all other MINI V2 hardware such as sound card, screen and its orientation and set v5 wiring profile for 20 buttons.
If this is not appropriate don’t worry - I would understand it.
I could not find out how to set some other UI parameters when kit is selected such as “Knobs at right” or cursor to be disabled when kit is selected but I will work on that if MINI V2 kit will be allowed to be added to the webconf.
I have attached all files that I have changed/added here.
zyncontrol_mini_v2.c (4.5 KB)
CMakeLists.txt (14.2 KB)
kit_config_handler.py (5.4 KB)
wiring_config_handler.py (44.4 KB)
ui_config_handler.py (7.8 KB)
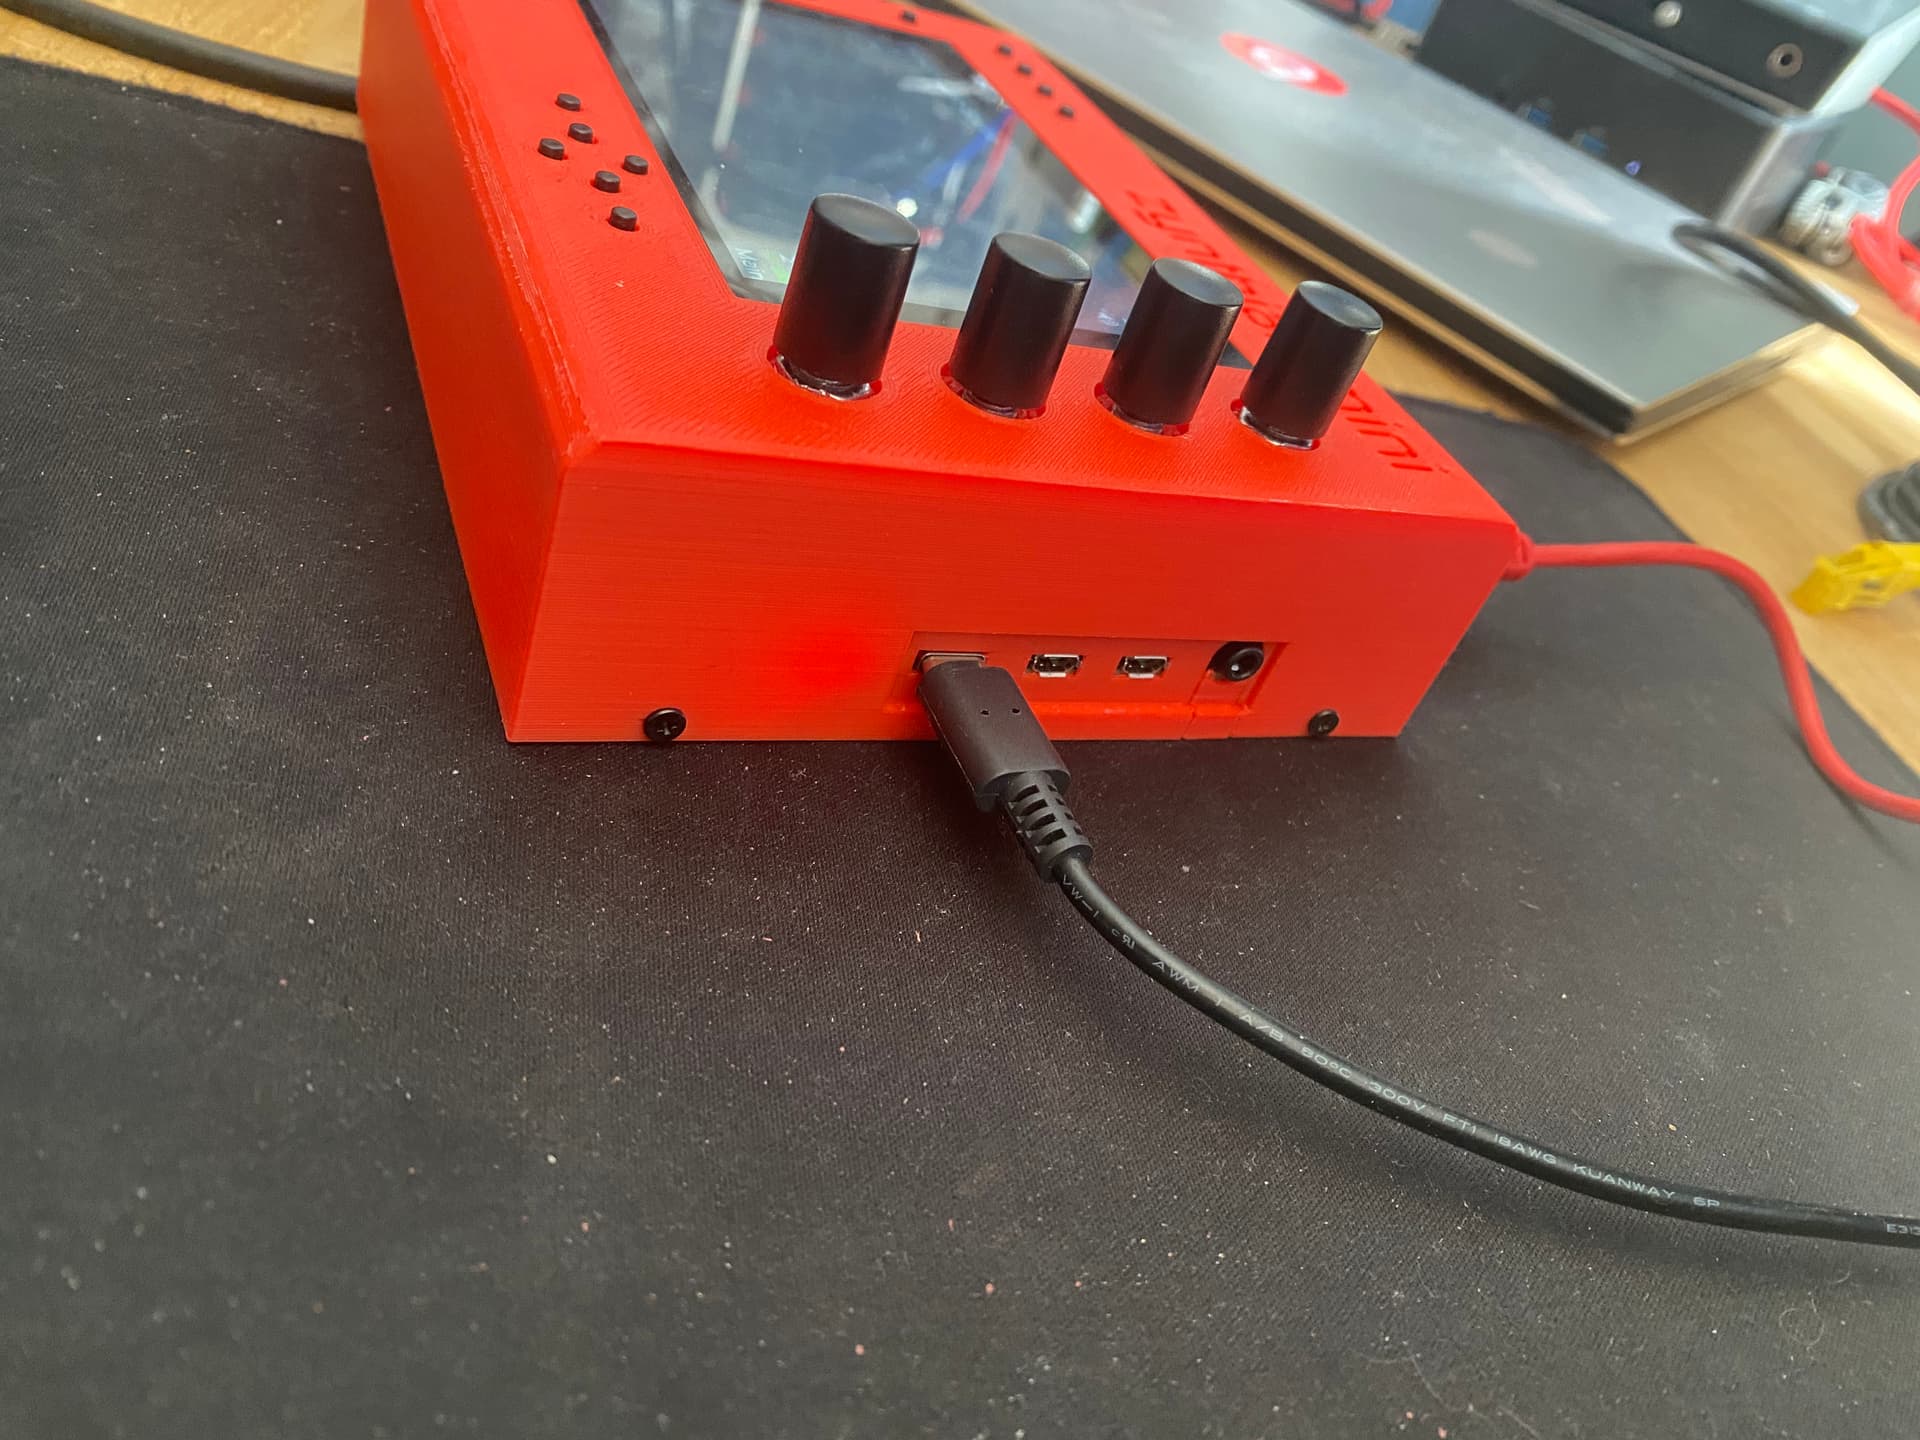
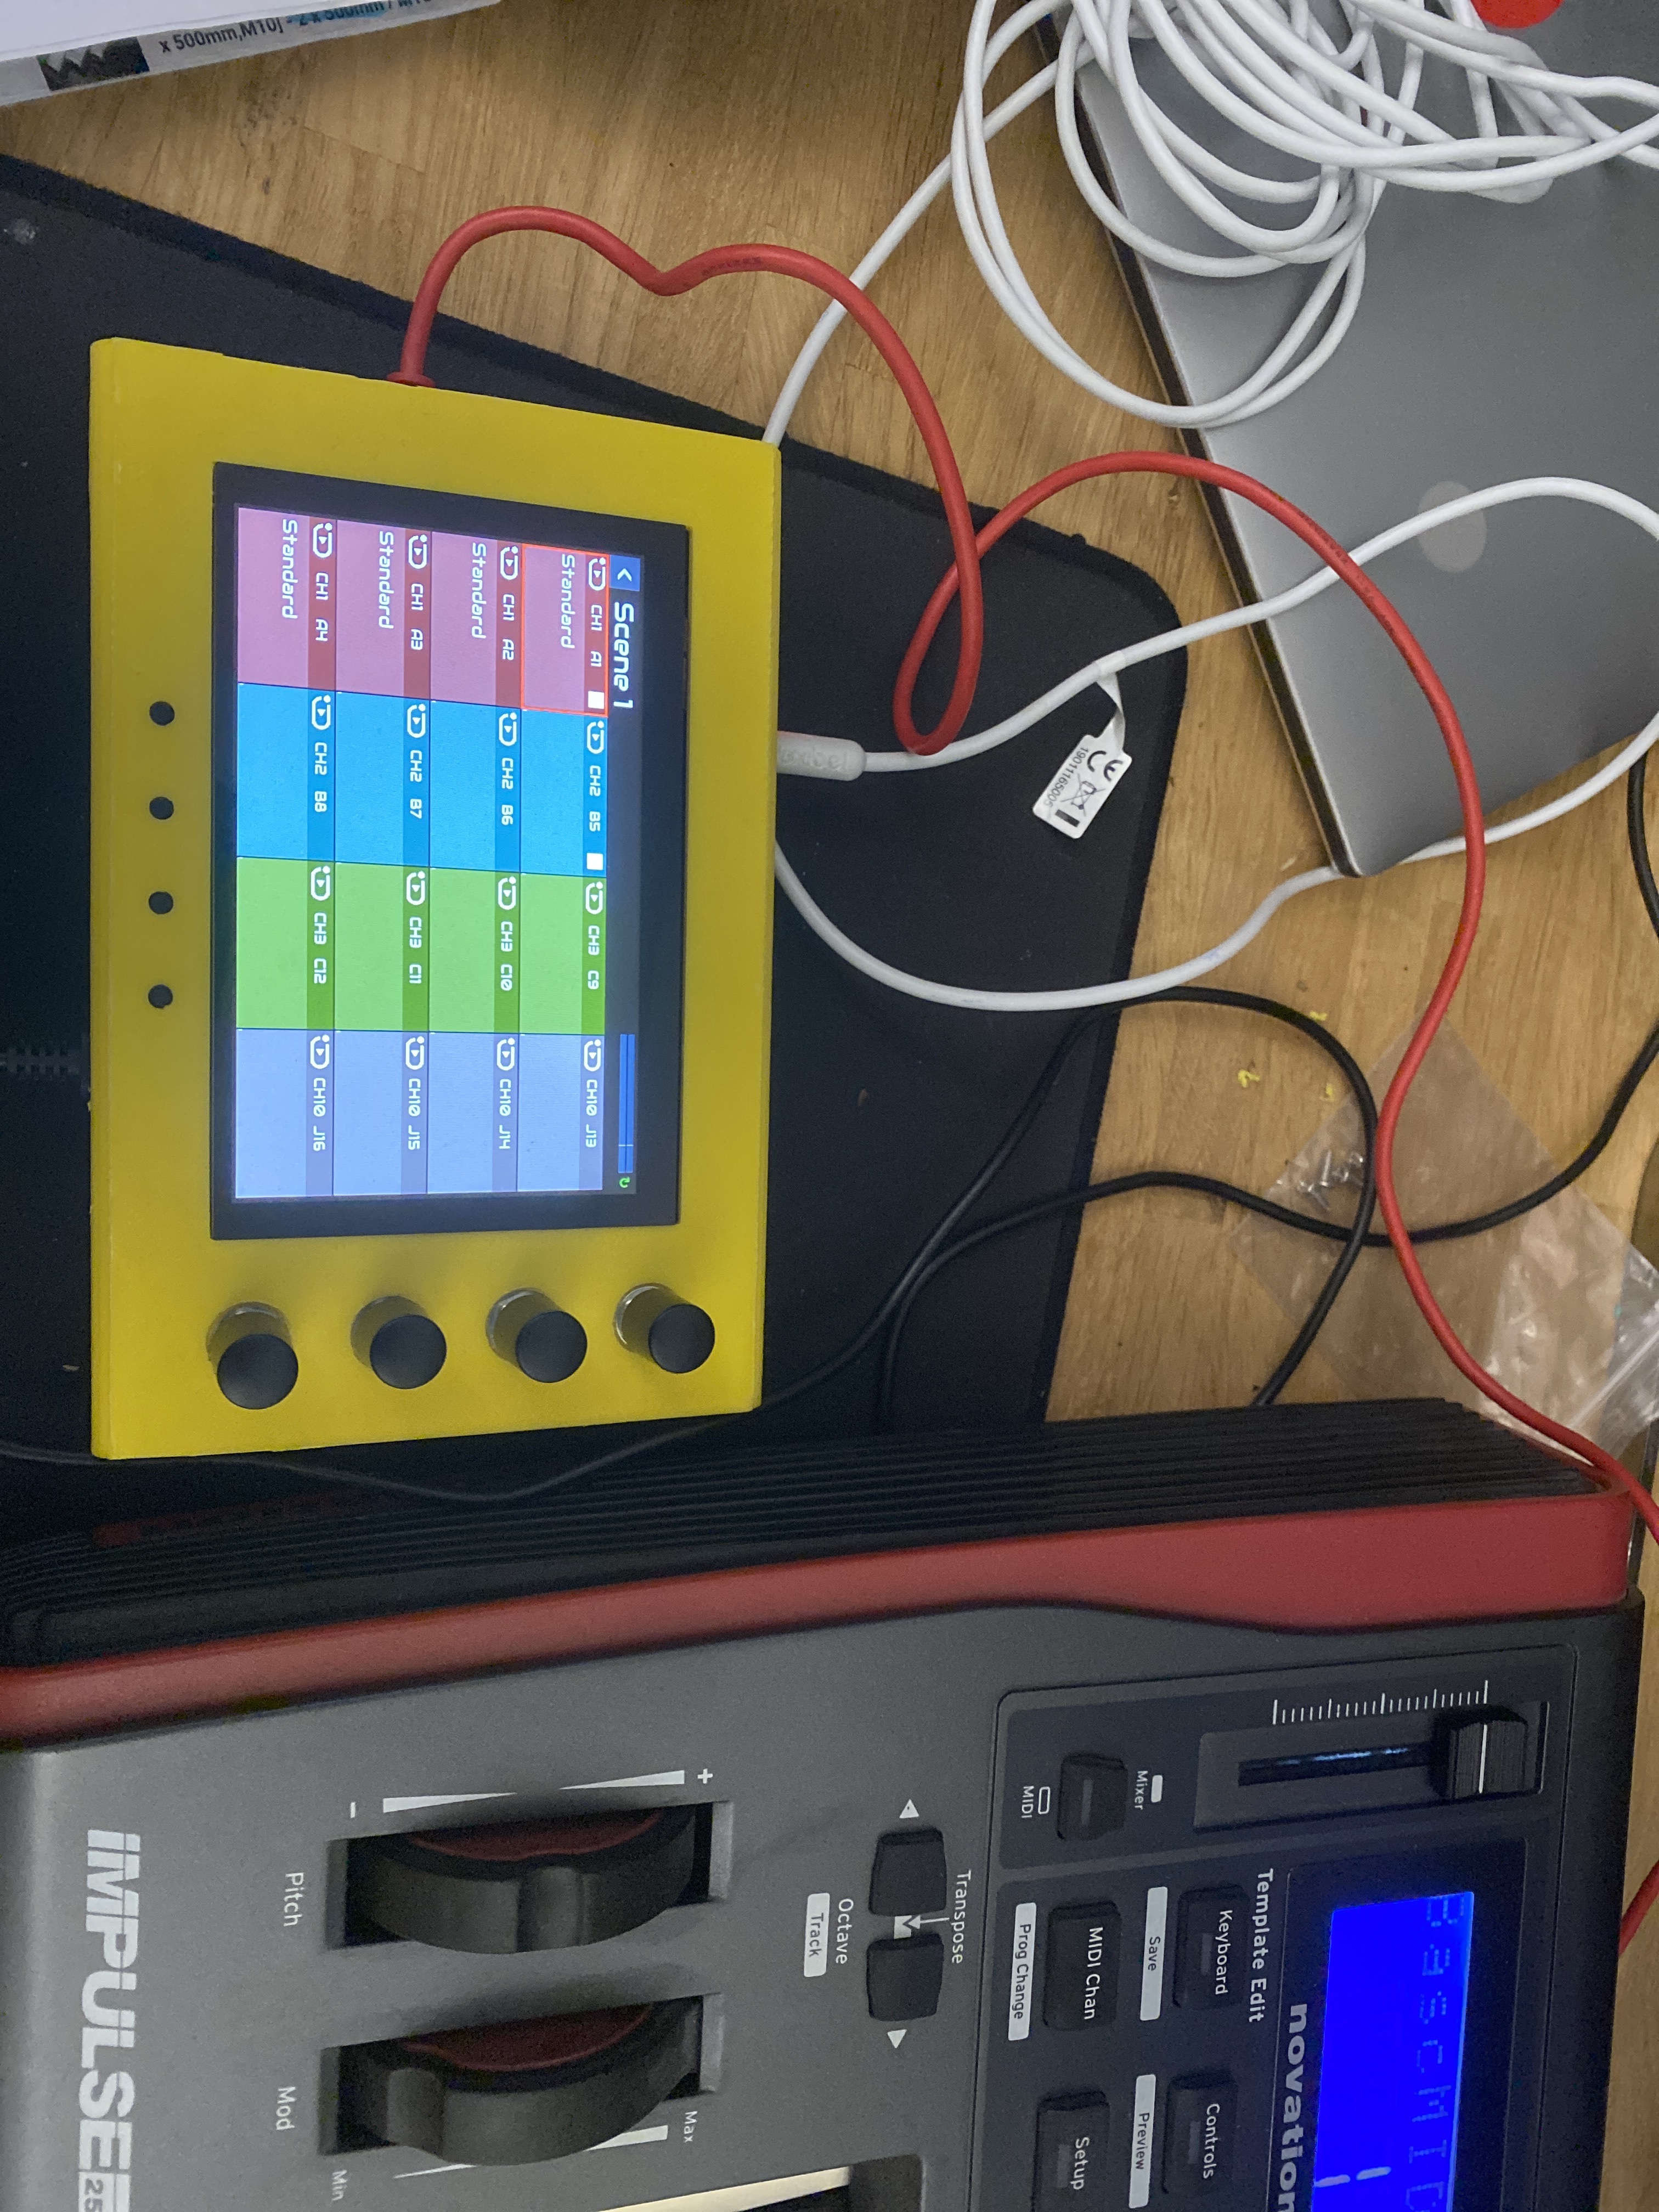
And here is the MINI V2 in its 3d printed case that I am now happy with.
All rpi connectors are now available to be used.
There is a door for SD card access now.
And there is a connector and a space inside the case to put your audio card of choice if you want something better than cheap PCM5102 DAC that you can see in purple here:
I have not connected heatsink fun to power. I have not seen any CPU issues with just heatsink. Hence the unconnected wires that you see inside the case.
I would recommend submitting pull requests against the relevant git repositories.
![]()
Should I create a separate pull request in each repo (zyncoder and webconfig) or one will be enough ?
Ignore this question - it is clear from previous message that it should be two requests.
Should I create branch first and add my code to it ? I don’t see branches created for features at the moment so I am confused should I do it or not. I can attach code to the pull request even though you should not attach c or python files to github pull request but there is workaround if file is available over URL link.
You should fork the git projects then add files. You can then submit a PR against the original project.
It is recommended to create a development branch. This makes it easier to test the changes independently.
Hm, I don’t have access to create a branch on zyncoder repo. Clearly, I can do it on my git local repo on the raspberry pi filesystem but when I try to push branch to remote github repo I don’t have access to it. Can somebody add me to have access to create branch or I need to fork the whole zyncoder project into totally new github repo ?
No! You need to fork the project then work on your own git repro. When you want to contribute upstream you create a pull request.
Look at this doc.
Thanks @riban
I also have noticed that encoders sometimes stop working when you use them really fast (e.g. moving inside sequencer pattern screen when setting notes). They start working again as soon as I run zyncoder_test from command line. Is this hardware problem due to me not having 10n caps on encoder A and B pins and ground or more an software issue.
Having the capacitors is highly recommended. You should add debouncing capacitors to encoders and switches. The capacitors increase stability and performance, because software debouncing consumes CPU and this increase the risk of xruns.
Anywhere, when they got stuck again, please, send the debug logs and i will try to fix the issue.
Regards
All 24 mini v2 switches have 100n caps (all 4 on encoders and all 20 push buttons). However I have not added them to A and B pins of encoders. I will add these 8 more caps to encoder pins to check if that is the issue. ![]()
Hi @stojos !
The encoders debouncing caps are much more important than switches caps because encoders are faster and lot of bounces are generated while moving. Push buttons / switches generate a small fraction of bounces in comparison. Think that thousands of fake-bounces occurs in a single second when rotating fast the encoders. Every pulse reaching the MCP23017 generates an interrupt that must be attended and processed in real time, while engines are trying to process the audio and MIDI, etc. Using the caps reduce a lot the number of fake-pulses reaching the GPIO.
The difference is big. You can test by opening “top” in a terminal and moving the encoders. You will see how CPU ramps up.
Regards,
It’s not the issue, for sure, but perhaps it “attenuates” the issue enough to not being an issue.
The issue is related to a MCP23017 bug:
Regards,
Bloody hell, it was caps! I have soldered 10n caps on all 4 encoder A and B pins and tested them thoroughly by creating the following sequence moving them up down left and right thousand of times.
For people that grow up in 80s.